Removal and Replacement Procedures
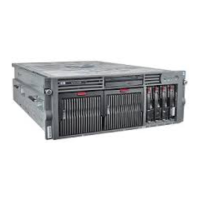
24. Use the Torx T-15 tool or screwdriver to remove the eight screws that secure the power
supply connectors to the chassis bottom (1).
25. Remove the cords from the connectors (2).
26. Remove the connectors from the server (3).
Figure 2-55: Removing the power supply connectors
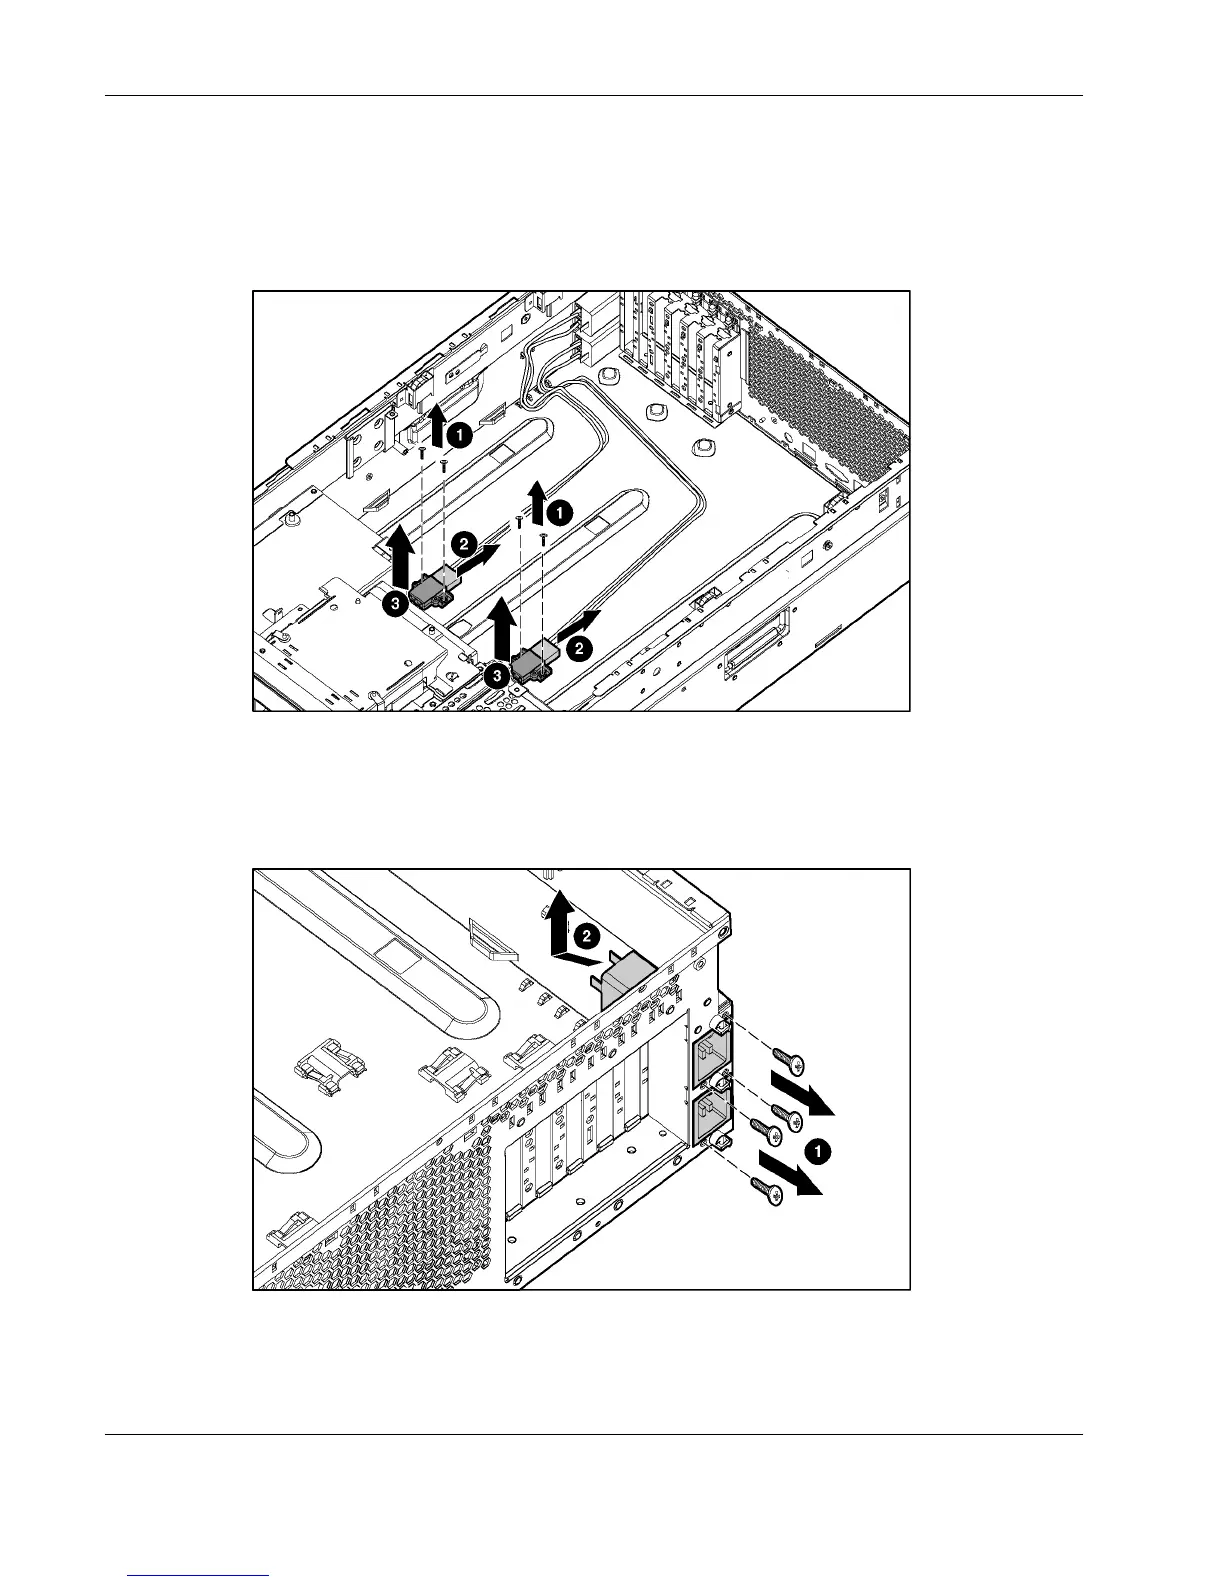
27. Use the Torx T-15 tool or a screwdriver to remove the four screws that secure the AC
filter cable assembly to the rear chassis wall (1).
28. Slide the assembly into the chassis, and then lift the assembly out of the chassis (2).
Figure 2-56: Removing the AC filters
Reverse steps 1 through 28 to replace the AC filter cable assembly.
2-70 HP ProLiant DL580 Generation 2 Server Maintenance and Service Guide
 Loading...