42
● Transfer Settings
OLYMPUS Master organizes the files within its database according to the date when the image was captured
or created. You can view or play these files in the calendar view (
g page 55) of the [Browse] window.
When transferring from a media, you can also import files as linked images to avoid duplicate files.
To configure transfer settings, follow the procedure below.
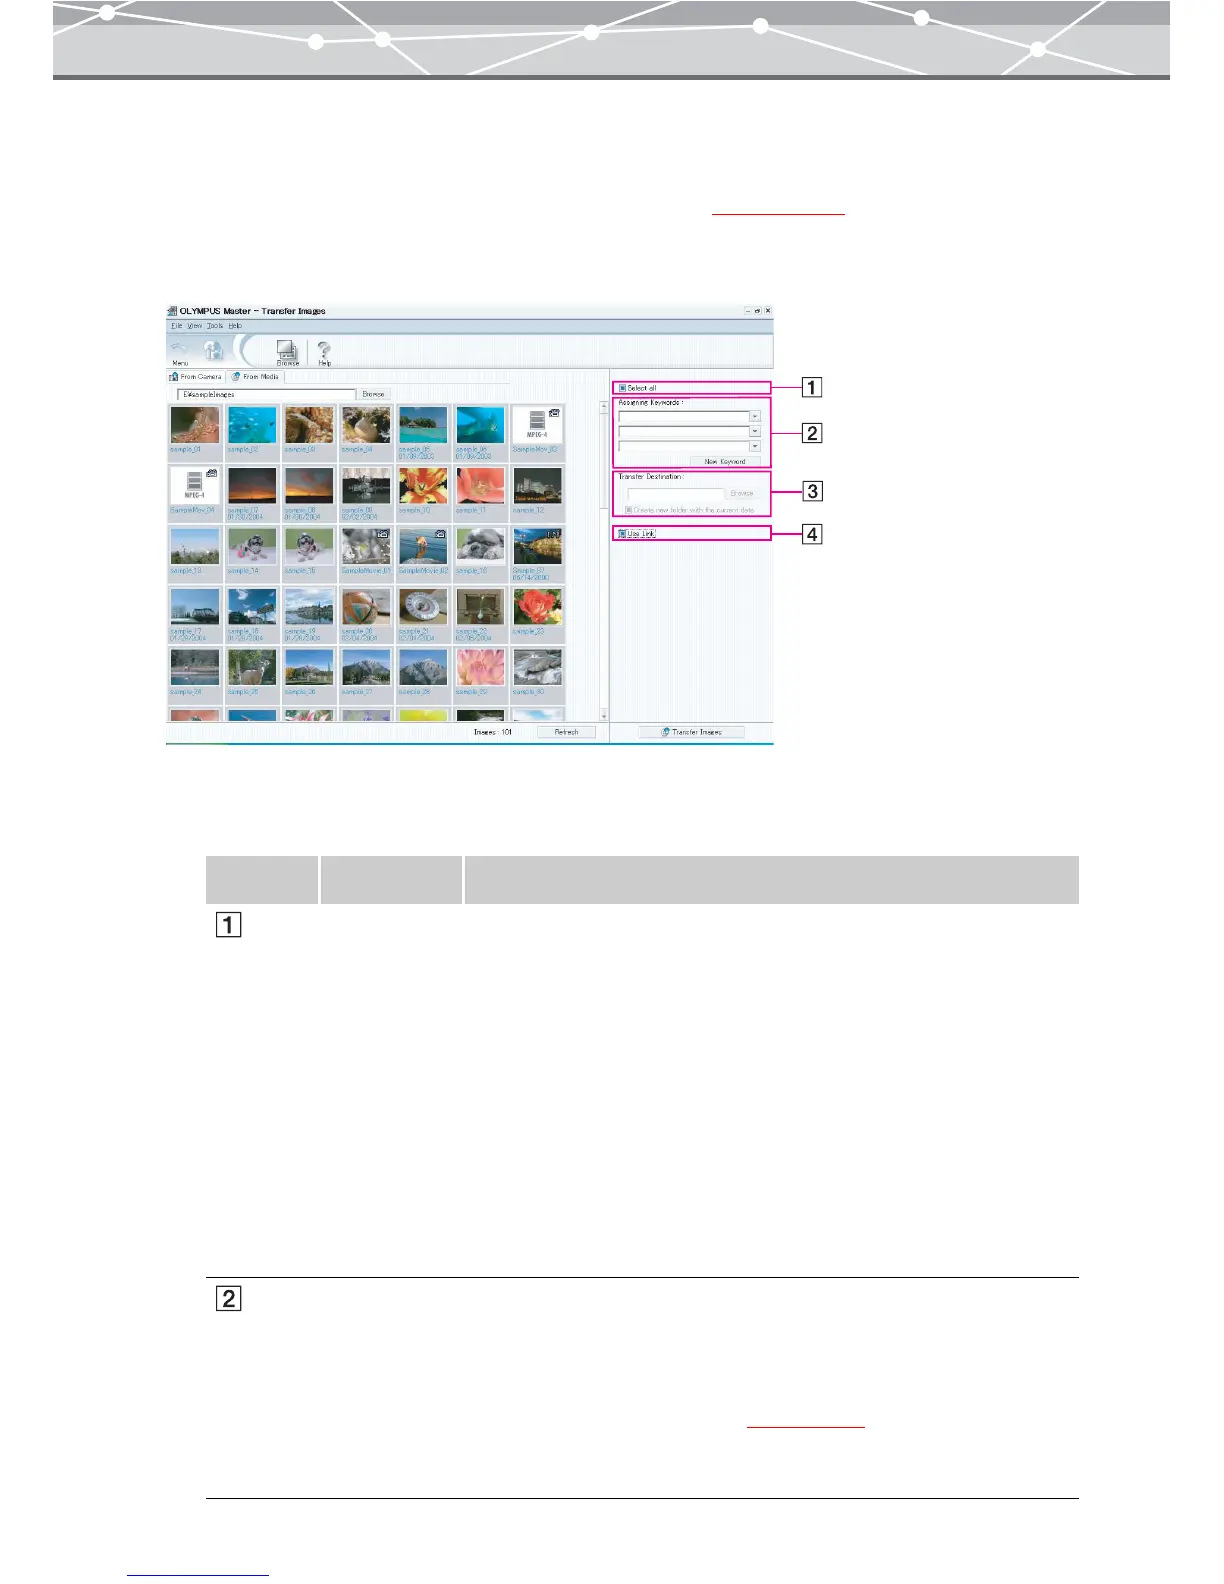
1 In [Transfer Settings] of the [Transfer Images] window, set the following
options.
Number Item Description
[Select all] To import only the selected files, click the [Select all] checkbox to
deselect the option.
Then, select the files as follows:
• To select a single file
Click on the file.
• To add a file to the selection
Hold down the Ctrl key (for Windows) or command key (for
Macintosh), and click on the file.
• To select a range of files
Click the first or last file in the range (rectangular area), then, holding
down the Shift key, click the file at the other end of the range.
Alternatively, drag the mouse to select the range.
[Assigning
Keywords]
Click [▼] to select keyword(s) to assign to the files from the
[Assigning Keyword] list.
• To select keywords, you should register keywords first. You can also
register keywords if you do not find an appropriate one in the list
(“Registering New Keywords”
g page 45).
• You can search files by the assigned keywords in the collection box
of the [Browse] window.
 Loading...