39
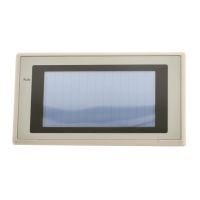
Installation
Section 3-1
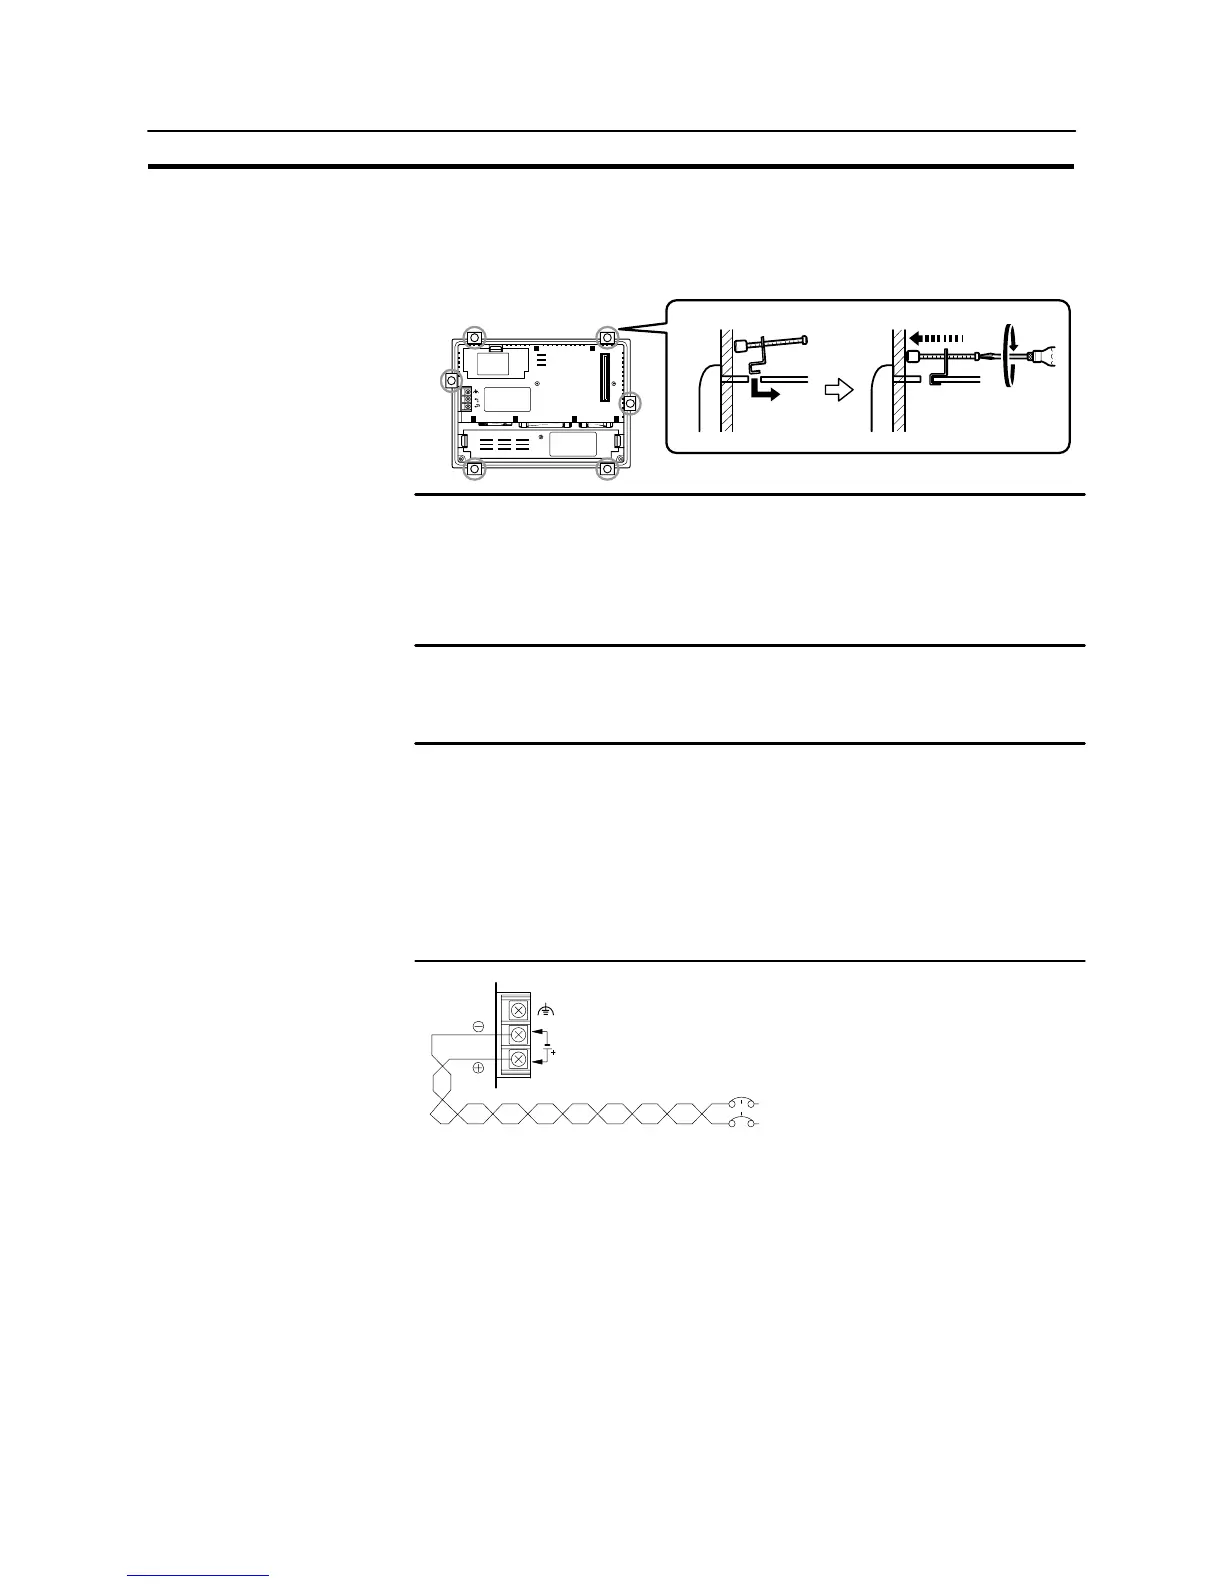
(2) Attach the panel fittings at the four positions at top and bottom and two posi-
tions at right and left, shown below, from the rear of the NT31/NT31C.
Fit the hook of the fitting in the square hole in the body and tighten the screw
with the Philips head screwdriver while lightly pulling the fitting.
24V
DC
PRINTER PORT B PORT A
Notice - During work at the panel, take care to ensure that no metal scraps enter the unit.
- The thickness of applicable operation panel is 1.6 mm to 4.8 mm. All fittings
must be tightened uniformly to a torque of 0.5 to 0.6 N⋅m in order to ensure wa-
ter- and dust-resistance. Front sheet of NT31/NT31C may be warped if the tight-
ening is too strong or not uniformity. The panel must not be soiled or warped, and
must be able to support an installation that will remain secure and strong.
3-1-3 Power Supply Connection
Connect a 24 VDC power supply to the power input terminals.
Notice - Depending on how the power is switched ON/OFF, the entire system may stop.
Follow the correct procedure when switching the power ON/OFF.
- Carefully check the wiring before switching ON the power.
- Do not connect AC power to the DC terminals.
- Use DC power supplies with low voltage fluctuation.
- Do not perform a dielectric strength test.
- If complying with EC directives (low voltage directives), use a power supply with
reinforced insulation (compliance with EC directives is planned for June 1998).
24 VDC
24 VDC
power supply
Breaker
 Loading...