1/05
8d-77
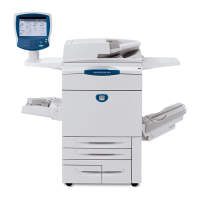
DocuColor 12/DCCS50
REP 15.1.21, REP 15.1.22
Finisher/Sorter
Reissue
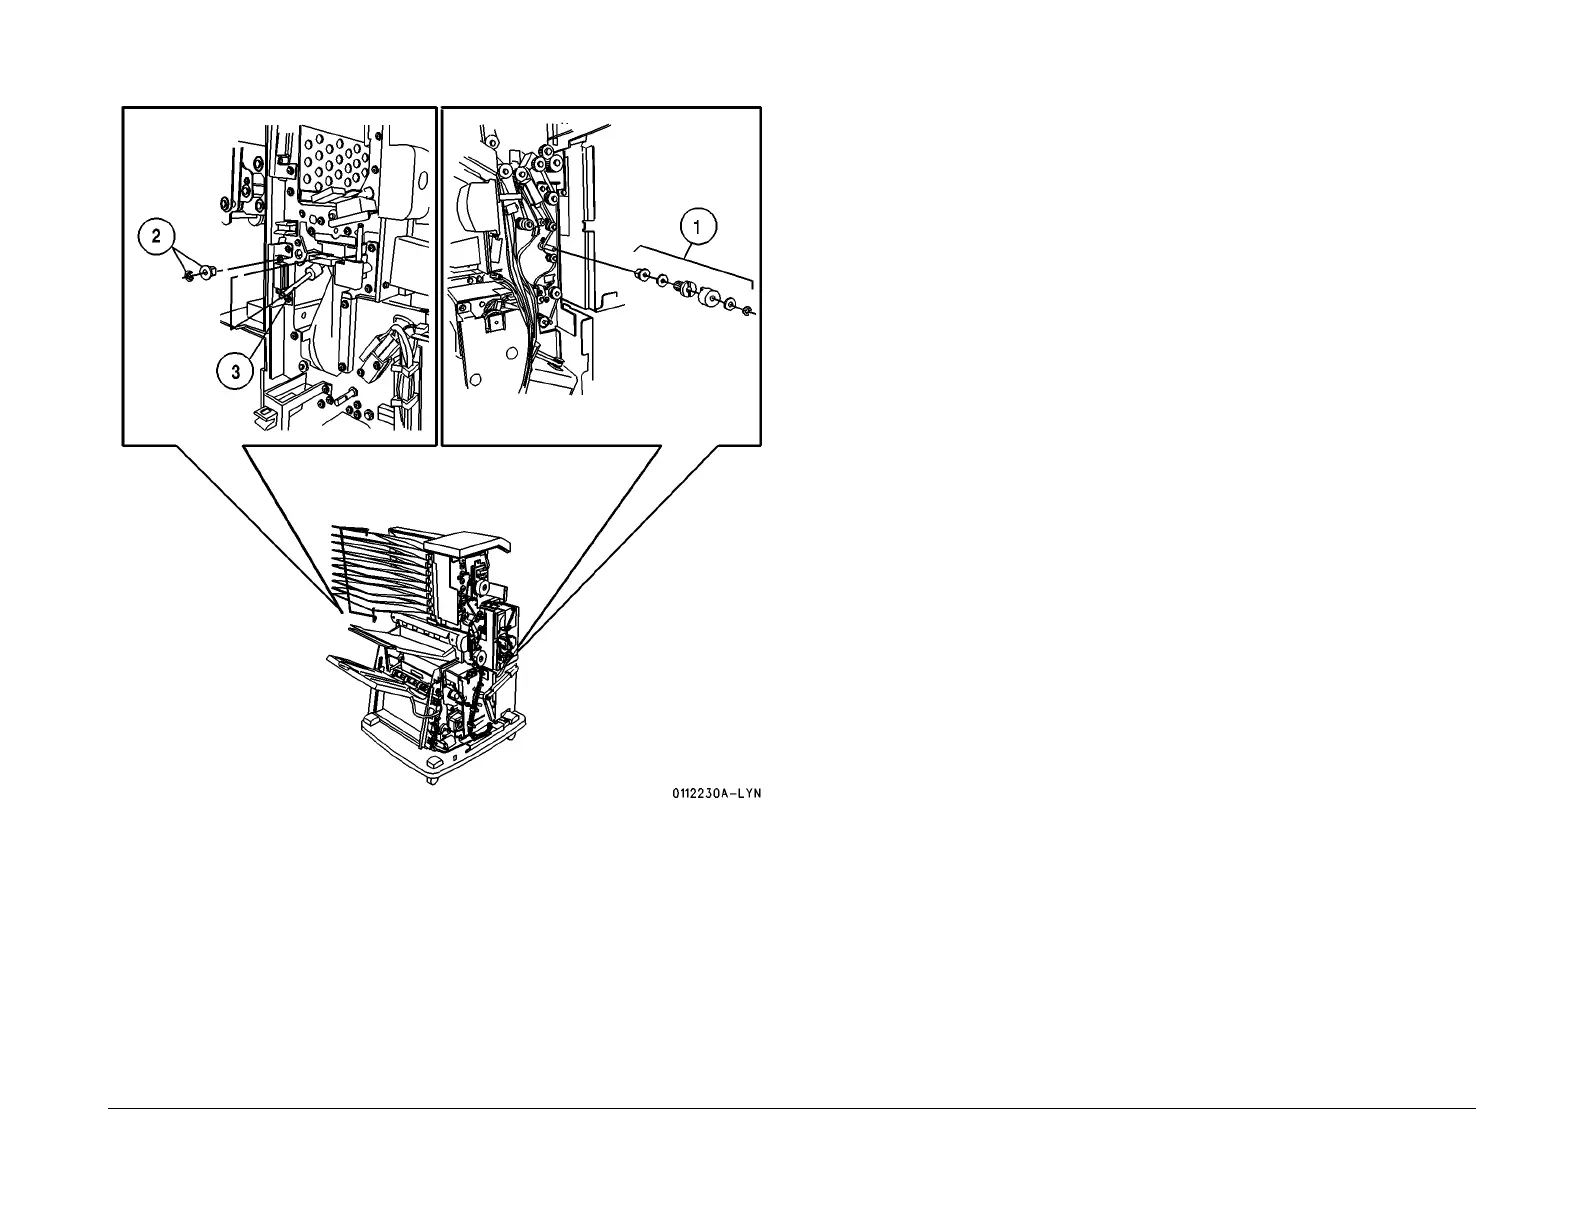
Figure 1 Remove the Transport Roll 1
REP 15.1.22 Finisher Transport Roll 2
Parts List on PL 18.9
Removal
WARNING
To avoid personal injury or shock, disconnect the Finisher cable connector. Switch off
the machine power and disconnect the Machine Power Cord.
1. Remove the Rear Upper Cover (REP 1
5.3.7).
2. Remove the Rear Lower Cover (REP 1
5.3.15).
3. Remove the MailBox Door Assembly (REP 15.3.
5).
4. Remove the Transport Roll 2 (Figur
e 1).
1. Remove the E ring and Collar from the Idler Pulley that is being driven by the Fin-
isher Transport Roll 2.
2. Remove the E ring, Idler Pulley and Bearing from t
he rear of the Finisher Transport
Roll shaft.
3. Remove the E ring and Bearing from the front of the Finisher Transport Roll 2 shaft.
4. Remove the screws (4) securing the Entrance Lower Chute to the frame (PL 18.14
item
25). Do not remove the Entrance Lower Chute. This will provide enough room
to allow the Finisher Transport Roll 2 shaft to be removed.
5. Remove the Finisher Transport Roll 2 from the front of the Finisher.
Replacement
1. Install the Finisher Transport Roll 2 into the Finisher frame.
2. Install the Bearing and E ring onto the front end of t
he Finisher Transport Roll 2 shaft.
3. Install the Bearing, Idler Pulley, and E ring onto the rear
of the Finisher Transport Roll 2
shaft. Ensure the Finisher Drive Belt is installed on the Pulley.
4. Reinstall the Entrance Lower Chute to the frame using the screws (4).
5. Install the Collar and E ring on the Idler Pulley that is driven by the Finisher Transport Roll
2.
6. I
nstall the Rear Upper Cover.
7. Install the Rear Lower Cover.
8. Install the Mailbox Door Assembly.
9. Install the Stapler Cover.

 Loading...