Scan to Folder
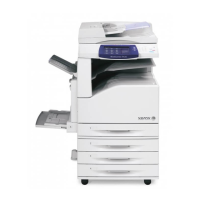
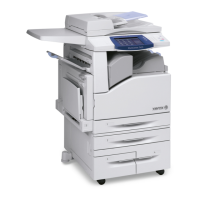
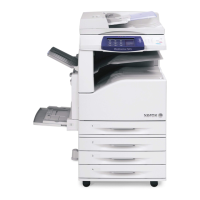
WorkCentre 7425/7428/7435
User Guide
131
Scan to Folder
This section includes:
• Creating a Folder on page 131
• Scanning to a Folder on page 131
• Send from Folder on page 132
• Managing Images at Your Computer Using CentreWare IS on page 144
Scan to Folder is the simplest scanning method. It allows scanning to a folder, which is located on the
printer hard drive. If this feature is not enabled, contact your system administrator.
You can scan a document, store the image on the printer internal hard drive and then download it to
your computer. The printer provides folders to organize and store scanned images. You can also create
a password-protected private folder accessible only by you.
Creating a Folder
Your system administrator may have created a folder for you. You can create a folder yourself using
CentreWare IS.
1. Launch your Web browser.
2. Type the printer’s IP address into the Web browser’s address bar, then press Enter to open
CentreWare IS.
Note: If you don’t know your printer’s IP address, see Viewing the Printer IP Address: on page 42.
3. Click the Scan tab.
4. In the Scan window on the left, click Folders.
5. In the Folder window, choose a folder labeled “(Not in Use)”, then click Create.
6. Enter a name for the folder. If desired, create a password.
7. If desired, choose options for Check Folder Passcode, Delete Files after Print and Delete Expired
Files.
8. Click the Apply button.
Your folder is now available for use, and will appear in the folder list in CentreWare IS and on the
printer’s touch screen in the Scan to Folder tab.
Scanning to a Folder
1. Load your original on the document glass or in the document feeder.
2. On the printer control panel, press the Services button.
3. On the printer touch screen, touch Scan to Folder.
4. Touch the desired folder in the scrolling list. If necessary, touch the up or down arrow to see the
desired folder.

 Loading...


