Using Color Corrections
WorkCentre 7425/7428/7435
User Guide
73
Using Color Corrections
The Color Correction options provide simulations of different color devices. Automatic is the default
correction for general image processing. See the following table to determine what option you want
to use.
To select the color correction in a supported driver:
Windows 2000 or later and PostScript driver
1. Click the Color Options tab.
2. Select the desired color correction: Automatic Color, Black and White, or Color Adjustments.
3. To adjust the color corrections, click the Color Adjustments button.
•Use the Lighten/Darken slider to lighten or darken the entire image.
•Use the CMYK Color drop-down list to apply press matching. From the drop-down list, select
Commercial, SNAP, SWOP, EuroScale or Japan Color.
Macintosh OS X (version 10.3 or later) driver
1. In the Print dialog box, click Xerox Features, then click the Image Options drop-down list.
2. In the Output Color Corrections drop-down list, click Auto, sRGB or None.
Use the CMYK Source Control drop-down list to apply press matching. From the drop-down list, click
Commercial, SNAP, SWOP, EuroScale or Japan Color.
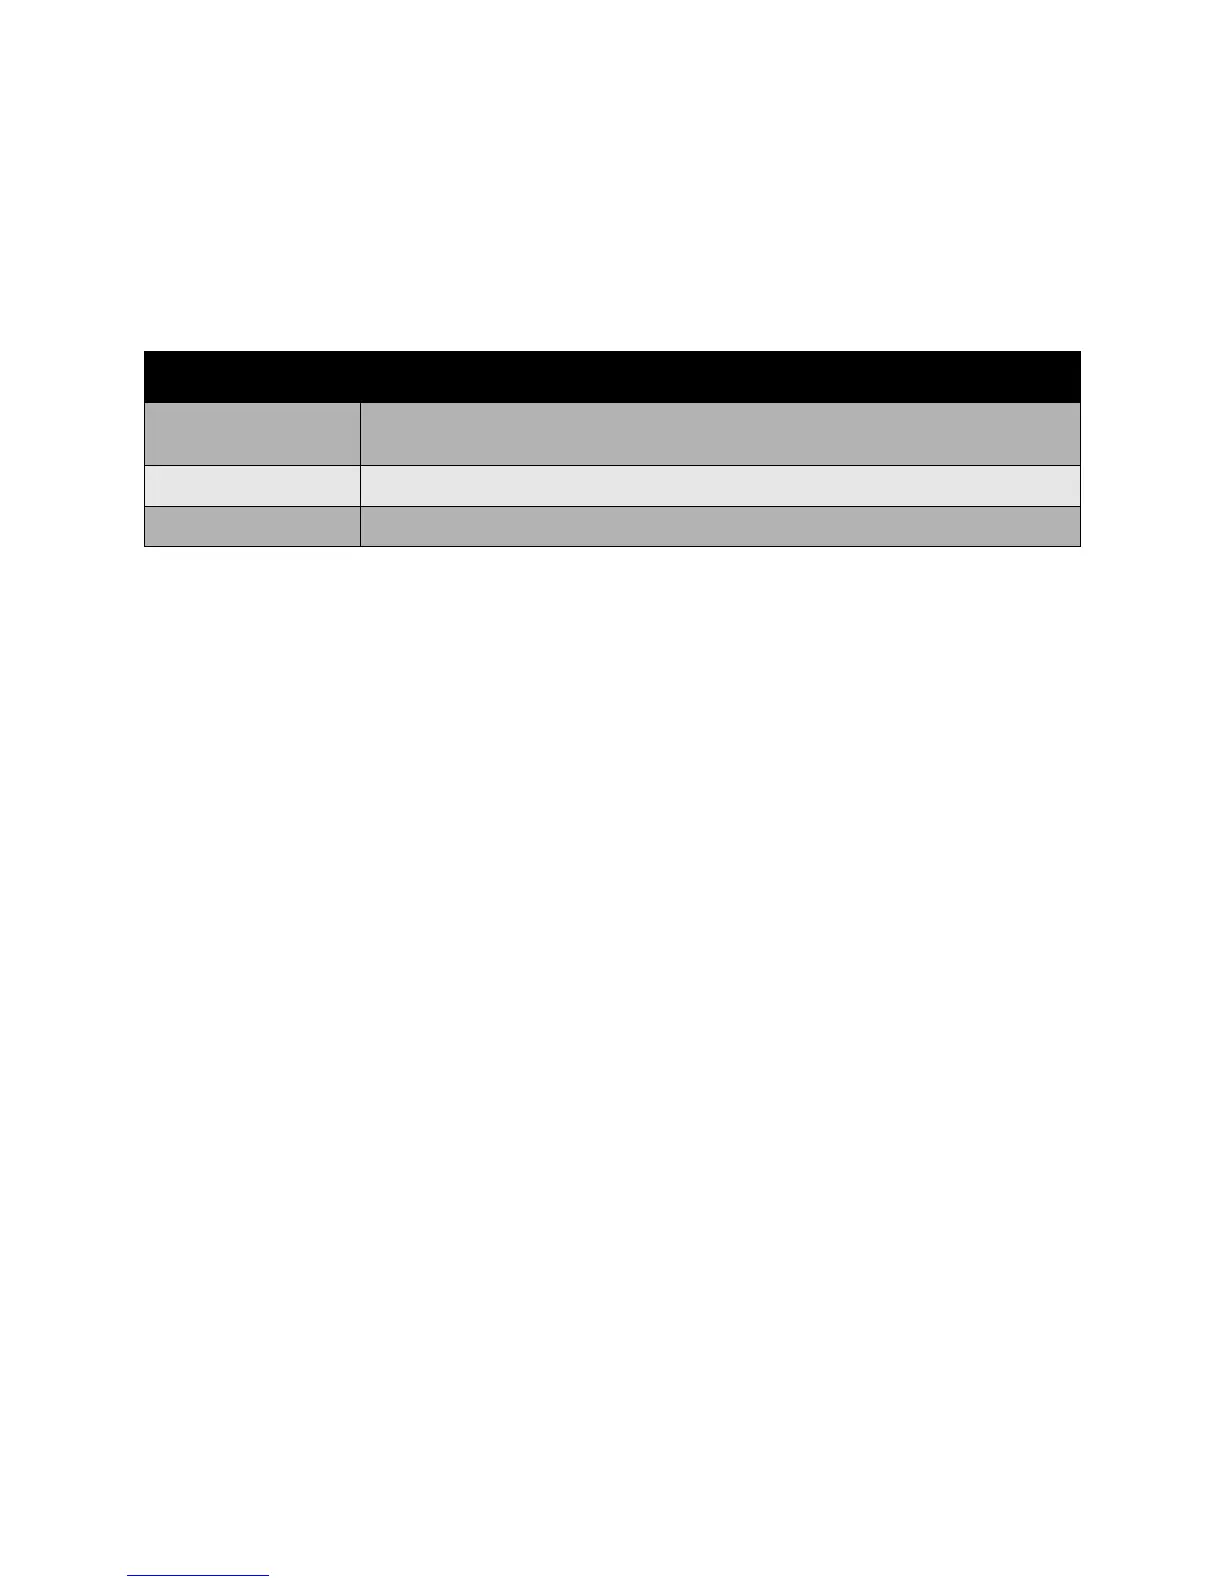
Color Correction Description
Automatic Color
(Recommended)
Applies the best color correction to each graphic element: text, graphics, and
images.
Black and White Converts all colors to black and white or shades of gray.
Color Adjustments Displays the adjustments to the color. Adjust the color by clicking this button.
 Loading...


