Notes:
• You can schedule automatic loading of updated auxiliary files using
HTTP/HTTPS, FTP, or NFS. For more information on automatic updates,
ee 'Automatic Update' on page 347.
• When loading an ini file using this Web page, parameters that are
excluded from the loaded ini file retain their current settings
(incremental).
• Saving an auxiliary file to flash memory may disrupt traffic on the device.
To avoid this, disable all traffic on the device by performing a graceful
lock as described in 'Locking and Unlocking the Device' on page 323.
• For deleting auxiliary files, see 'Viewing Device Information' on page 361.
The procedure below describes how to load Auxiliary files using the Web interface.
To load auxiliary files to the device using the Web interface:
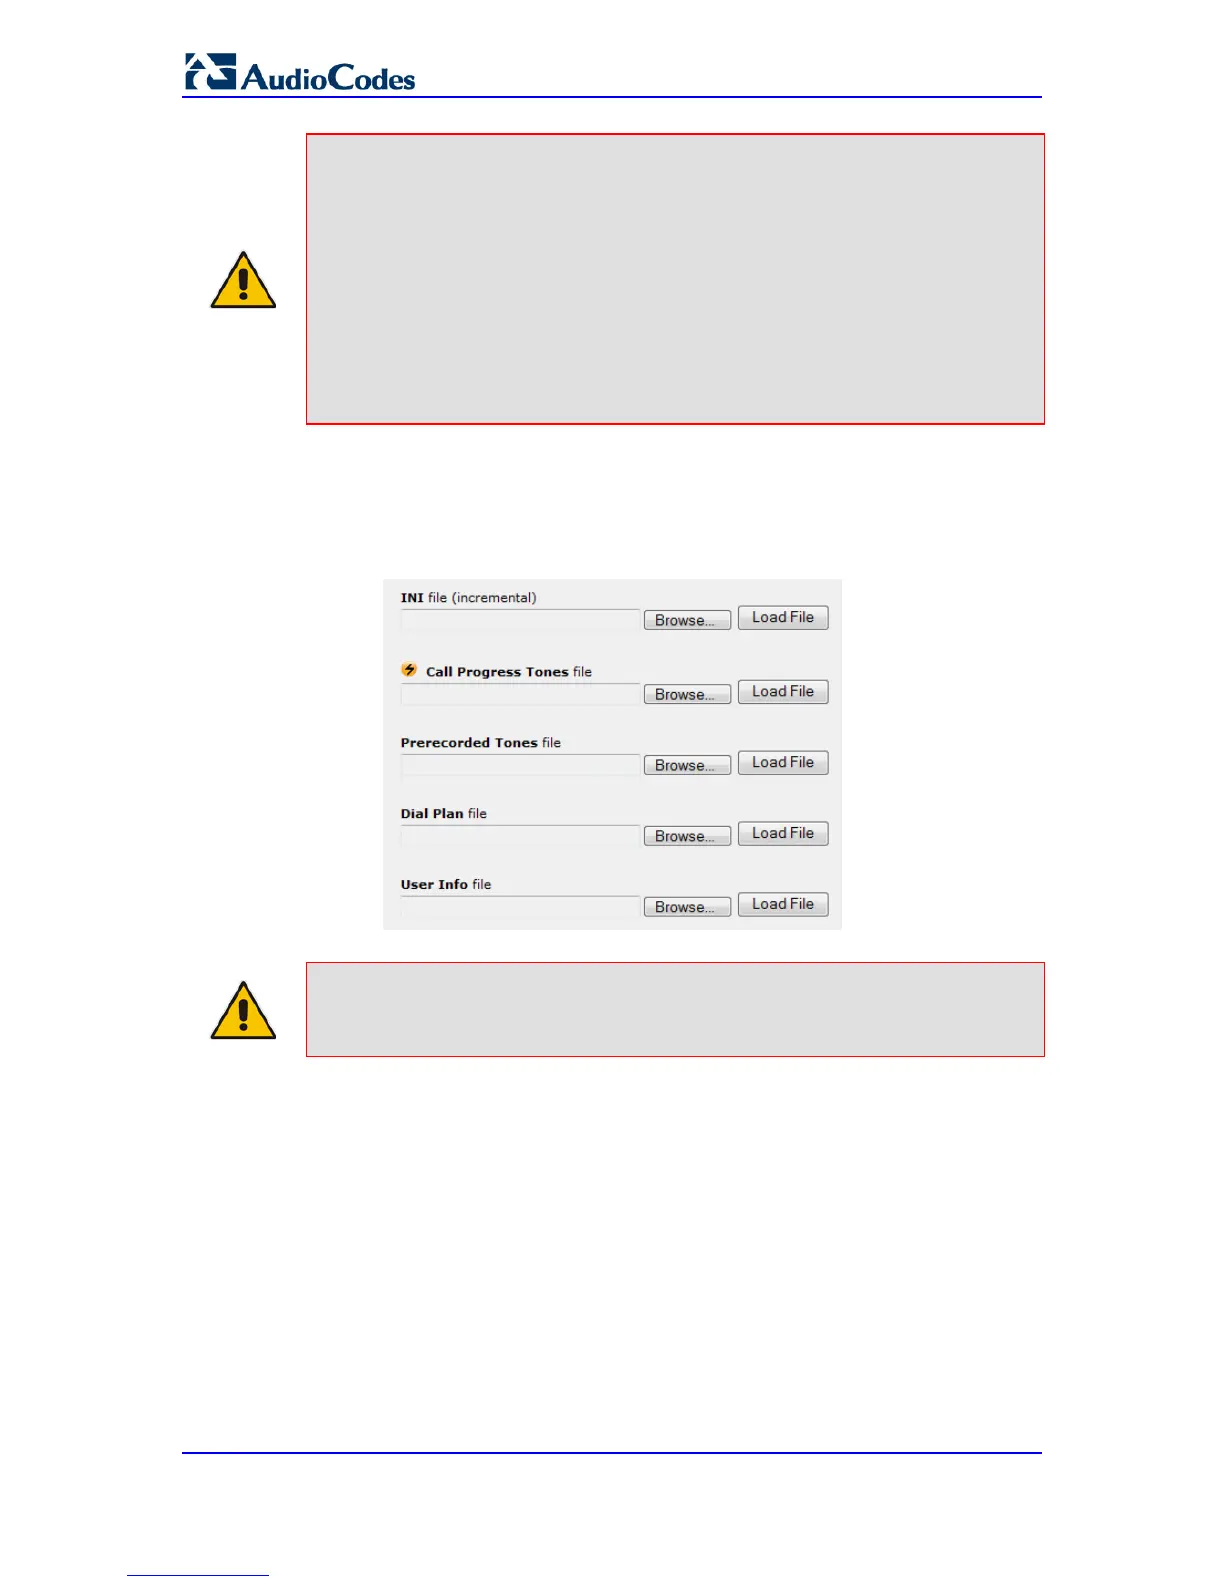
1. Open the Load Auxiliary Files page (Maintenance tab > Software Update menu >
Load Auxiliary Files).
Note: The appearance of certain file load fields depends on the installed Software
License Key.
2. Click the Browse button corresponding to the file type that you want to load, navigate
to the folder in which the file is located, and then click Open; the name and path of the
file appear in the field next to the Browse button.
3. Click the Load File button corresponding to the file you want to load.
4. Repeat steps 2 through 3 for each file you want to load.
5. Save the loaded auxiliary files to flash memory, see 'Saving Configuration' on page
324 and reset the device (if you have loaded a Call Progress Tones file), see
'Resetting the Device' on page 321.
You can also load auxiliary files using an ini file that is loaded to the device with BootP.
Each auxiliary file has a specific ini file parameter that specifies the name of the auxiliary
file that you want to load to the device with the ini file. For a description of these ini file
parameters, see Auxiliary and Configuration Files Parameters.

 Loading...