9 Configuring Certificates
The Certificates page allows you to configure X.509 certificates, which are used for secure
management of the device, secure SIP transactions, and other security applications.
Note: The device is shipped with an active TLS setup. Thus, configure certificates
only if required.
9.1 Replacing the Device's Certificate
The device is supplied with a working TLS configuration consisting of a unique self-signed
server certificate. If an organizational Public Key Infrastructure (PKI) is used, you may wish
to replace this certificate with one provided by your security administrator.
To replace the device's certificate:
1. Your network administrator should allocate a unique DNS name for the device (e.g.,
dns_name.corp.customer.com). This DNS name is used to access the device and
therefore, must be listed in the server certificate.
2. If the device is operating in HTTPS mode, then set the 'Secured Web Connection
(HTTPS)' parameter (HTTPSOnly) to HTTP and HTTPS (see 'Configuring Web
Security Settings' on page 69). This ensures that you have a method for accessing the
device in case the new certificate does not work. Restore the previous setting after
testing the configuration.
3. Open the Certificates page (Configuration tab > System menu > Certificates).
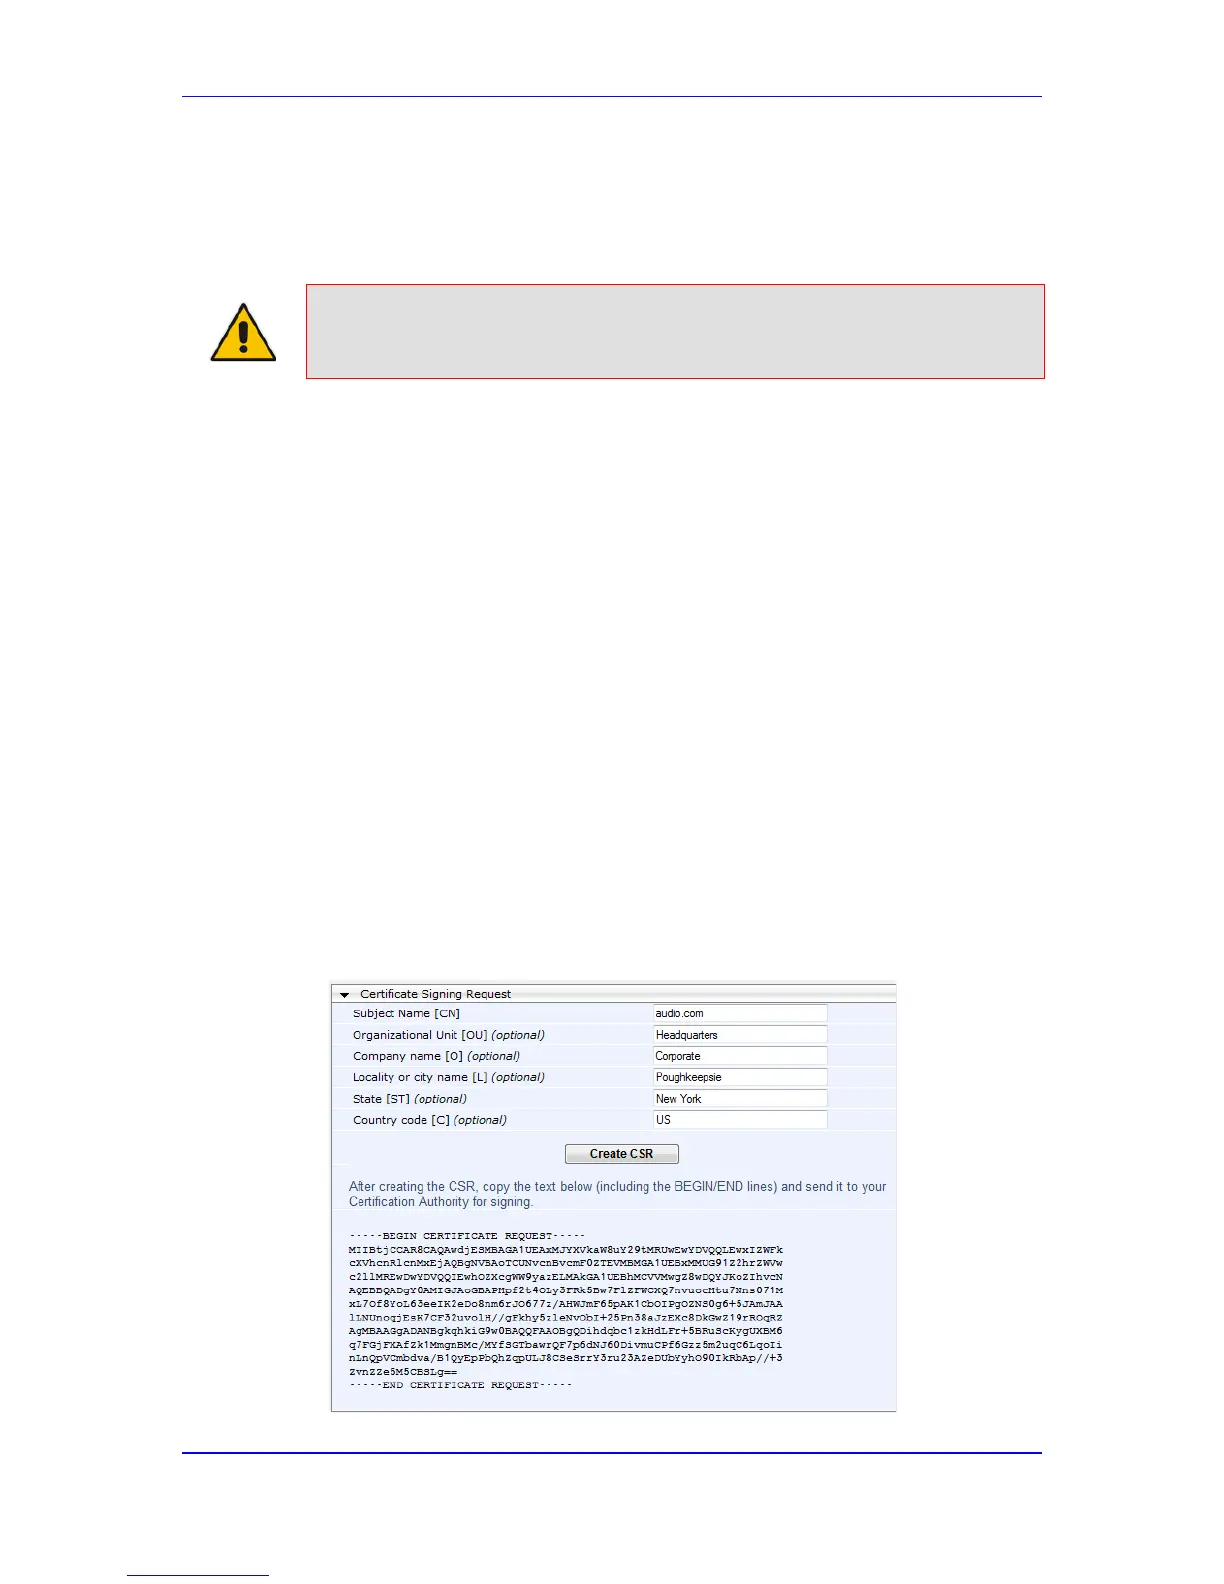
4. Under the Certificate Signing Request group, do the following:
a. In the 'Subject Name [CN]' field, enter the DNS name.
b. Fill in the rest of the request fields according to your security provider's
instructions.
c. Click the Create CSR button; a textual certificate signing request is displayed in
the area below the button:
Figure 9-1: Certificate Signing Request Group

 Loading...