43-TV-25-30 Iss.6 GLO Aug 07 UK 45
Section 4: Recorder Setup
Configuration of the recorder is performed in the Menu screens and the data is displayed in
the Process screens. This section takes you through the Menu system and how to set up
your recorder. See “Section 6: Screen Configuration” on page 187 for information on
setting up screens to display the data.
User Interface Control
All user actions can be performed via the touch screen using the stylus. All on-screen selec-
tion and navigation areas are large enough so the unit can be operated without falsely se-
lecting an adjacent option using the stylus provided.
The stylus is to be used to operate the touch screen. It has a rounded end to avoid damage
to the screen. Only a light touch is required to activate the screen. Two styluses are provided
and there is a special slot at the top of the recorder to slide the stylus in from the right. If the
touch screen does not match correctly to where you are touching it with the stylus the screen
may need calibrating. See “Calibrate” on page 141.
Other User Interface Control
All user actions can be performed using a mouse or keyboard attached to a USB host port.
Power up
1. Menu Access
When the recorder is powered up the display will show a splash screen followed by an ini-
tialisation screen displaying the default language flag.
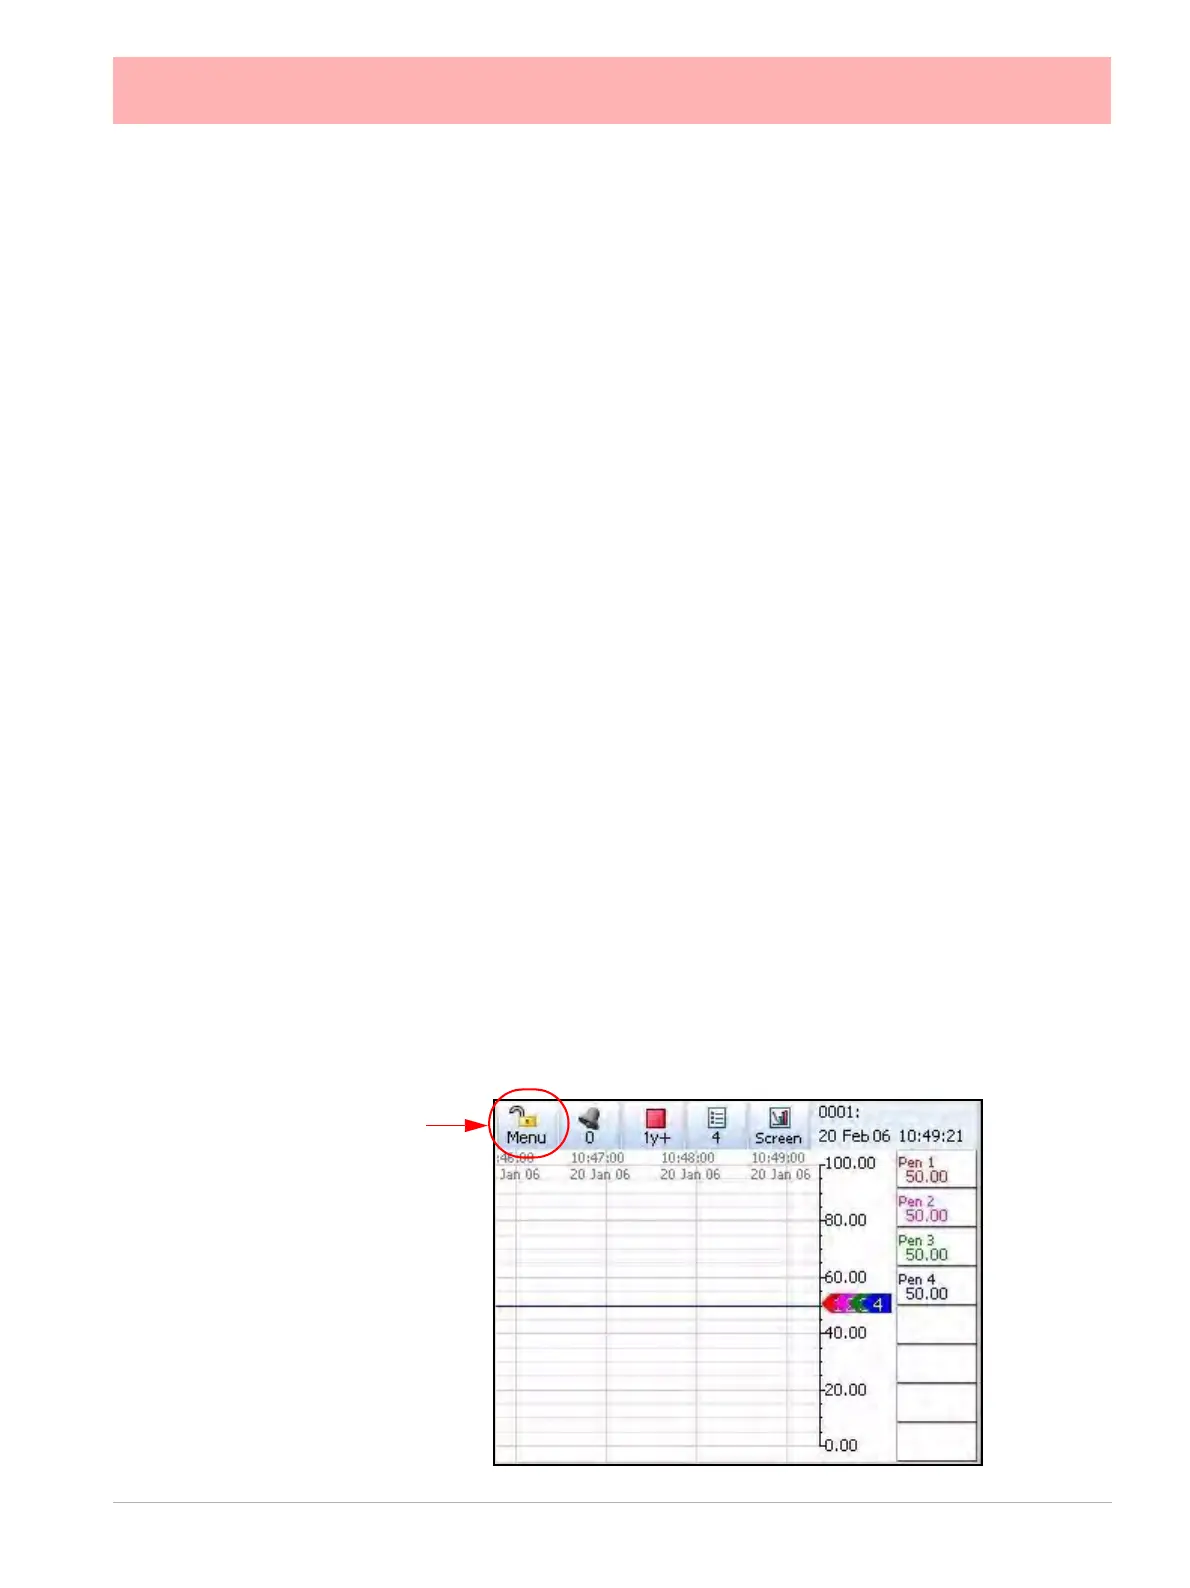
The first screen to appear on the recorder is a default process screen with the menu bar at
the top. Select the Menu button to access the menu system to configure the recorder. The
Menu button takes you to the Main Menu.
From the Main Menu you may be required to Log In, if the Password function is active, see
“2. Log On/Off” on page 46. If not, the next configuration required is to set the recorder
to the correct local settings, see “3. Local Settings” on page 47.
Access to
Main Menu
Figure 4.1 Default process screen
 Loading...