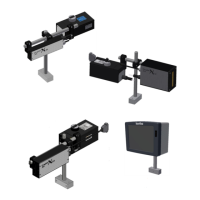
Fig. 7.11 Test label printed at correct speed setting (X18)
10. Repeat the instructions 8 and 9 until the test label is printed on the correct position of the product
with a length of 100 mm (175mm for X72).
7.3.3 Tuning the test print with the encoder enabled
Proceed with this subsection only if the instructions of the subsection 7.3.1 are successfully carried out.
1. Touch the Setting icon.
2. Touch the Signal button
3. Set the Use encoder setting to Yes.
4. Touch the Print button.
5. Set the Print delay to the value of the distance between the photocell and the printhead, refer to Fig.
6.17 dimension B. The delay value is in millimetres.
6. Remove all the tools and loose materials from the host machine and start the host machine.
7. Check whether the encoder wheel turns and does not slip
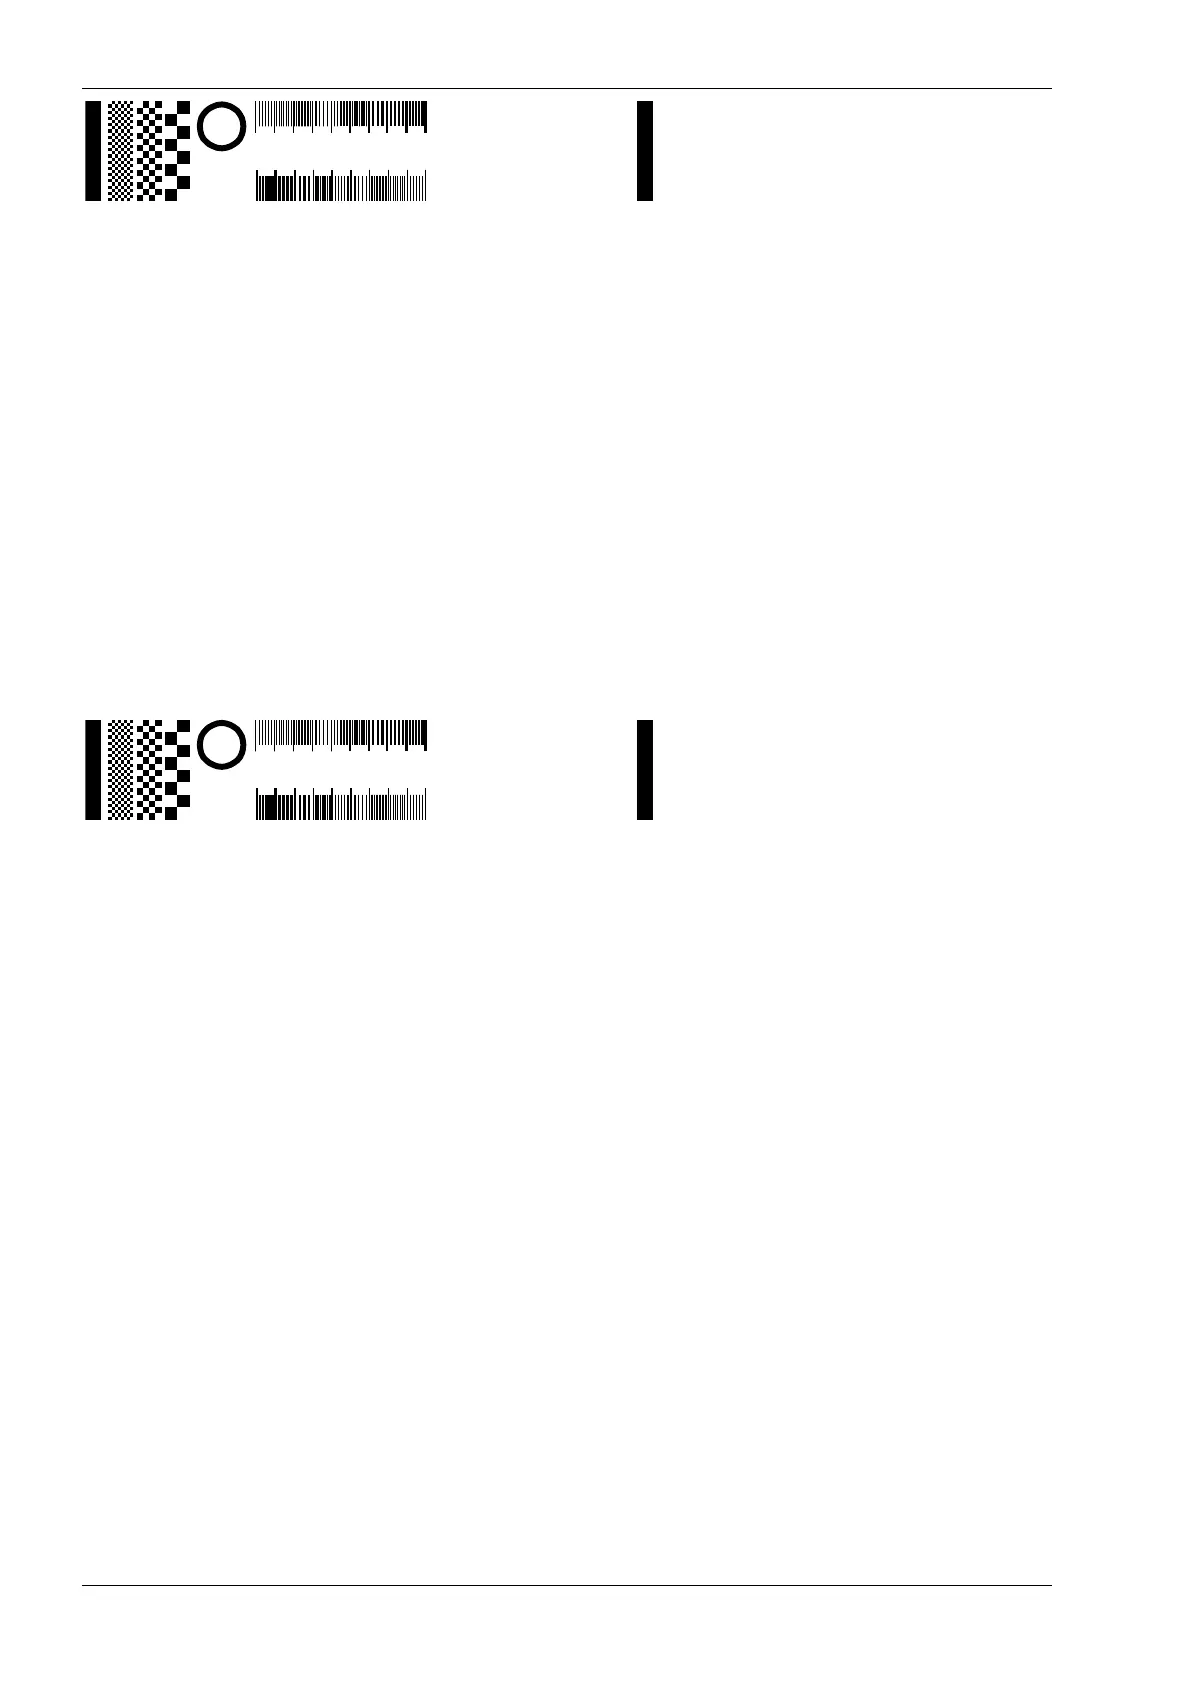
8. Move a sample product along the photocell and the printhead. A test print (Fig. 7.12) should be
made on the sample product.
Fig. 7.12 Test label printed
9. Check whether the complete test print is made on the sample product. The test print may be
mirrored, but this is not relevant for this procedure.
a. If the begin of the test print is missing, increase the delay parameter or reposition the
photocell closer to the printhead housing.
b. If the overall length of the test print is not equal to 100 mm (175mm for X72), check whether
the encoder isn’t slipping or bouncing.
c. If the end of the test print is missing, decrease the delay parameter or use a longer sample
product.
10. Repeat the instructions 9 and 10 until the test label is printed on the correct position of the product.
7.4 General print parameter settings
Proceed with this section only if the instructions of section 7.3 are successfully carried out. The parameters in
this section are not described in any particular order.
7.4.1 Changing the print direction
1. Make a test print with the test label.
2. Check whether the test print is mirrored (Fig. 7.13). If not, no further action is required.
 Loading...