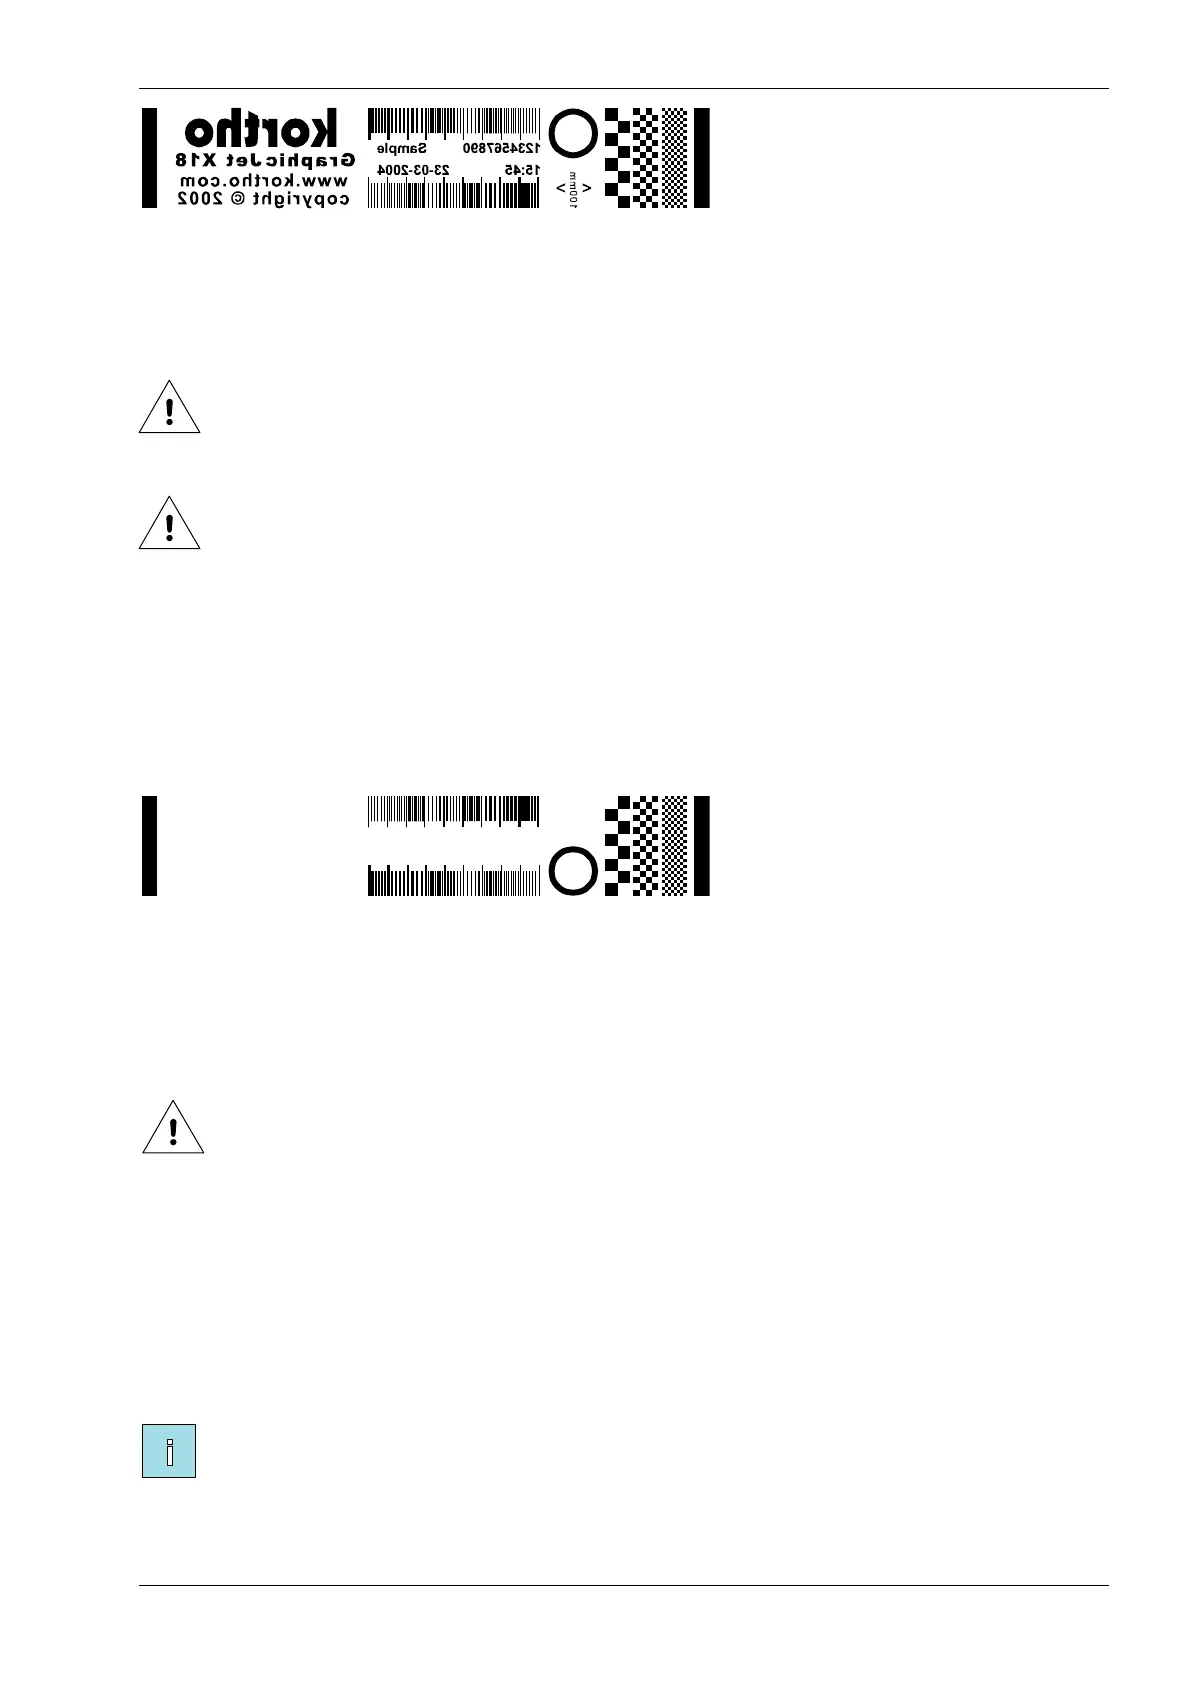
Fig. 7.13 Test label printed mirrored
3. Touch the Settings icon.
4. Touch the Label button.
5. Set the Orientation from Normal to Mirror.
Beware:
If there are two coding units connected to the control unit one has to perform the steps above for
each individual coding unit.
Beware:
If a Coding unit X54 / X72 is connected to the controller one should also make sure the Product
direction setting in the Printer settings menu is set to the correct value for optimum print quality, see
section 8.6.2.
7.4.2 Changing the print direction and mirroring the label
1. Make a test print with the test label.
2. Check whether the test print should be printed upside-down (Fig. 7.14). If not, no further action is
required.
Fig. 7.14 Test label printed upside-down
3. Touch the Settings icon.
4. Touch the Label button.
5. Set the Orientation from Normal to 180 degrees or from Mirror to Mirror + 180 degrees.
Beware:
If there are two coding units connected to one controller, one should set these parameters for each
individual coding unit, see also section 8.7.
7.4.3 Setting the print request parameters
The Print input parameter defines what kind of trigger signal, from the photocell or host control, is
recognised by the printer. The options are High or Low. Beside this there is a Continuous print option.
The polarities refer to the rising (High) or falling (Low) edge of the trigger (print request) signal. Continuous
print means that after each print cycle, the next print cycle is started automatically as long as the trigger
signal is activated.
Note:
At a continuous print request setting, the delay parameter can be used to define the distance
between each print.
 Loading...