Pro Tools Remote Layer 201
01V96 Version 2—Owner’s Manual
Remote Control
17
2 Press the FADER MODE [AUX 1]–[AUX 5] buttons to select the desired Sends
(A–E).
3To toggle between pre and post, move the cursor to the parameter control
on the display, then press [ENTER].
Pressing [ENTER] repeatedly toggles between pre and post.
Setting Send Levels
You can adjust Pro Tools Send (A–E) send levels as follows.
1 Press the [F3] button to select Channel Display mode.
2 Press the AUX SELECT [AUX 1]–[AUX 5] buttons to select the desired Sends
(A–E).
3 Move the cursor to the parameter control of the channel for which you want
to adjust the Send level, then rotate the Parameter wheel.
You can set Send levels by operating the faders if faders, [ON] buttons, and the [PAN] con-
trol are in Flip mode. Refer to “Flip Mode” for more information.
Muting Sends A–E
You can mute Sends by pressing the [ON] buttons if faders, [ON] buttons, and the [PAN]
control are in Flip mode. Refer to “Flip Mode” for more information.
Panning Sends A–E
You can pan channel signals sent to stereo Aux Sends by rotating the SELECTED CHAN-
NEL [PAN] control if faders, [ON] buttons, and the [PAN] control are in Flip mode. Refer
to the next section for more information.
Flip Mode
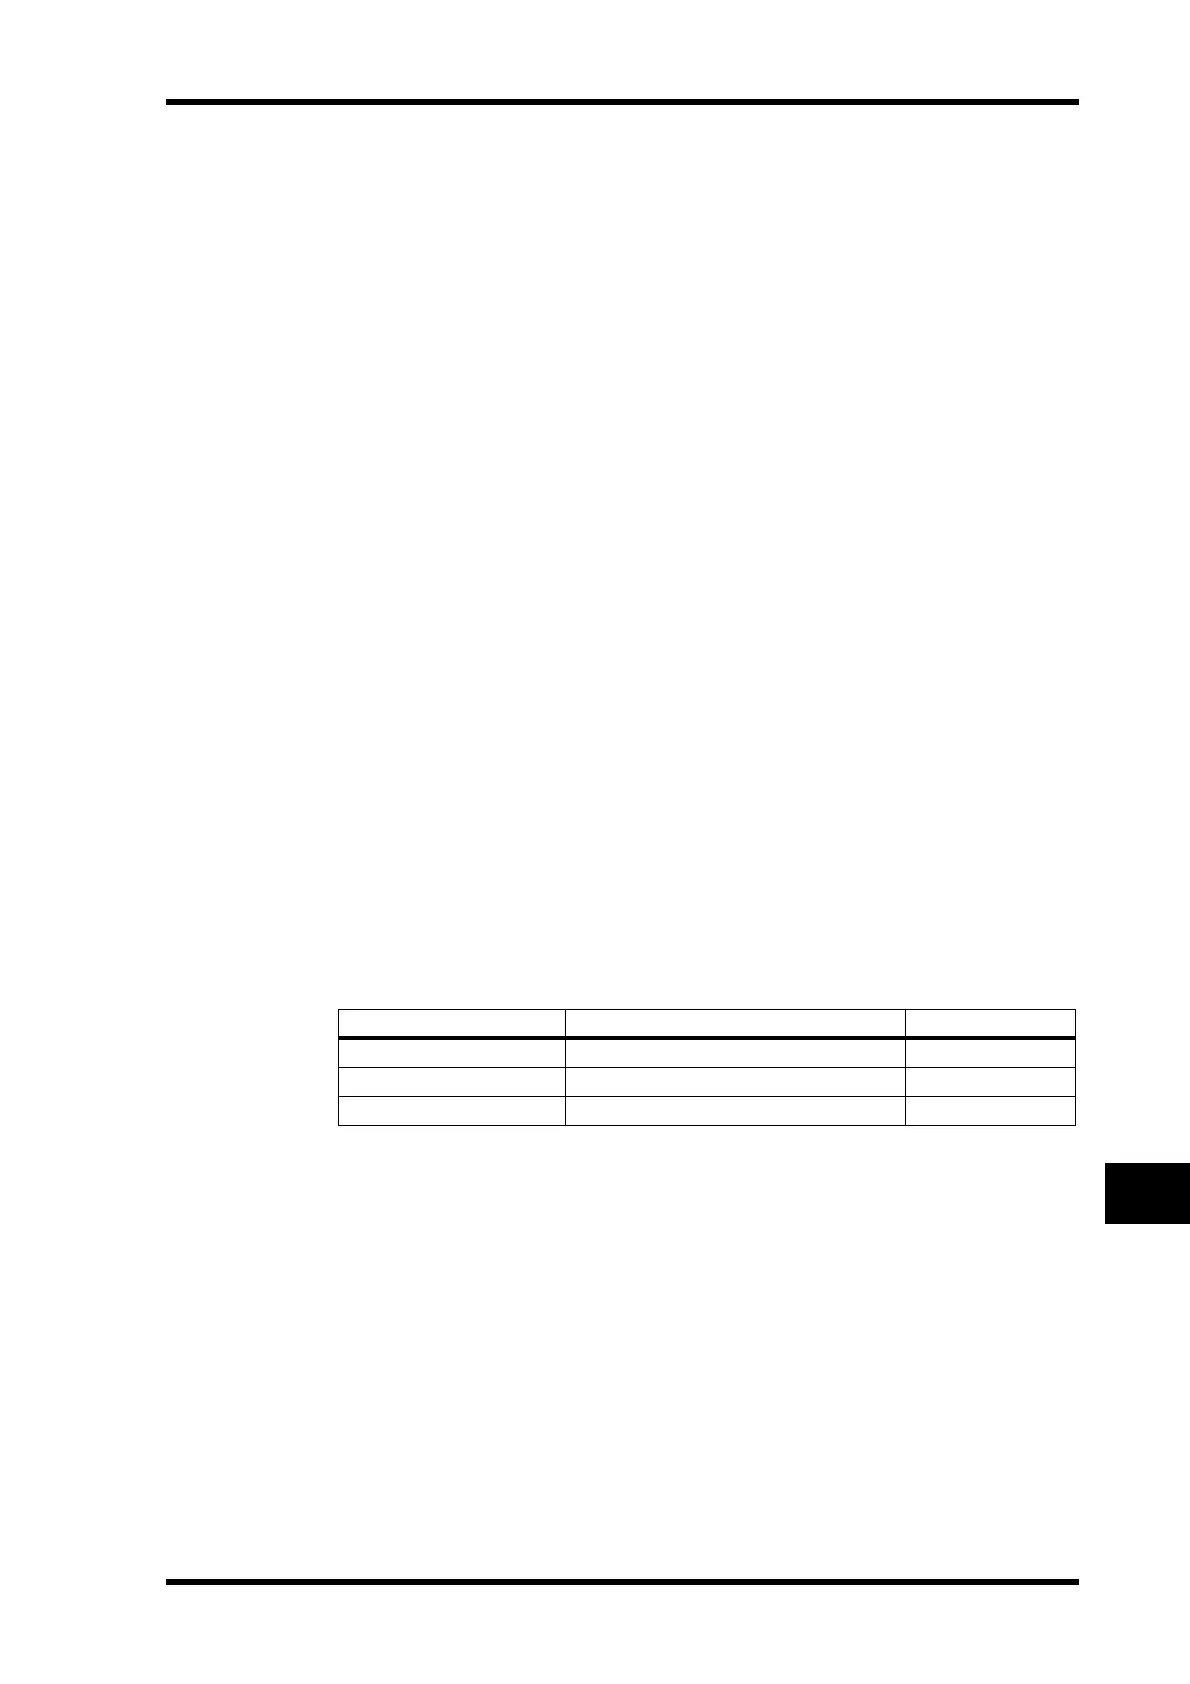
In Flip mode, you can use the faders, [ON] buttons, and the [PAN] control to control send
levels, pre/post positions, and mute settings as shown in the following table.
1 Press the FADER MODE [HOME] button repeatedly so that the button indi-
cator flashes.
The SELECT ASSIGN parameter on the display indicates “FLIP.”
2 Press the FADER MODE [AUX 1]–[AUX 5] buttons to select the desired Aux
Sends (A–E).
The button indicator of the selected send lights up.
3 Use the faders, [ON] buttons, and the [PAN] control to control the cur-
rently-selected Aux send.
For stereo Aux input channels, you can set the left and right panpots individually. To do this,
press the FADER MODE [AUX 7] button repeatedly. When the button indicator is lit con-
tinuously, you can set the left panpot. When the button indicator is flashing, you can set the
right panpot.
Control Normal mode Flip Mode
Faders
Channel level AUX Send level
[ON] buttons
Channel mute AUX Send mute
[PAN] control
Channel pan AUX Send pan
 Loading...