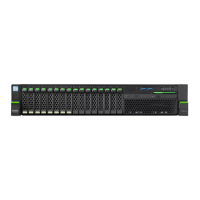
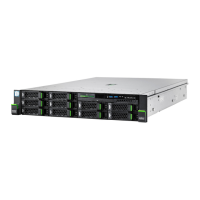
Removing the defective 2.5-inch HDD/SSD module
▶
Remove the HDD/SSD module, see "Removing a 2.5-inch HDD/SSD
module" on page 143.
▶
If applicable, remove the HDD/SSD from the installation frame, see
"Handling HDDs or SSDs without installation frame" on page
120.
Installing the new 2.5-inch HDD module
▶
If applicable, install the HDD/SSD in the installation frame, see "Handling
HDDs or SSDs without installation frame" on page 120.
▶
Install the HDD/SSD module, see "Installing a 2.5-inch HDD/SSD module"
on page 141.
Concluding steps
▶
If applicable, "Installing the front cover with lock" on page 66.
▶
If the HDD/SSD is configured using a RAID controller with a RAID level
higher than "0", the rebuild will start automatically, see "Performing a RAID
array rebuild" on page 94.
7.5.5 Installing 2.5-inch PCIe SSD modules
Customer Replaceable
Unit (CRU)
Hardware: 5 minutes
Tools: tool-less
This procedure is valid, if the PCIe SSD module is controlled by an
onboard controller and the VMD function is enabled in the BIOS. For
more information, see the "Intel Virtual RAID on CPU (Intel VROC) User
Guide".
If the PCIe SSD module is controlled by a RAID controller of the PRAID
EP5xxi/CP5xxi/EP6xxi family, the PCIe SSD module can be installed
during operation (hot-plug), see "Installing 2.5-inch HDD/SSD modules"
on page 140
.
Hard disk drive (HDD) / solid state disk (SSD)
146 Upgrade and Maintenance Manual RX2530 M6
 Loading...
