1 Power cable to HDD backplane and connector "PWR5" on system
board
2 OOB cable to HDD backplane and connector "SMB3" on system
board
3 SATA cable depending on configuration
Installing additional HDD/SSD modules
▶
Insert additional HDD/SSD modules, see "Installing 2.5-inch HDD/SSD
modules" on page
140.
Concluding steps
▶
"Reassembling" on page
57.
▶
"Connecting the power cord" on page 62.
▶
"Switching on the server" on page 66.
▶
If applicable, "Installing the front cover with lock" on page 66.
▶
Update the system information of your server using the Chassis ID Prom
Tool, see "Using the Chassis ID Prom Tool" on page 98. Select the
corresponding system name.
7.5.12 Replacing the rear HDD/SSD backplane
Upgrade and Repair Unit
(URU)
Hardware: 10 minutes
Tools: Phillips PH2 / (+) No. 2 screw driver
Preliminary steps
▶
"Locating the defective server" on page 45.
▶
If applicable, "Removing the front cover with lock" on page 48.
▶
"Shutting down the server" on page 48.
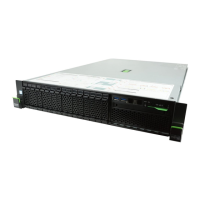
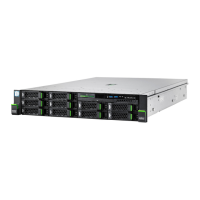
Hard disk drive (HDD) / solid state disk (SSD)
RX2530 M6 Upgrade and Maintenance Manual 169
 Loading...