Chapter 7: Repair Procedures
Servo Controlled Oxygen Service Procedures
Service Manual 7-63
7.18.4 Valve Housing Repairs
7.18.4.1 Valve Housing Repairs: Regulator Assembly
1. Using a 3 mm hex key, remove the 4 screws that secure the valve housing bottom cover and remove
the cover.
2. Disconnect the tubing from the straight push-in fitting on the regulator assembly.
3. Using two adjustable wrenches, turn the 14 mm hex nut on the inside of the housing while holding the
hex on the regulator on the outside of the housing to loosen the assembly. Remove the regulator
assembly.
4. To replace the regulator inlet filter, use a wrench to remove the elbow fitting, then turn the filter fitting
off the regulator. Before installing a new filter, make sure all old PTFE tape remnants are removed and
new tape is applied.
5. When installing the new regulator assembly, be sure to replace the M14 lock washer under the 14 mm
hex nut. Hold the regulator so that when it is installed the oxygen supply fitting points straight down at
the floor. Perform the Pre-use Checkout.
7.18.4.2 Valve Housing Repairs: Supply Valves
1. Remove the regulator assembly as described in steps 1 through 3 above.
2. Disconnect the supply valves electrical connector.
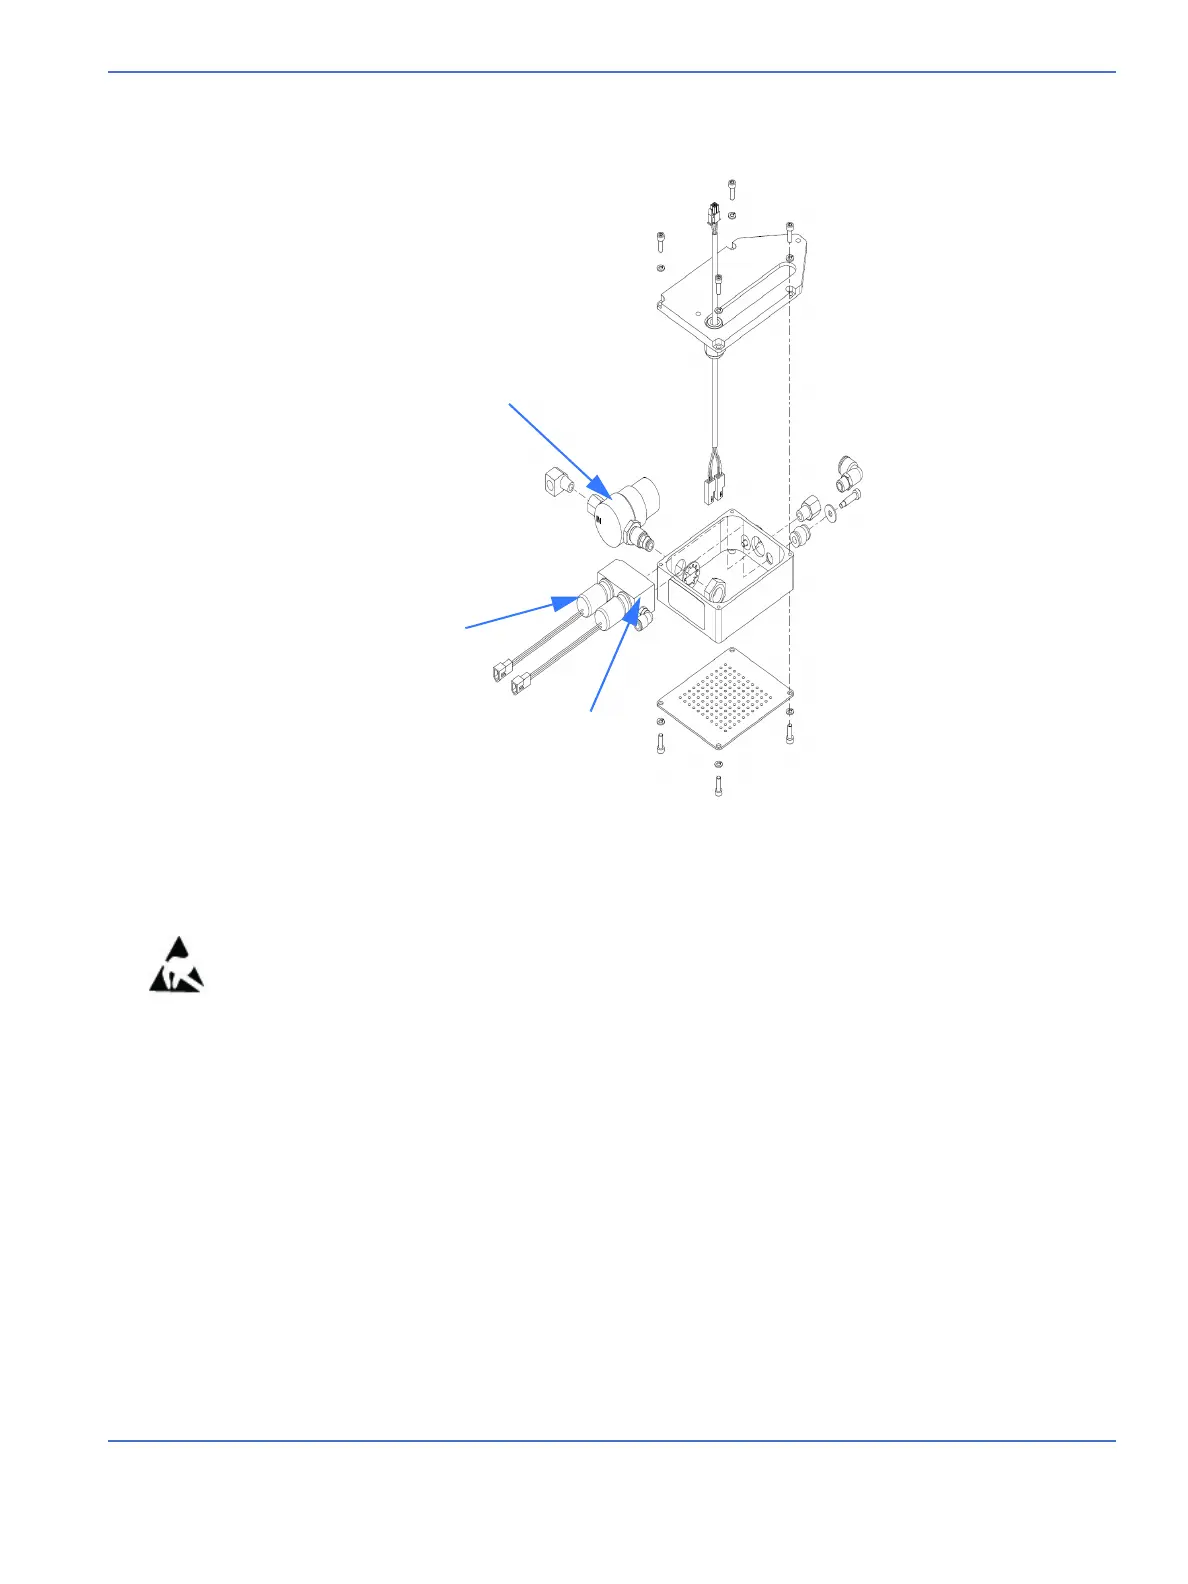
FIGURE 7-56. Valve Housing
Regulator assembly
Supply valve
Manifold

 Loading...


