Chapter 3: Calibration and Maintenance
Humidifier Calibration
3-4 Service Manual
3.4 Humidifier Calibration
Important: Be sure to re-calibrate the humidifier whenever either the sensor or the control board is
replaced.
Important: In order for the water in the calibration bottle (6600-0048-850) to be completely saturated,
most of the salt should not be dissolved. There should be as little standing water above the
salt line as possible to minimize the response time. The salt in the calibration bottle may only
be used for a period of one year after its initial mix with water then the kit should be
discarded.
1. Take the cap off the humidity calibration bottle and add one half cap full of sterile distilled water to the
bottle. Shake the bottle to thoroughly mix the salt and water solution. Place the smaller end of the
elbow over the bottle.
Note: The solution in the calibration bottle should be approximately the same temperature as incubator's
infant chamber. If you used cold water or calibration bottle was in cold environment, place the
bottle in the incubator and allow it to warm before attaching it to the humidity probe.
2. Slide the elbow over the humidity sensor (mounted on the back panel) until it stops. This creates a 75%
RH environment for the sensor.
3. Access service mode. (See “Understanding the Service Interface Layout” on page 4-3.)
4. Touch Calibration in the left-navigation area.
The display area is populated.
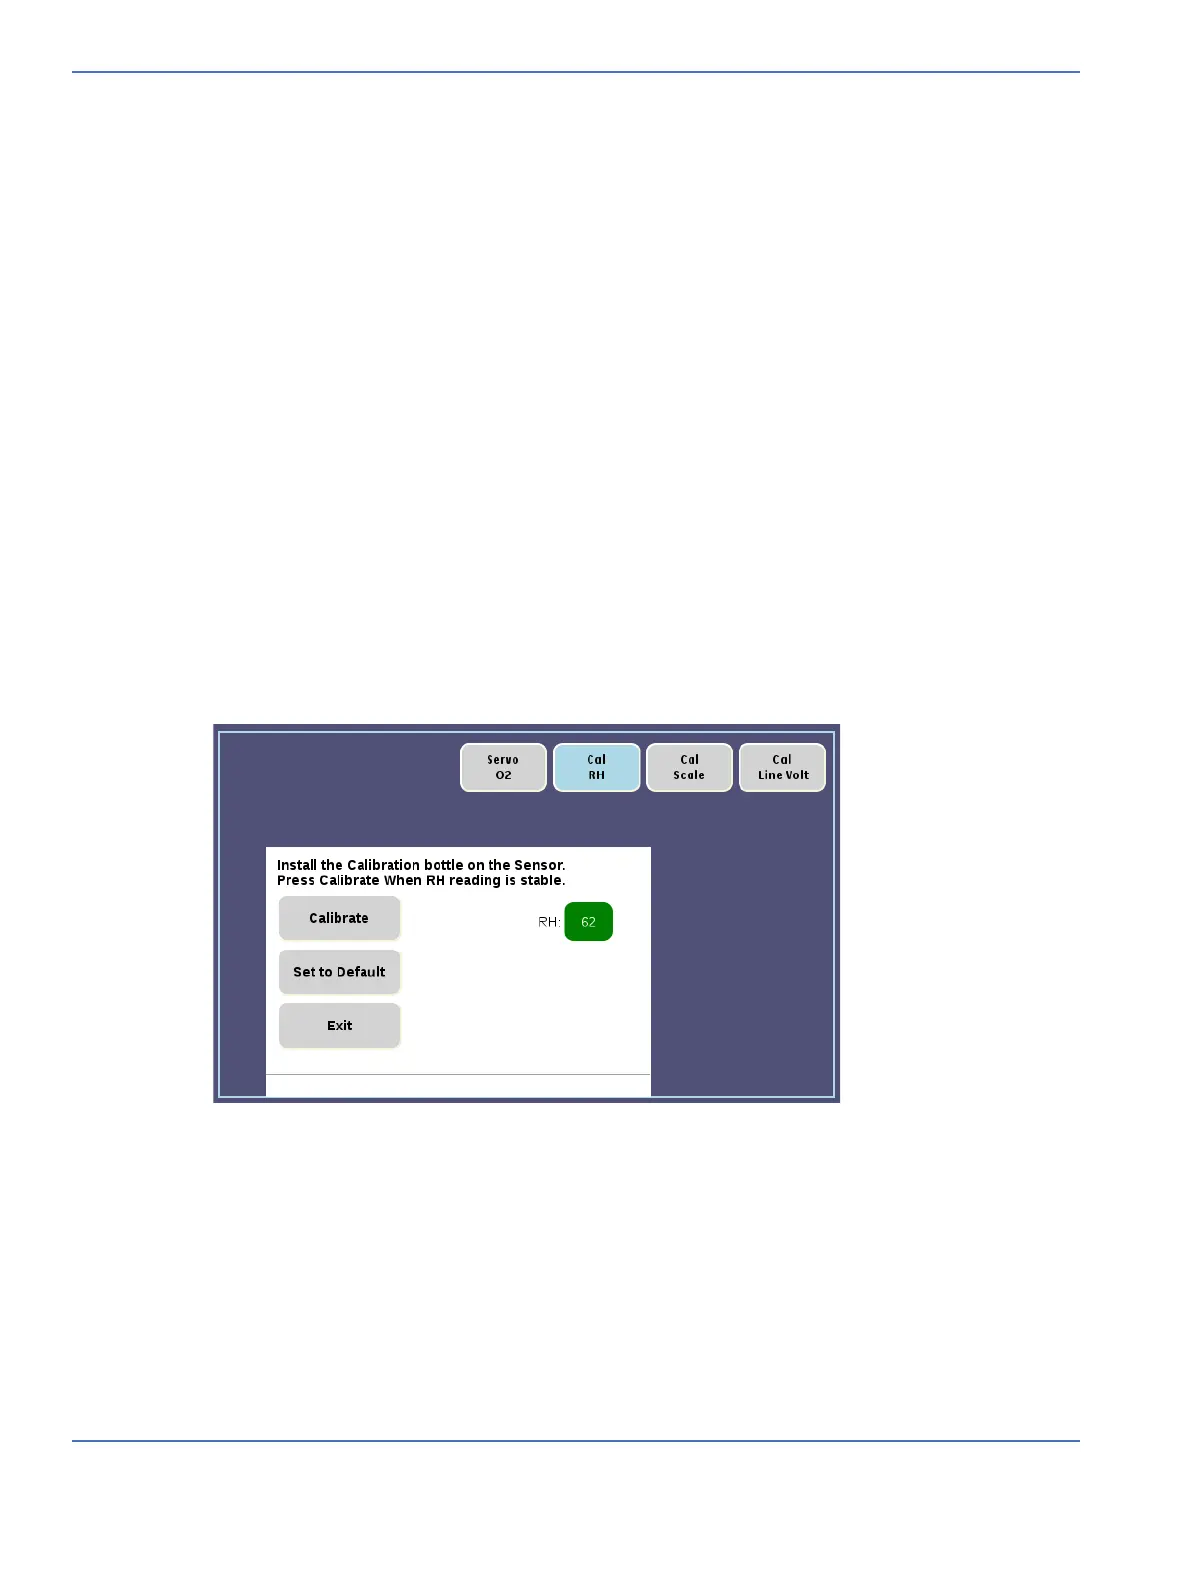
5. Touch Cal RH.
The Calibrate RH information screen appears.
You can reset default values by touching Set to Default.
6. Wait until the Humidity reading is stable (does not change more than 1% RH in 5 minutes).
7. Select Calibrate, SET TO DEFAULT or EXIT. Calibrate initiates calibration. SET TO DEFAULT resets
calibration values back to factory default settings. If you started calibration by mistake (without the
calibration bottle in place, for example) you would select SET TO DEFAULT and then calibrate the device.
If “RH Sensor Calibration Completed” is displayed, the calibration is complete., go to step 11.

 Loading...


