CHARGING AND STARTING SYSTEM
Page 2B-18 90-828631R3 MARCH 1999
Disassembly
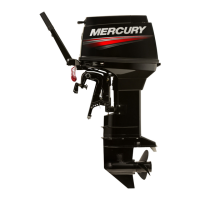
1. Press down the pinion stopper and remove the circlip. Remove the pinion.
a
b
c
a-Pinion
b-Pinion Stopper
c-Circlip (discard and use new circlip on assembly)
2. Remove through bolts and disassemble starter motor assembly.
Cleaning and Inspection
1. Clean all motor parts.
2. Check pinion teeth for chips, cracks or excessive wear.
3. Replace the drive clutch spring and/or collar, if tension is not adequate, or if wear is ex-
cessive.
4. Check that the brush holder is not damaged or is not holding the brushes against the
commutator.
5. Replace brushes that are pitted or worn to less than 0.35 - 0.49 in. (9.0 - 12.5 mm) in
length. Refer to “BRUSH HOLDER”, following.
6. Replace rear or front bracket for excessively worn bushings.
7. Check the armature (commutator) for wear, or being burnt. (A poor connection usually
results in a burned commutator bar.)
8. Re-surface and undercut a rough commutator. Refer to “Armature Inspection/Testing”.
PINION
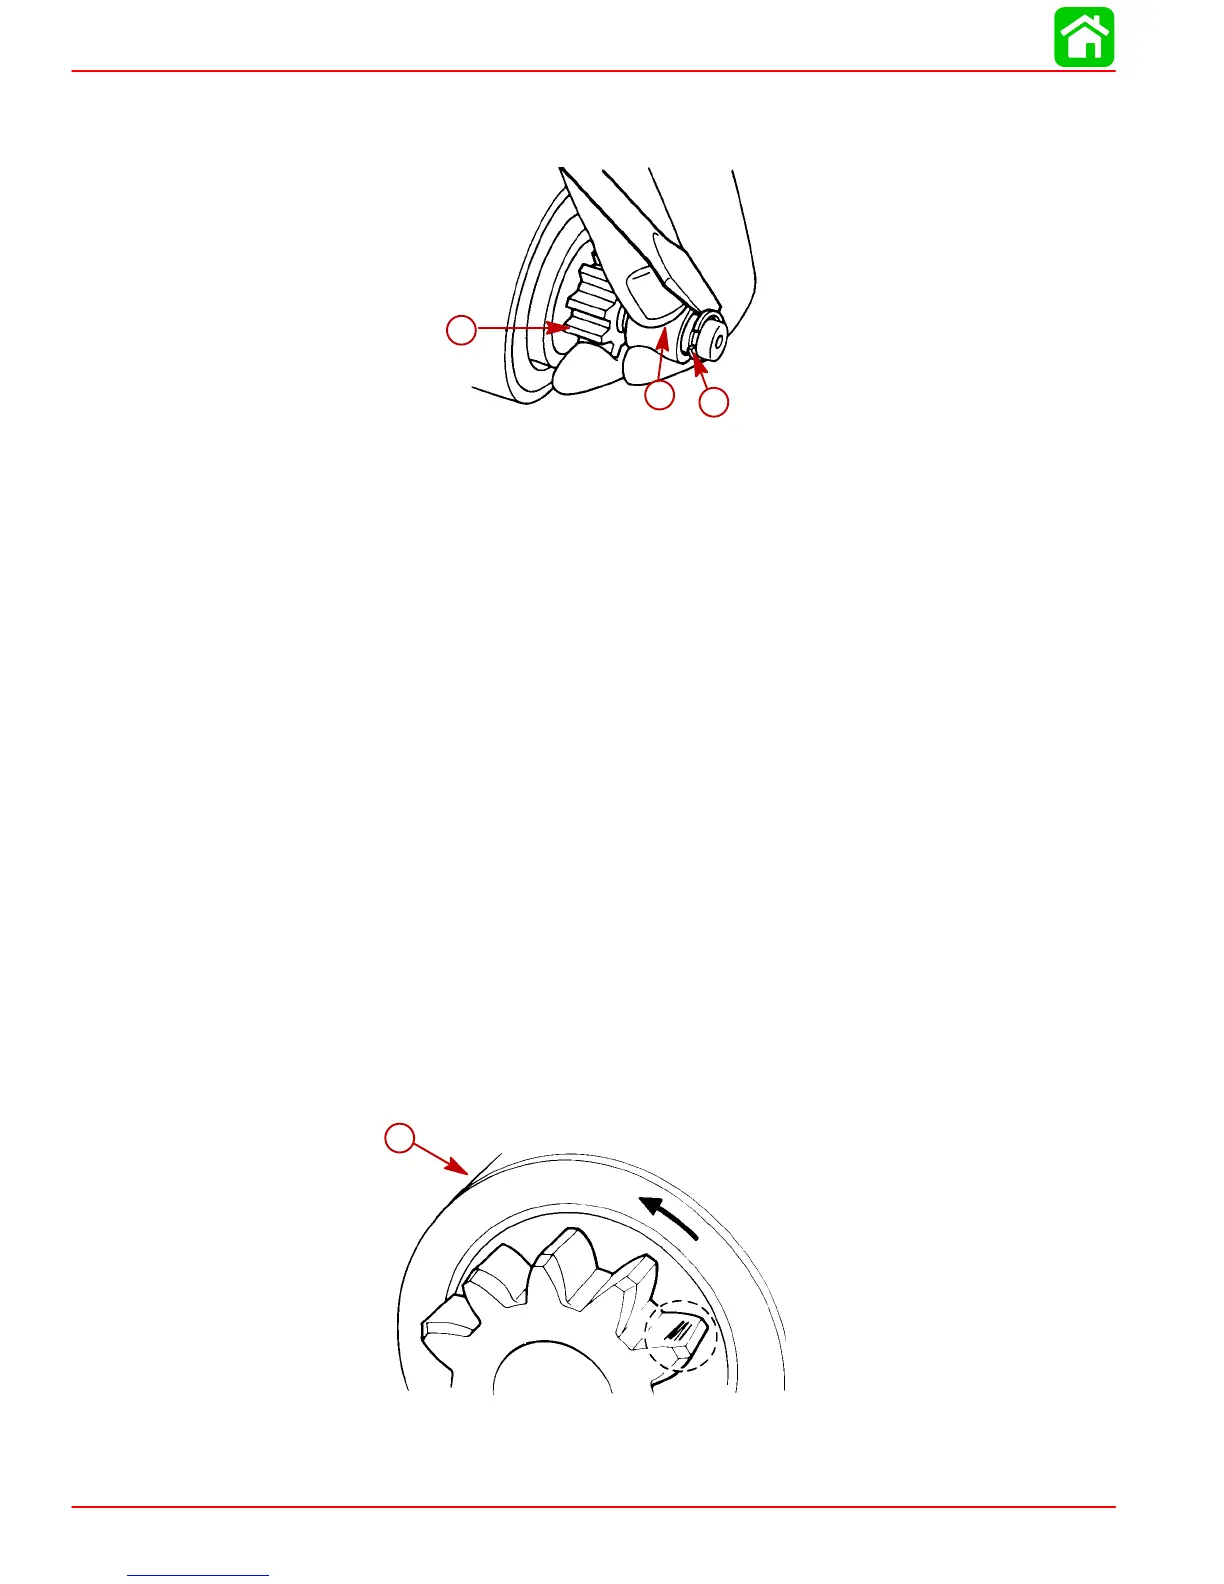
9. Check pinion teeth for chips, cracks or excessive wear.
a
a-Pinion Gear

 Loading...