4-54 - POWERHEAD 90-830234R3 DECEMBER 1997
INSTALLING RODS TO CRANKSHAFT
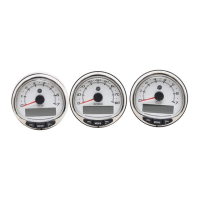
• Pull rod up to position shown.
• Grease rod, bearing area, with 2-4-C w/Teflon -
lay roller bearings out on clean sheet of paper
and grease each bearing.
• Place Bearing Cage in position.
• Place Bearings in cage.
95
2-4-C With Teflon (92-825407A12)
20045
95
• Grease crankshaft journal with 2-4-C w/Teflon.
• Pull-up rod into contact with crankshaft journal.
• Place Bearing Cage on crankcase journal.
• Place Bearings into cage.
• Align bearing cages with rod-to-cap mating sur-
faces.
95
2-4-C With Teflon (92-825407A12)
20030
95
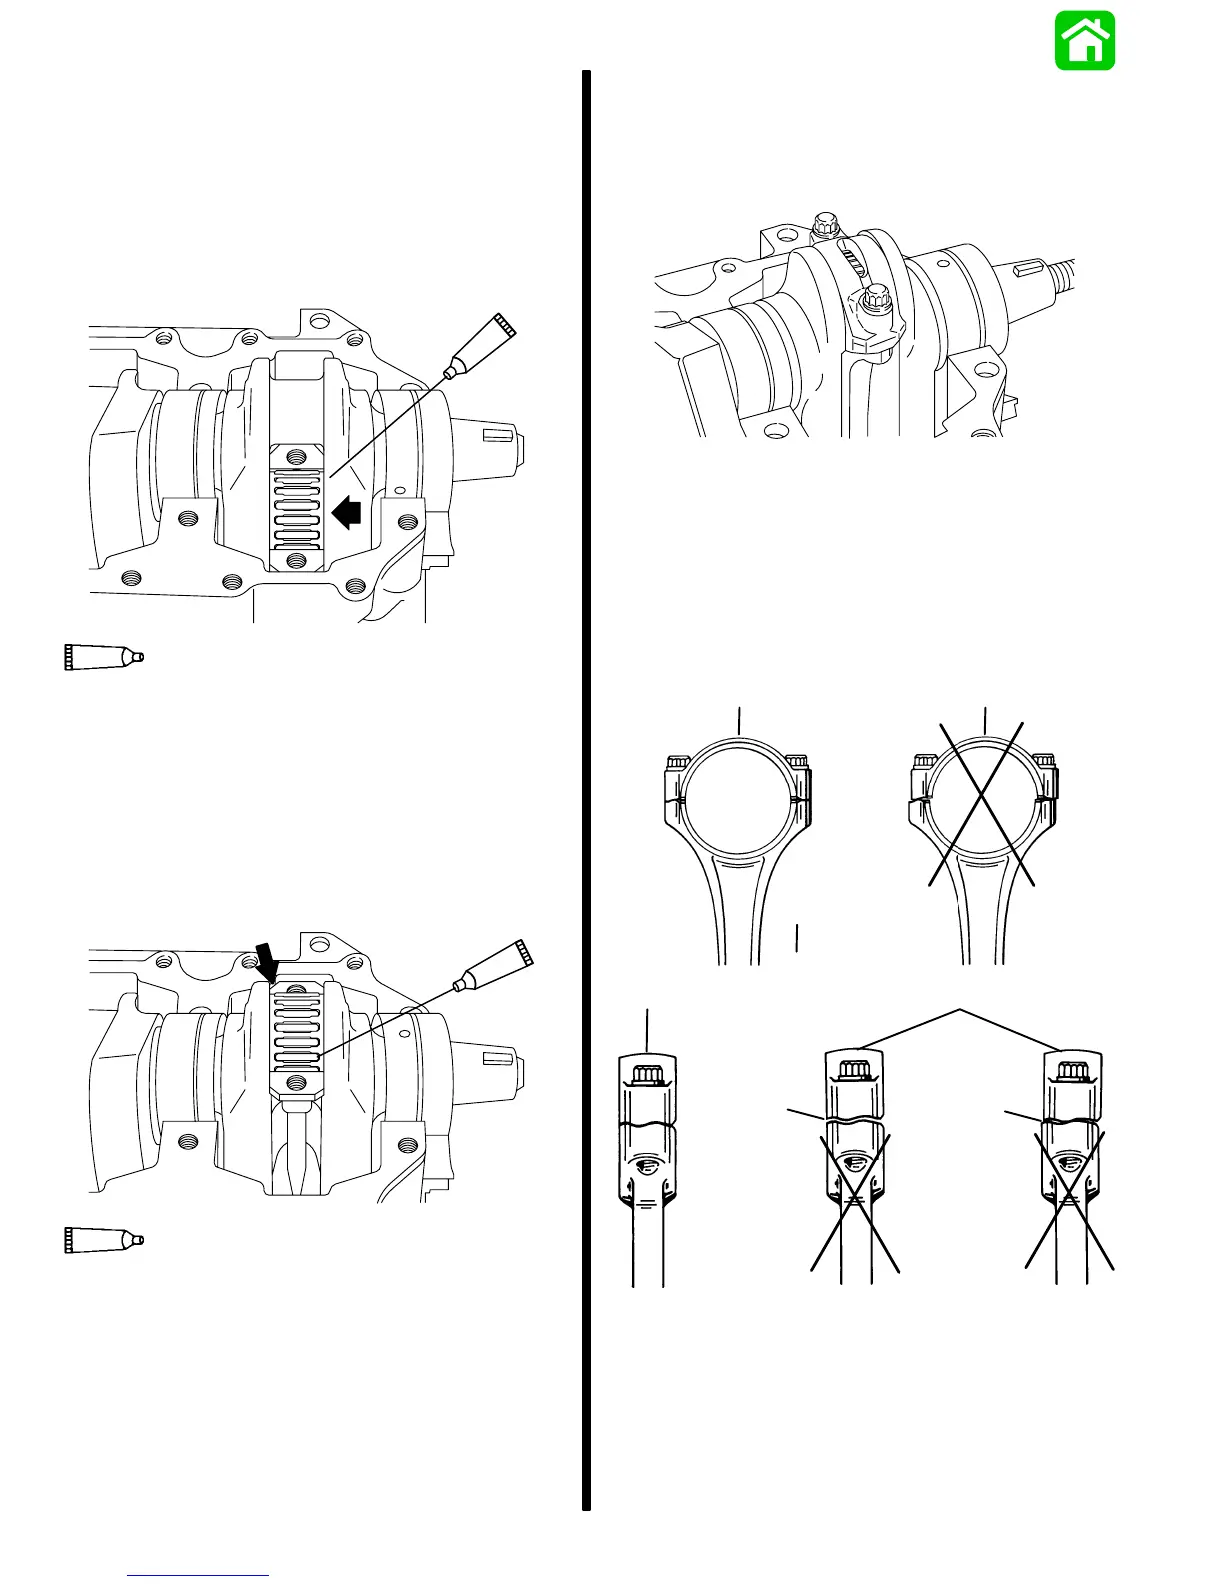
NOTE: Apply light oil to connecting rod bolt face and
threads prior to installation.
• Place Rod Cap carefully over cage and bearings,
and while holding cap tight to rod, and rod tight to
journal, insert bolt and lightly tighten, observing
cap-to-rod alignment. Install other bolt, recheck-
ing alignment.
20033
Connecting Rod Cap Alignment
1. Check each connecting rod for correct alignment
by carefully running fingernails up and down
edge of rod cap. If not aligned, a ridge can be
seen or felt at the separating line. Correct any
misalignment.
a
d
fe
c
b
51224
a - Front View – Correct
b - Front View – Incorrect
c - Side View – Correct
d - Side View – Incorrect
e - Space
f - Ridge
 Loading...