90-830234R3 DECEMBER 1997 POWERHEAD - 4-55
2. When connecting rods are attached, and bolts
drawn down finger tight, torque rod-cap bolts to
15 lb. in. (1.7 N·m). Recheck alignment. Retor-
que 5/16 in. bolts to 30 lb. ft. (40.7 Nm). Re-
check alignment. Turn each rod-cap bolt 90 fur-
ther after 30 lb. ft. reading is acquired.
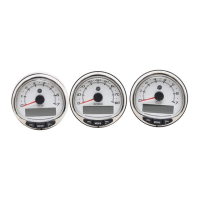
• Replace lower crankshaft End Cap.
1. Coat mating surface with Perfect Seal. DO NOT
coat O-ring seal.
2. Bolt to block (2 bolts) - finger tighten - lightly.
a
b
19336
a - Mating Surface
b - O-ring Seal
Crankcase Cover to Block
LOCTITE MASTER GASKET SEALANT,
92-12564-1 is used; it comes as a kit, which includes
Primer and Sealant. Instructions contained in the kit
MUST BE FOLLOWED EXACTLY. (Clean both sur-
faces).
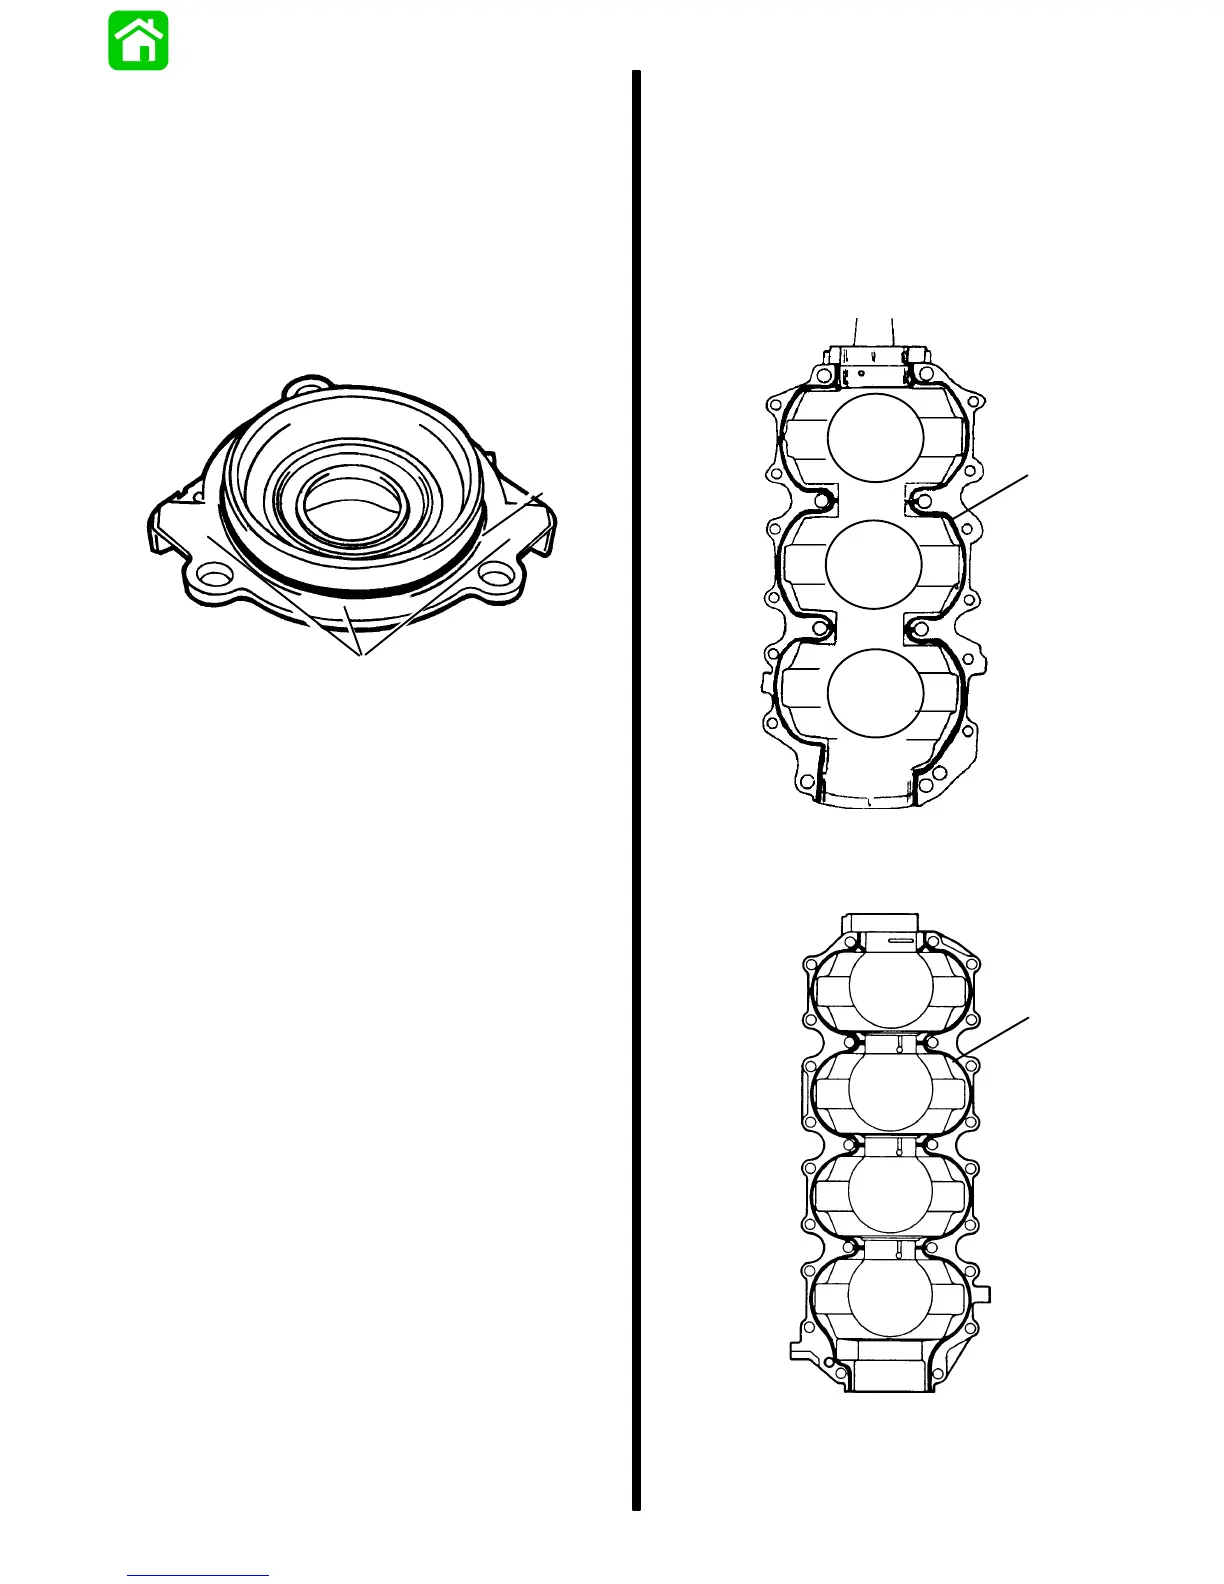
IMPORTANT: Extend sealer to edge on each center
main journal to prevent blow-by between cylinders.
3 Cylinder Models
a
a - Sealant “Bead Pattern” indicated by bold line
4 Cylinder Models
a
23121
a - Sealant “Bead Pattern” indicated by bold line
 Loading...