Chapter 12 Installing, Removing, and Replacing
Cabling the Library
Scalar i500 User’s Guide 315
Required tools:
None
1 If your library is larger than 14U, install it in a rack. See Installing the
Library in a Rack on page 423 for instructions. The instructions
include procedures for removing and replacing tape drives.
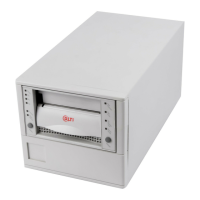
1 Library control blade (LCB)
2 GB Ethernet port
3 Power supplies
4 Power cords
5 Ethernet cables from LCB to
expansion module (one per FC
I/O blade)
6 FC cable from FC I/O blade to
tape drive
7 Module terminator
8 FC cable to host
9 Module-to-module cable
10 Ethernet cable to network
11 UPPER and LOWER
Ethernet ports
Warning: All libraries taller than 14U must be installed in a rack
having a main protective earthing (grounding) terminal,
and power must be supplied via an industrial plug and
socket-outlet and/or an appliance coupler complying with
IEC 60309 (or an equivalent national standard) and having
a protective earth (ground) conductor with a cross
sectional area of at least 1.5 mm
2
(14 AWG).
To ensure proper airflow and access space, Allow 60 cm
(24 inches) in the front and back of the library.
Note: Pay attention to where the operator panel is positioned in the
rack for optimum usability.
 Loading...