Chapter 12 Installing, Removing, and Replacing
Tape Drive Ethernet Connectivity and the Ethernet Expansion Blade
Scalar i500 User’s Guide 479
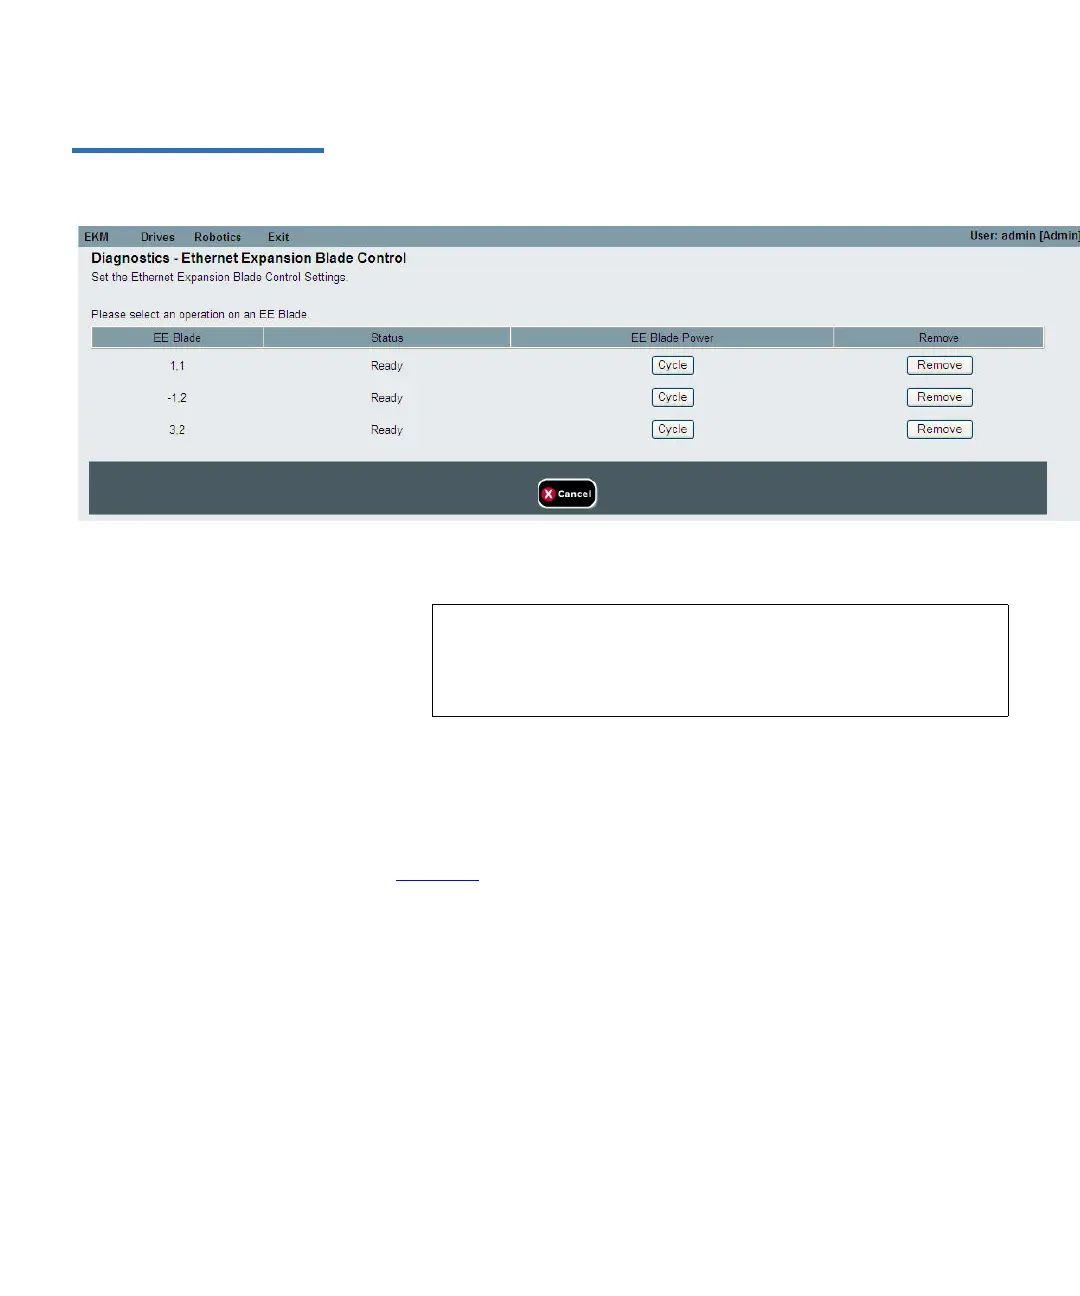
Figure 68 Ethernet 27
Ethernet Expansion Blade Control
d Click the Remove button corresponding to the Ethernet
Expansion blade you want to remove.
3 Click OK to proceed or Cancel to cancel the operation without
removing the Ethernet Expansion blade.
4 Disconnect the Ethernet cables from the Ethernet Expansion blade.
5 Lift the latch hooks out of the lock position and push them up (see
Figure 65
on page 471). You will feel the blade unplug from the
library’s backplane.
6 Continue lifting on the latch hooks until the Ethernet Expansion
blade is totally unplugged from the backplane.
7 Slide the Ethernet Expansion blade out of the bay.
8 Remove the cover plate from the bay to the right of the Ethernet
Expansion blade. Install the original double-wide cover plate over
both bays. This is required for cooling and dust reduction. If you
need a cover plate, contact Quantum.
9 Save the library configuration (see the library user’s guide for
instructions).
Note: Removing an Ethernet Expansion blade may cause
key exchange failures if FIPS is enabled. A message
warns you about the possible failures and asks you to
confirm that you want to proceed.
 Loading...