6. Attach a label to the USB flash drive with a description of identification, for example,
"Fiery Clone Tool." The USB flash drive is now ready and can be used to enable the
option.
Backup: Creating the Clone Image Files from E-24B
1. Print a configuration sheet and confirm the date, time, and time zone are correct.
If not, adjust the date and time. [Link to page 72 "Adjusting the System Date and Time"]
2. Perform the shut down procedure from the copier operation panel [Link to page 60
"Shutting Down the E-24B Only"].
3. When the E-24B power is down (that is when the diagnostic LEDs are off), turn the main
power switch of the E-24B to OFF.
4. Connect the bootable USB flash drive created with the Fiery USB Setup Tool containing
the Fiery Clone Tools, to an available USB port on the E-24B.
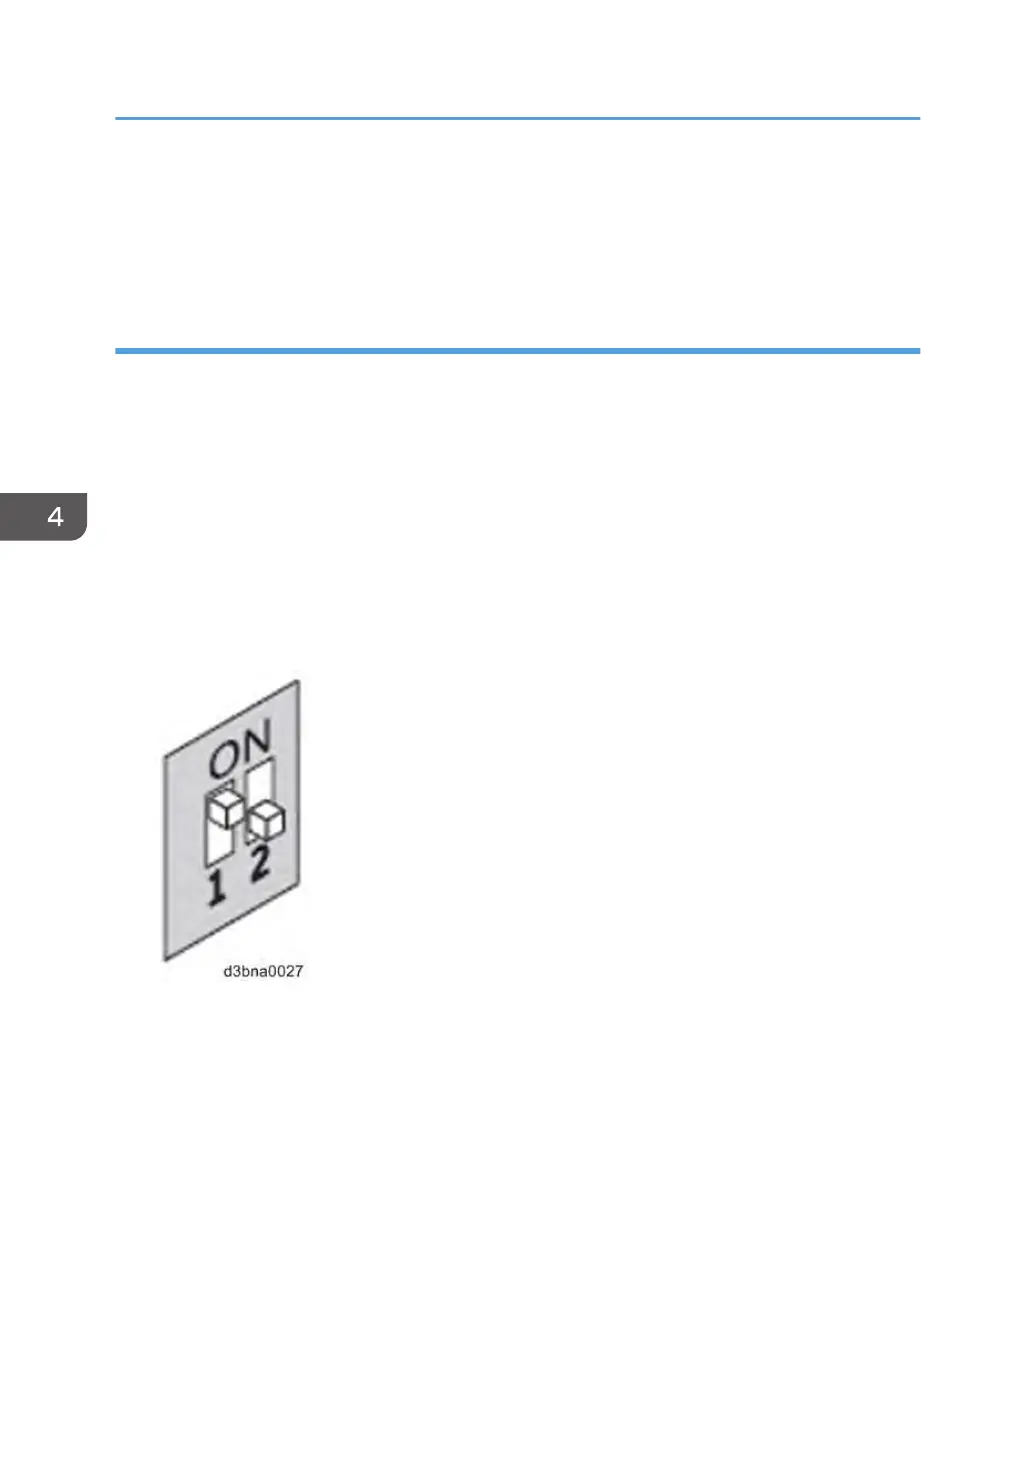
5. Set the service switches as shown below ("1". ON, "2": OFF).
6. Turn the main power switch of the E-24B to ON, then press and release the soft power
push button on the front of the E-24B.
7. Allow the E-24B to boot from the USB flash drive to start Fiery Clone Tool.
8. Wait until the diagnostic LEDs on the rear panel of the E-24B flash "AA" then "00"
repeatedly to indicate ready status.
4. System Maintenance
146
 Loading...