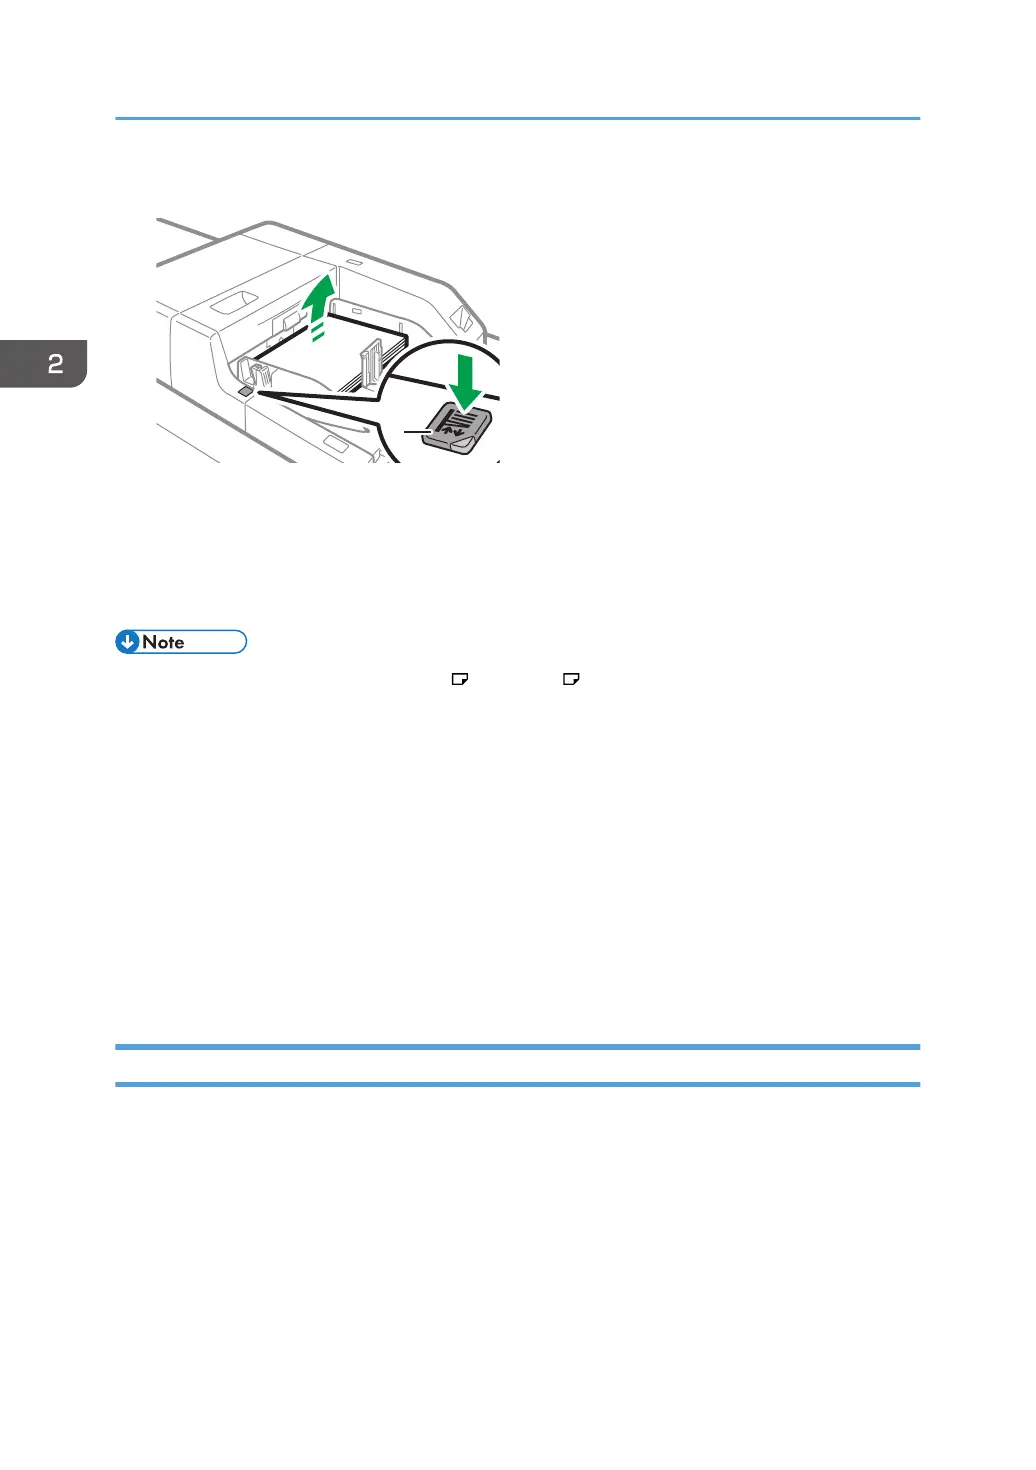
3. Press the elevator switch on the multi bypass tray (Tray A).
1. Elevator switch
The lamp of the elevator switch is blinking while the tray is going up, and keeps lit when it stops.
Press the elevator switch to move down the tray if you want to either add paper or remove jammed
ones.
• Pull the extender out when loading A4 , 8
1
/
2
× 11 or larger sheets in the multi bypass tray
(Tray A).
• You can load envelopes into the multi bypass tray (Tray A). Envelopes must be loaded in a specific
orientation. For details, see below.
• See page 128 "Envelope Orientation and Recommended Status".
• If multiple sheet feeding occurs, fan sheets thoroughly or load sheets one by one from the multi
bypass tray (Tray A).
• Specify the sizes of paper that are not automatically detected. For details about how to specify
sizes, see page 98 "Specifying the Paper Size That Is Not Automatically Detected". For details
about the sizes that can be detected automatically, see below.
• See page 101 "Recommended Paper Sizes and Types".
Loading Tab Stock into the Multi Bypass Tray (Tray A)
When setting tab stock, always use the tab fence. Tabs must be set at the right side of the multi bypass
tray (Tray A).
2. Paper Specifications and Adding Paper
78

 Loading...