User authentication LDAP
Digi Connect EZ Mini User Guide
545
1. Log into Digi Remote Manager, or log into the local Web UI as a user with full Admin access
rights.
2. Access the device configuration:
Remote Manager:
a. Locate your device as described in Use Digi Remote Manager to view and manage your
device.
b. Click the Device ID.
c. Click Settings.
d. Click to expand Config.
Local Web UI:
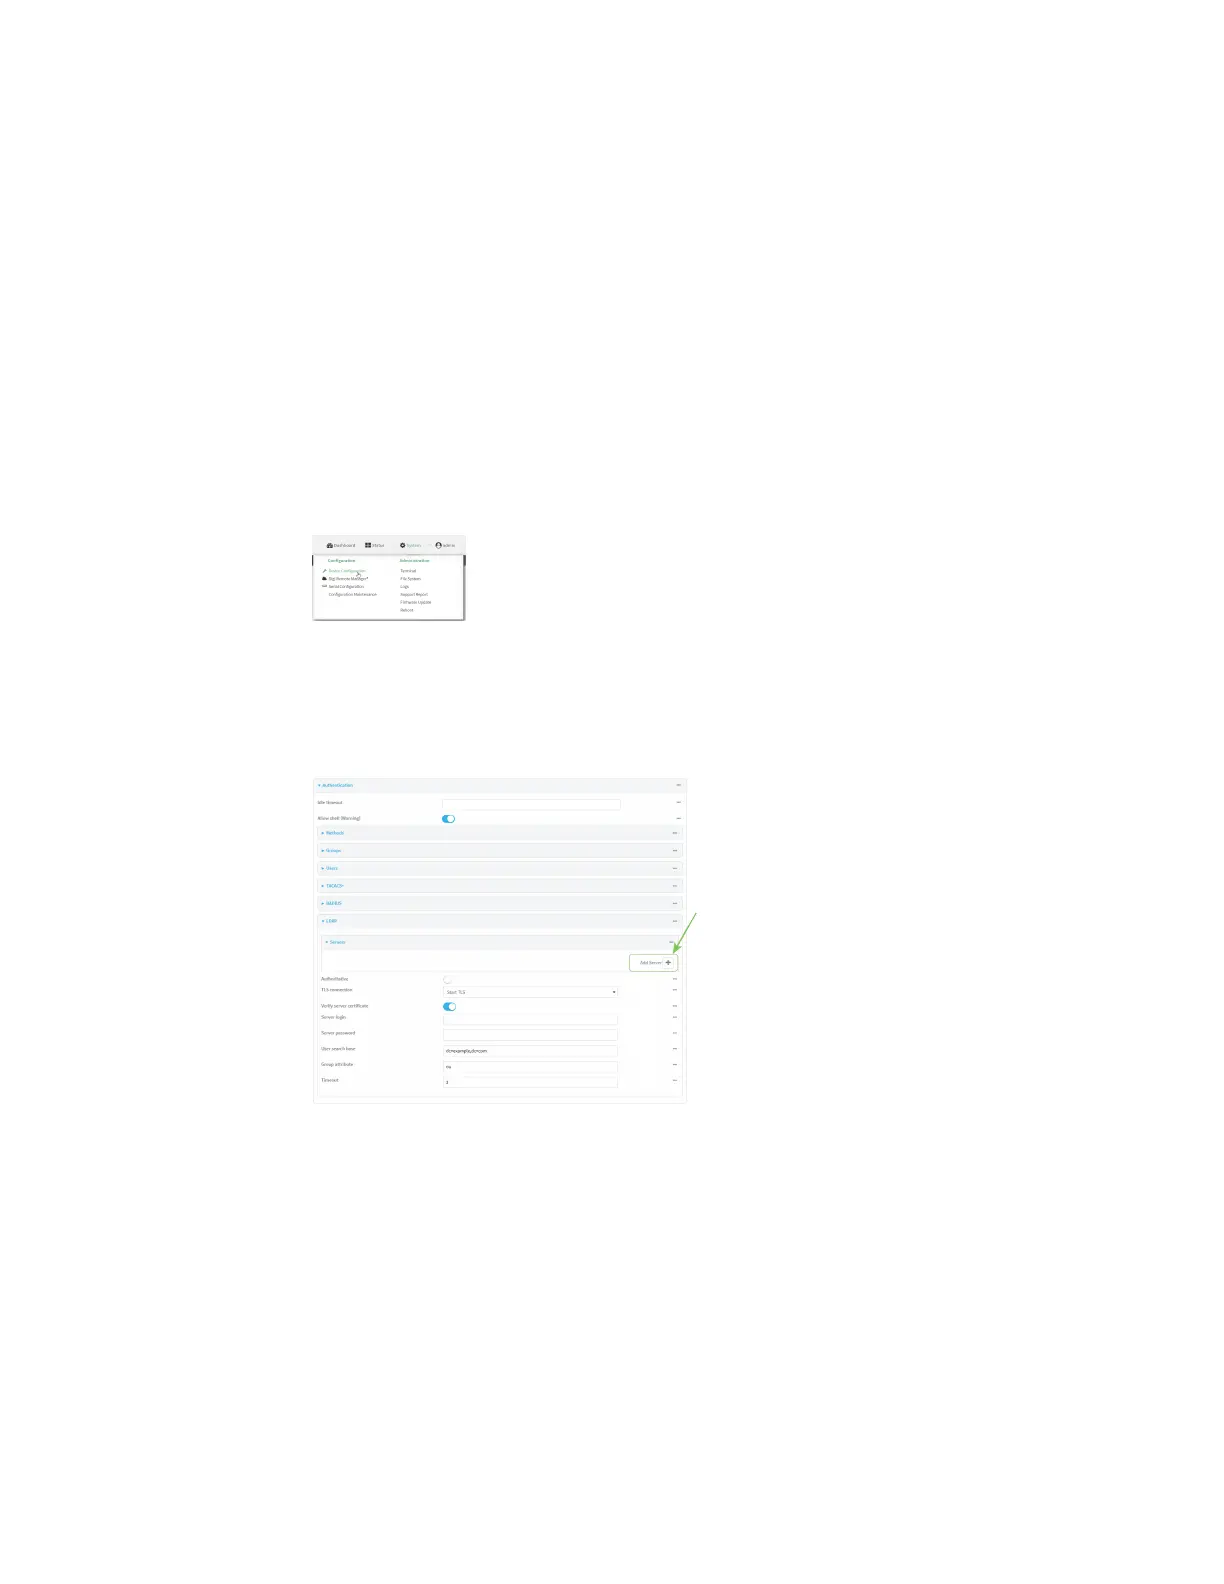
a. On the menu, click System. Under Configuration, click Device Configuration.
The Configuration window is displayed.
3. Click Authentication > LDAP > Servers.
4. Add LDAP servers:
a. For Add server, click .
b. For Hostname, type the hostname or IP address of the LDAP server.
c. (Optional) Change the default Port setting to the appropriate port. Normally this should be
left at the default setting of port 389 for non-TLS and 636 for TLS.
d. (Optional) Click again to add additional LDAP servers.
5. (Optional) Enable Authoritative to prevent other authentication methods from being
attempted if LDAP login fails.
6. For TLS connection, select the type of TLS connection used by the server:
n Disable TLS: Uses a non-secure TCP connection on the LDAP standard port, 389.
n Enable TLS: Uses an SSL/TLS encrypted connection on port 636.
 Loading...