14-6 Dash 2500 Patient Monitor 2042480-001 C
Alaris® Turbo Temp®: Procedures for Rectal Predictive Mode Determinations
6. Hold the probe during the entire temperature measurement process, and
keep the probe tip in contact with the tissue at all times. Do not allow the
patient to reposition the probe.
7. The determination begins automatically. Hold the temperature probe
steady until the determination is complete. This takes approximately 10
seconds, during which time a pattern of arrows in the vital signs area
appears as a “chase sequence” to indicate progress.
8. When the determination is complete, up to 12 beeps sound and the
temperature appears on the display.
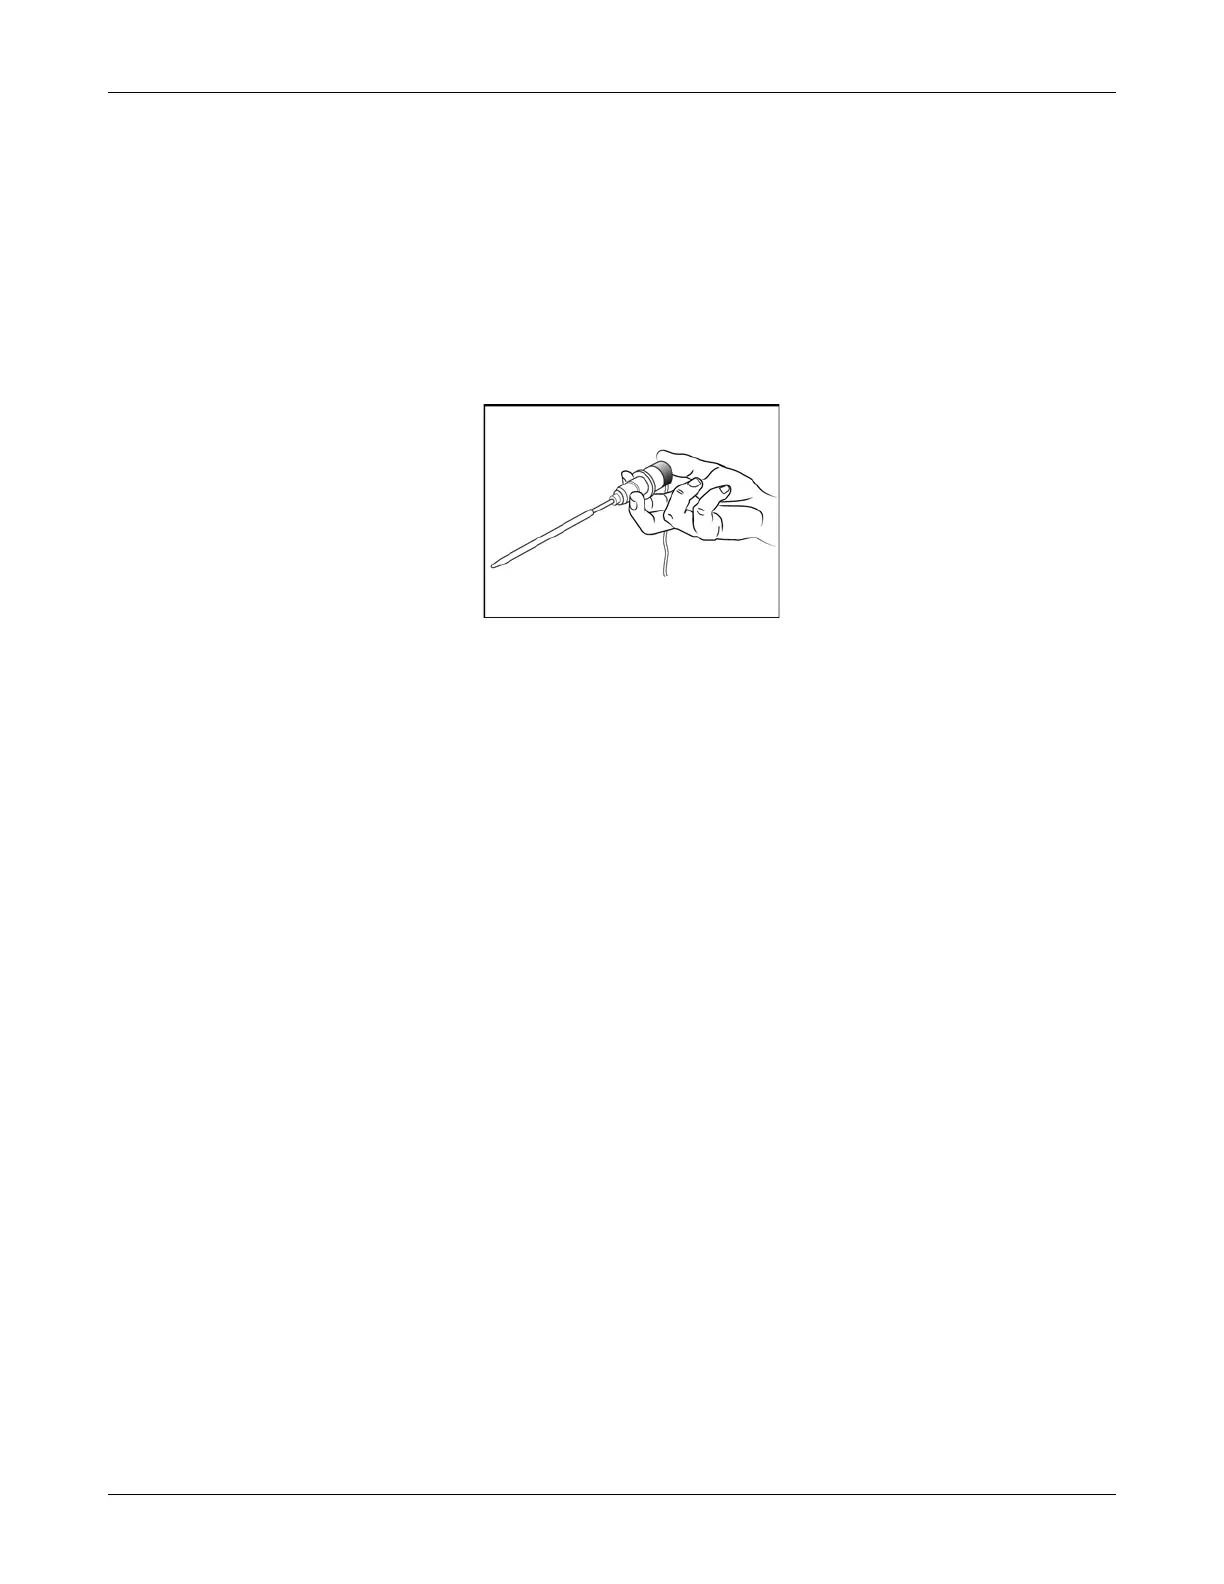
9.Remove the probe. Discard the
disposable cover by holding the probe
as you would a syringe and pushing
the button on the probe handle. Place
the probe in the holster (the Monitor
beeps once).
Procedures for Rectal Predictive Mode Determinations
For rectal temperature measurement use the red rectal probe.
1. Ensure red probe is in the holster.
2. Connect the temperature probe cable to the temperature probe connector.
3. Make sure correct determination mode is selected.
4. Remove the temperature probe from the probe holster (the Monitor beeps
once). Place a protective temperature probe cover on the probe. Failure to
firmly install the probe cover may result in the probe cover becoming loose
or disengaged during use. Be careful not to push the probe ejection button
where the cord exits the probe as this might loosen or eject the probe cover.
5. Touch the tissue about a half inch (1.3 cm) above the sphincter muscle and
carefully insert the probe, using current hospital technique for penetration.
(The use of a lubricant is optional.) Do not insert the probe too deep or
overexert and make sure the probe cover is smooth, otherwise it might hurt
the patient.
6. The determination begins automatically. To ensure continuous tissue
contact and maximize patient comfort, hold the probe in position until the
determination is complete. This takes approximately 10 seconds, during
which time a pattern of arrows in the vital signs area appears as a “chase
sequence” to indicate progress.
7. When the determination is complete, up to 12 beeps sound, and the
temperature value and the label rectal appears on the display.
8. Remove the probe. Discard the disposable cover by holding the probe as
you would a syringe and pushing the button on the probe handle. Place the
probe in the probe holster (the Monitor beeps once).

 Loading...