Page 3 of 13 FA69349–2 English
Jun 2013
13
How To Create a Logo
Linx 7900
2 About the Logo Editor
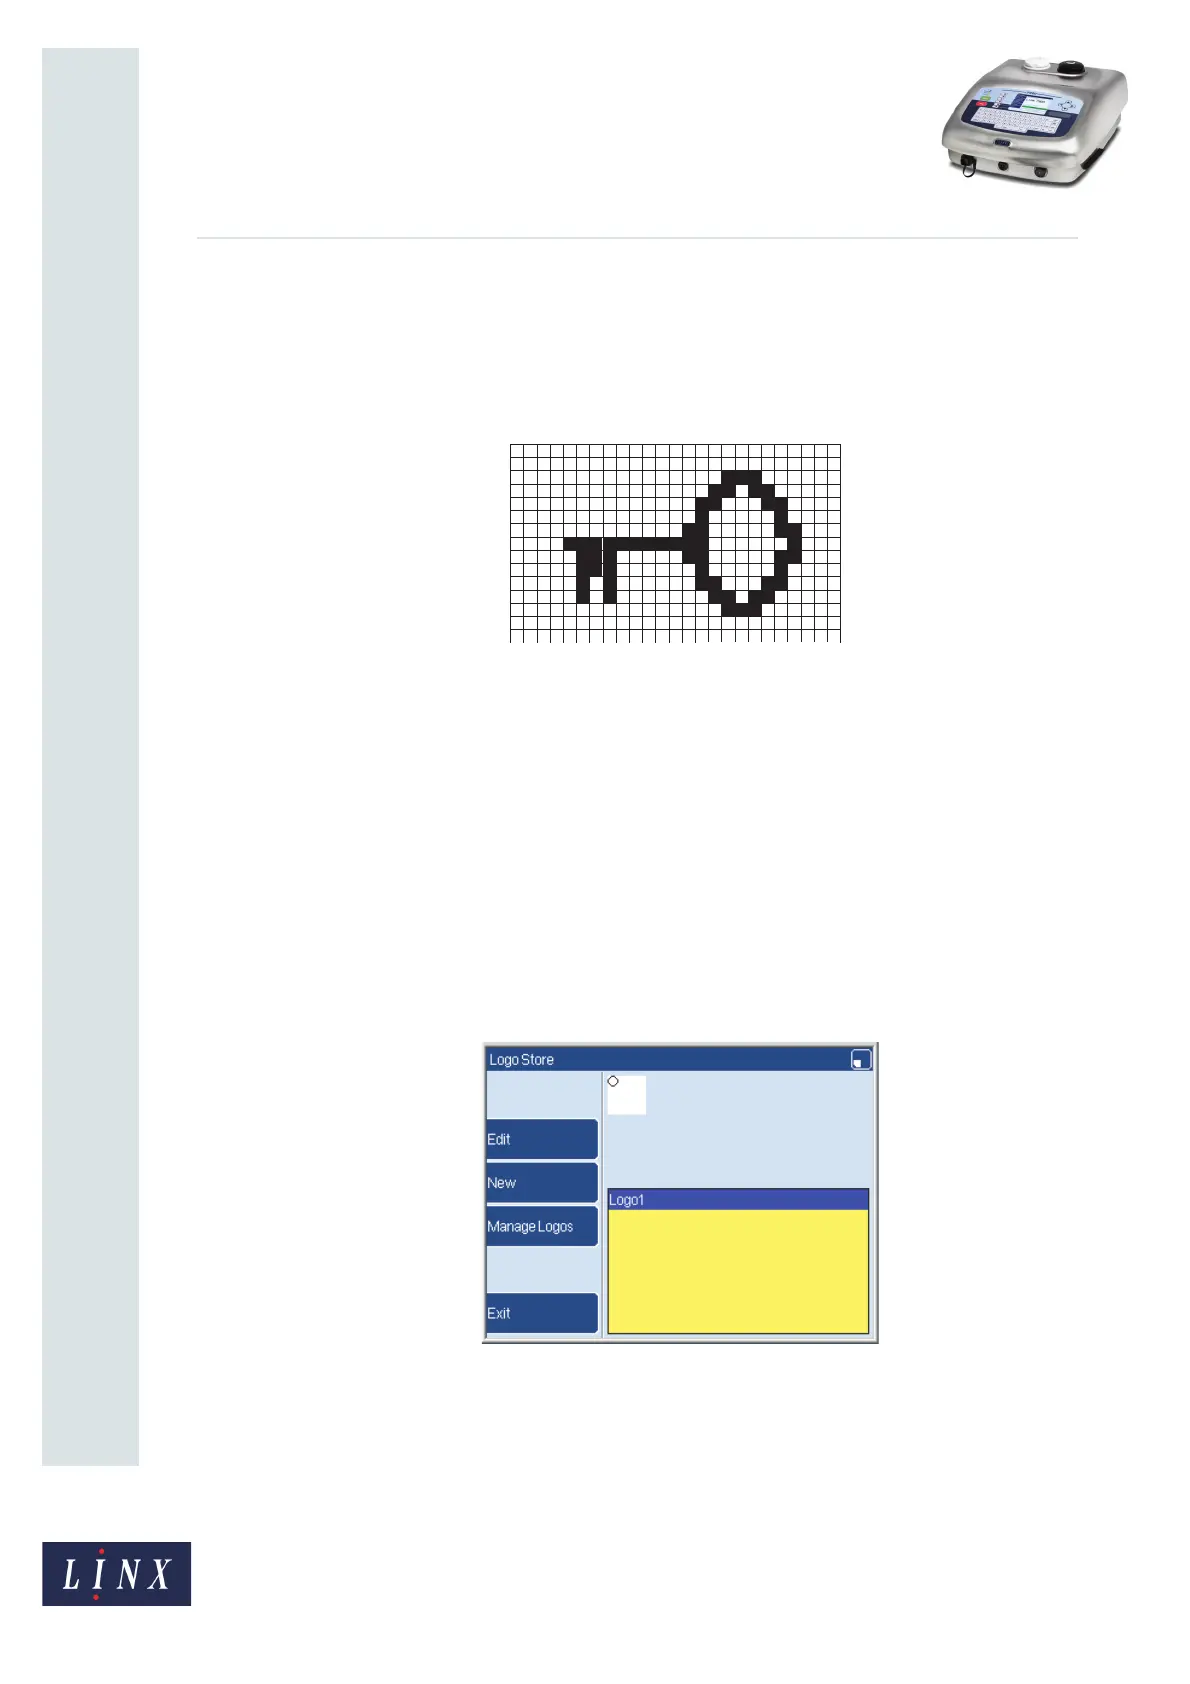
A logo is an image that is made from a grid of square picture elements (‘pixels’). You can
use the Logo Editor to set each pixel colour to make a complete image, as shown in the
following example.
Figure 1. Example logo
To print a logo, you must insert the logo into a message. When you print the logo, the
printer uses a single drop of ink for each pixel in the printed logo.
You can save a logo in the Logo Store. You can also save a logo in a message if this option is
allowed in the printer settings.
If you change a logo in the Logo Store, your changes appear in every message that uses that
logo. If you change a logo that is stored in a message, your changes appear only in the
message where the logo is stored.
2.1 Create a new logo
At the Print Monitor page, select Menu > Stores > Logo Store. The printer displays the
Logo Store page.
Figure 2. Logo Store page
If there are logos in the store, this page shows a list of the logo names. In Figure 2 there is
one logo in the store. The top of the page shows the contents of the first logo in the list.
If there are no logos in the store the Edit key and the Manage Logos key are not available.
To create a new logo, press the New key to display the Logo Editor page.
69260
 Loading...