Page 15 of 24 FA69354–2 English
Jun 2013
24
How To Create Bar Codes
Linx 7900
2.4 Encoding Options page
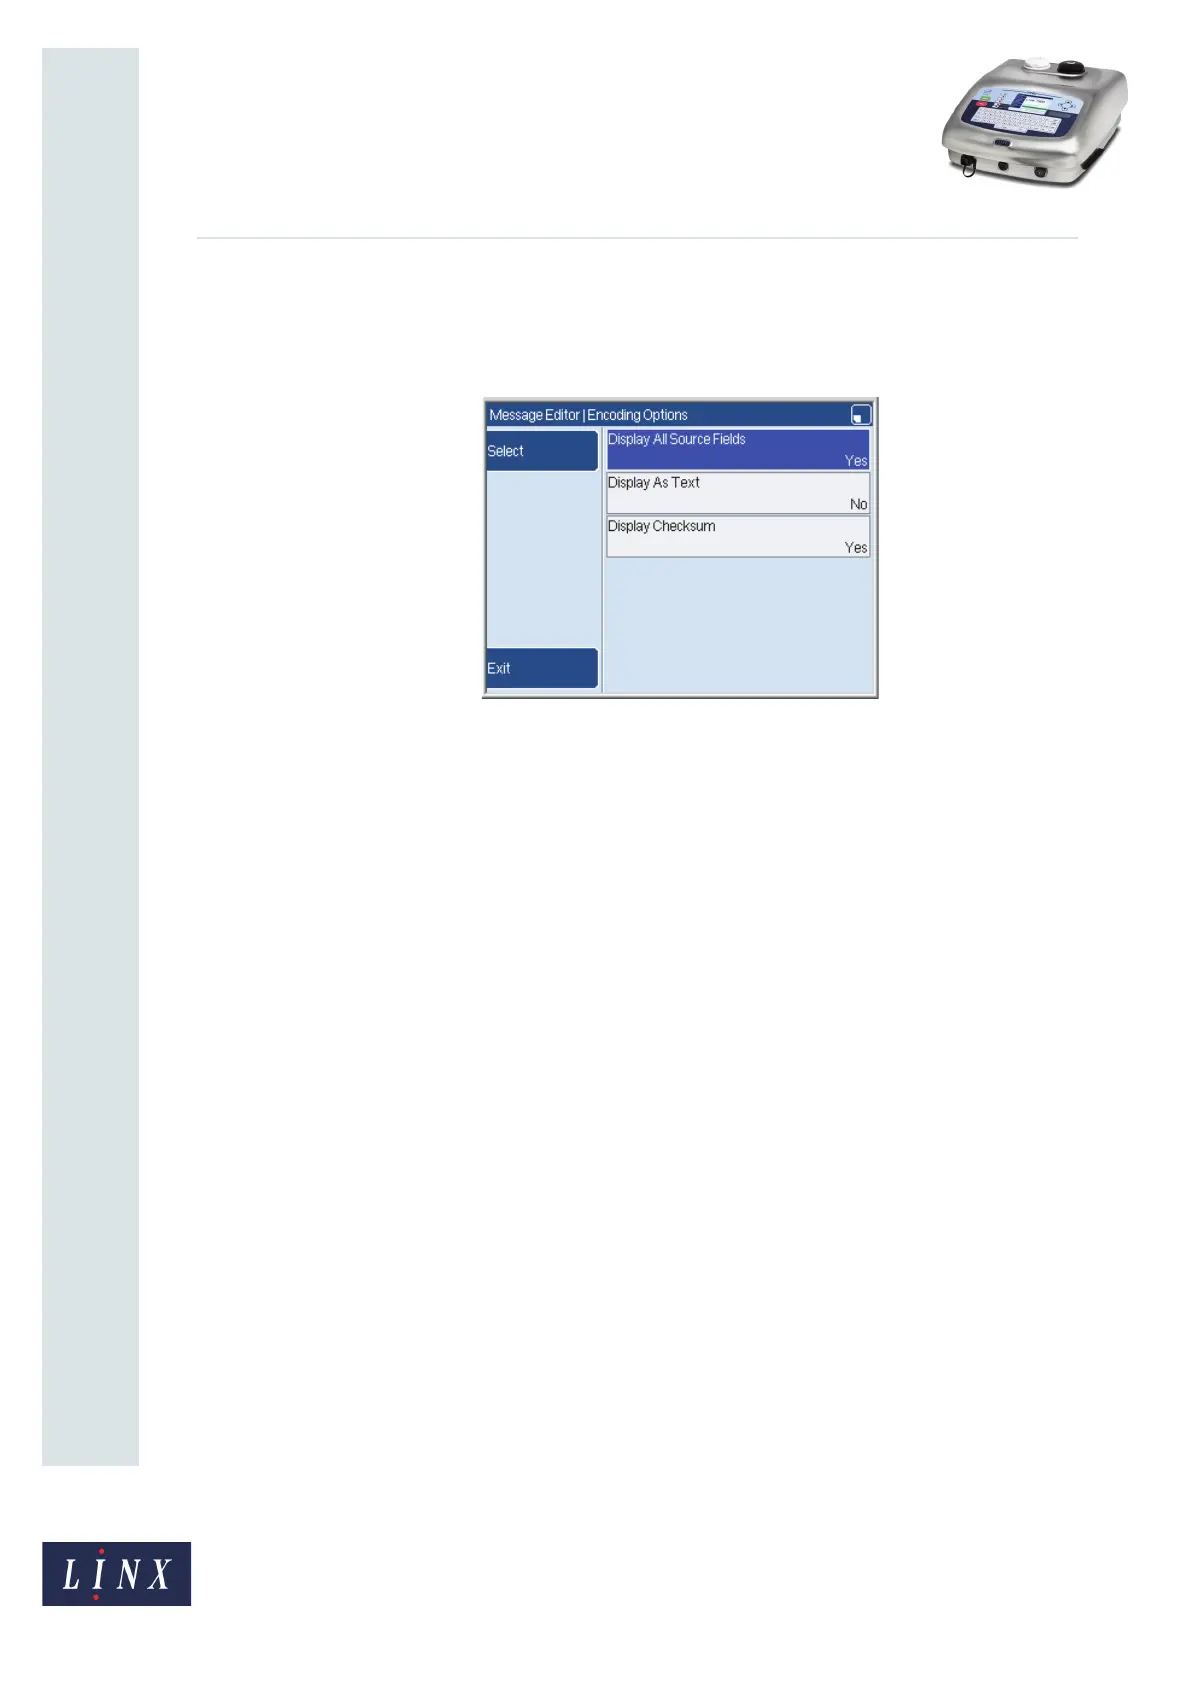
At the Encoding page, highlight Options and press the Select key to display the Encoding
Options page.
Figure 25. Encoding Options page: Code 25
The options that are displayed depend on the bar code format that you selected.
2.4.1 Display All Source Fields
If you set this option to Yes, all of the source fields are displayed in the message. If the bar
code contains a number of source fields, each source field is a separate field (see Figure 26
on page 16).
NOTE: This option is only available if source fields are not displayed in the existing
message.
2.4.2 Display As Text
If you set this option to Yes, the printer adds a text field below the bar code symbol. The text
field is a single field that includes all the source data for the bar code. If the checksum is
displayed, it is the last character in the text field (see Figure 26 on page 16).
2.4.3 Display Checksum
If the bar code includes a checksum, and you set this option to Yes, the bar code text
includes the checksum character. If the checksum character is not in the range of characters
that the printer can print, a square box is printed. (For example, the printer cannot print the
ASCII character 27 (‘ESC’).)
69301

 Loading...