Page 11 of 29 TP1B013–1 English
Sep 2014
29
How To Use QuickSwitch Plus
Product Selection
Linx 7900
3 Create a product selection
IMPORTANT: Before you start, you must first create any messages that will be associated
with product selections, and then configure the parameters in those
messages (for example, Print Delay and Print Width). For the best results,
configure the message that is associated with each product selection and
test that message on a production line to make sure it is configured
correctly.
After you create your messages, you can enter input data to create a product selection (see
below), and then associate a message with that product selection. If required, you can also
configure time and date offsets and remote fields for the product selection.
NOTE: You cannot create a new product selection if the printer is in the ‘Printing’ state.
Pause or stop printing before you continue.
3.1 Enter data for a product selection
To enter data for a product selection:
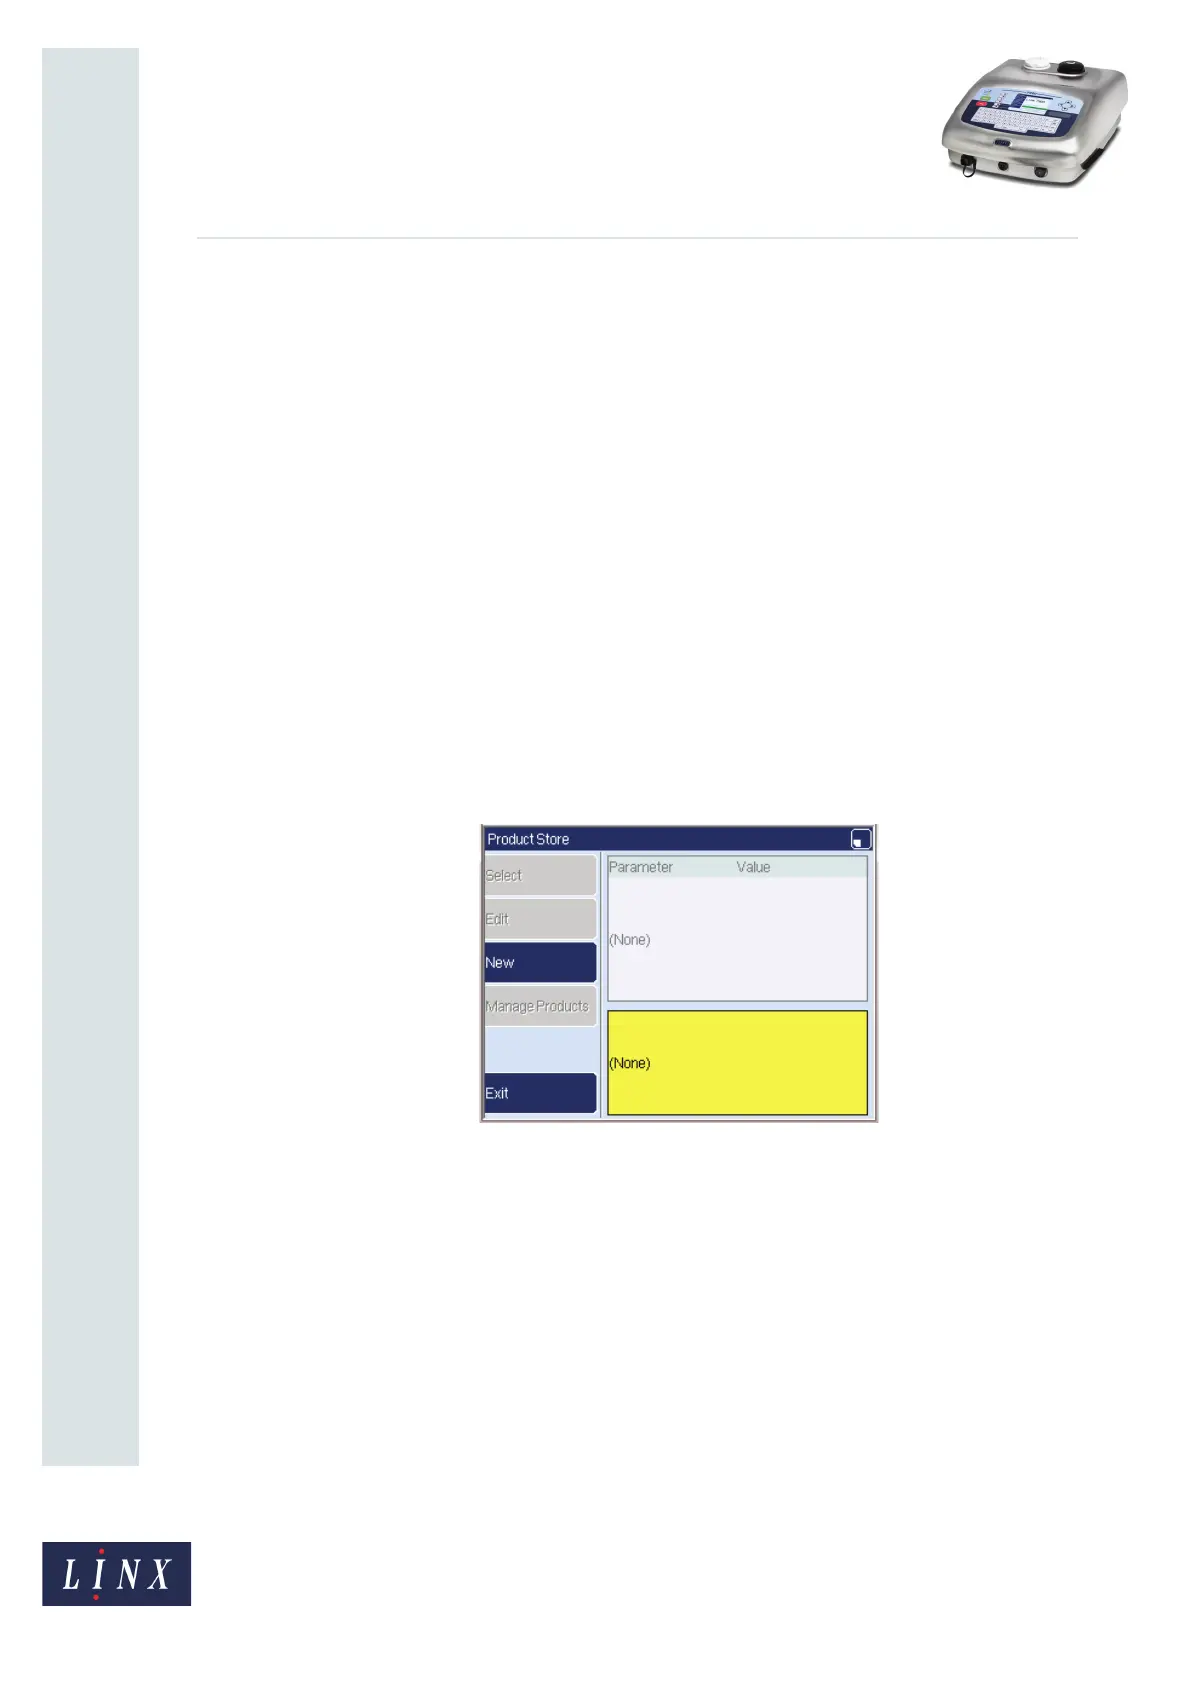
1 From the Print Monitor page, select Menu > Stores > Product Store. The Product
Store page is displayed.
Figure 11. Product Store page
 Loading...