Page 7 of 13 FA69349–2 English
Jun 2013
13
How To Create a Logo
Linx 7900
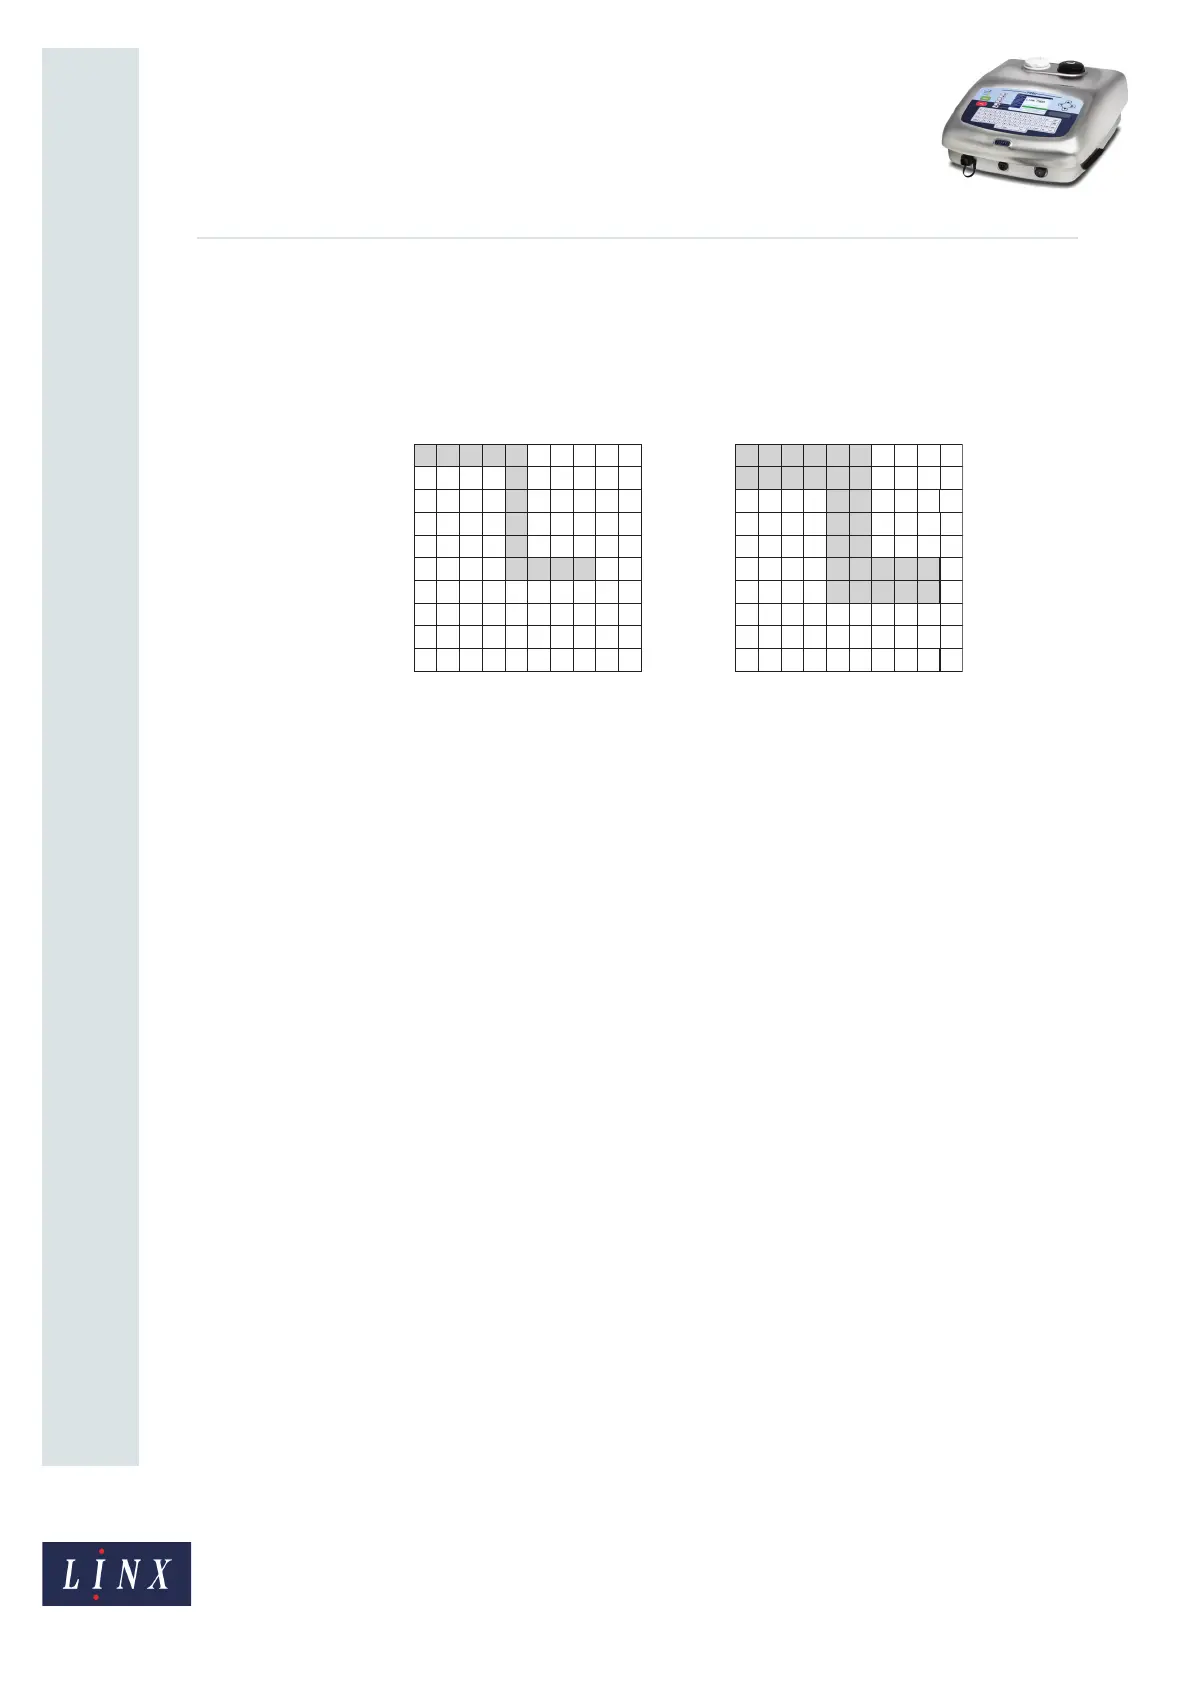
2.3.2 Pen Size
Press this key to change the size of the pen (cursor). The number that is next to this key
shows the size of the pen. Figure 8 (a) shows how you draw a narrow line with the pen size
set to 1. Figure 8 (b) shows how you draw a thick line with the pen size set to 2. (The pen
movements are the same.)
Figure 8. Pen Size
The maximum value of the pen size is 6. When you press the Pen Size key, the pen size
changes as follows: 2, 3, 4, 5, 6, 1, 2, 3, ….
2.3.3 Colour
Press this key to change the colour of the pen. You can use a black pen or a white pen. The
white pen changes the black squares to white and you can use this method to correct an
error. A black or white square next to this key shows the current setting.
2.3.4 Shape
You can change the shape of the pen. There are three options:
• Square
• Square, with round corners
• Triangle
NOTE: If the pen size is 1 or 2, only the square pen shape is available and the Shape key is
not available.

 Loading...