Page 5 of 13 FA69349–2 English
Jun 2013
13
How To Create a Logo
Linx 7900
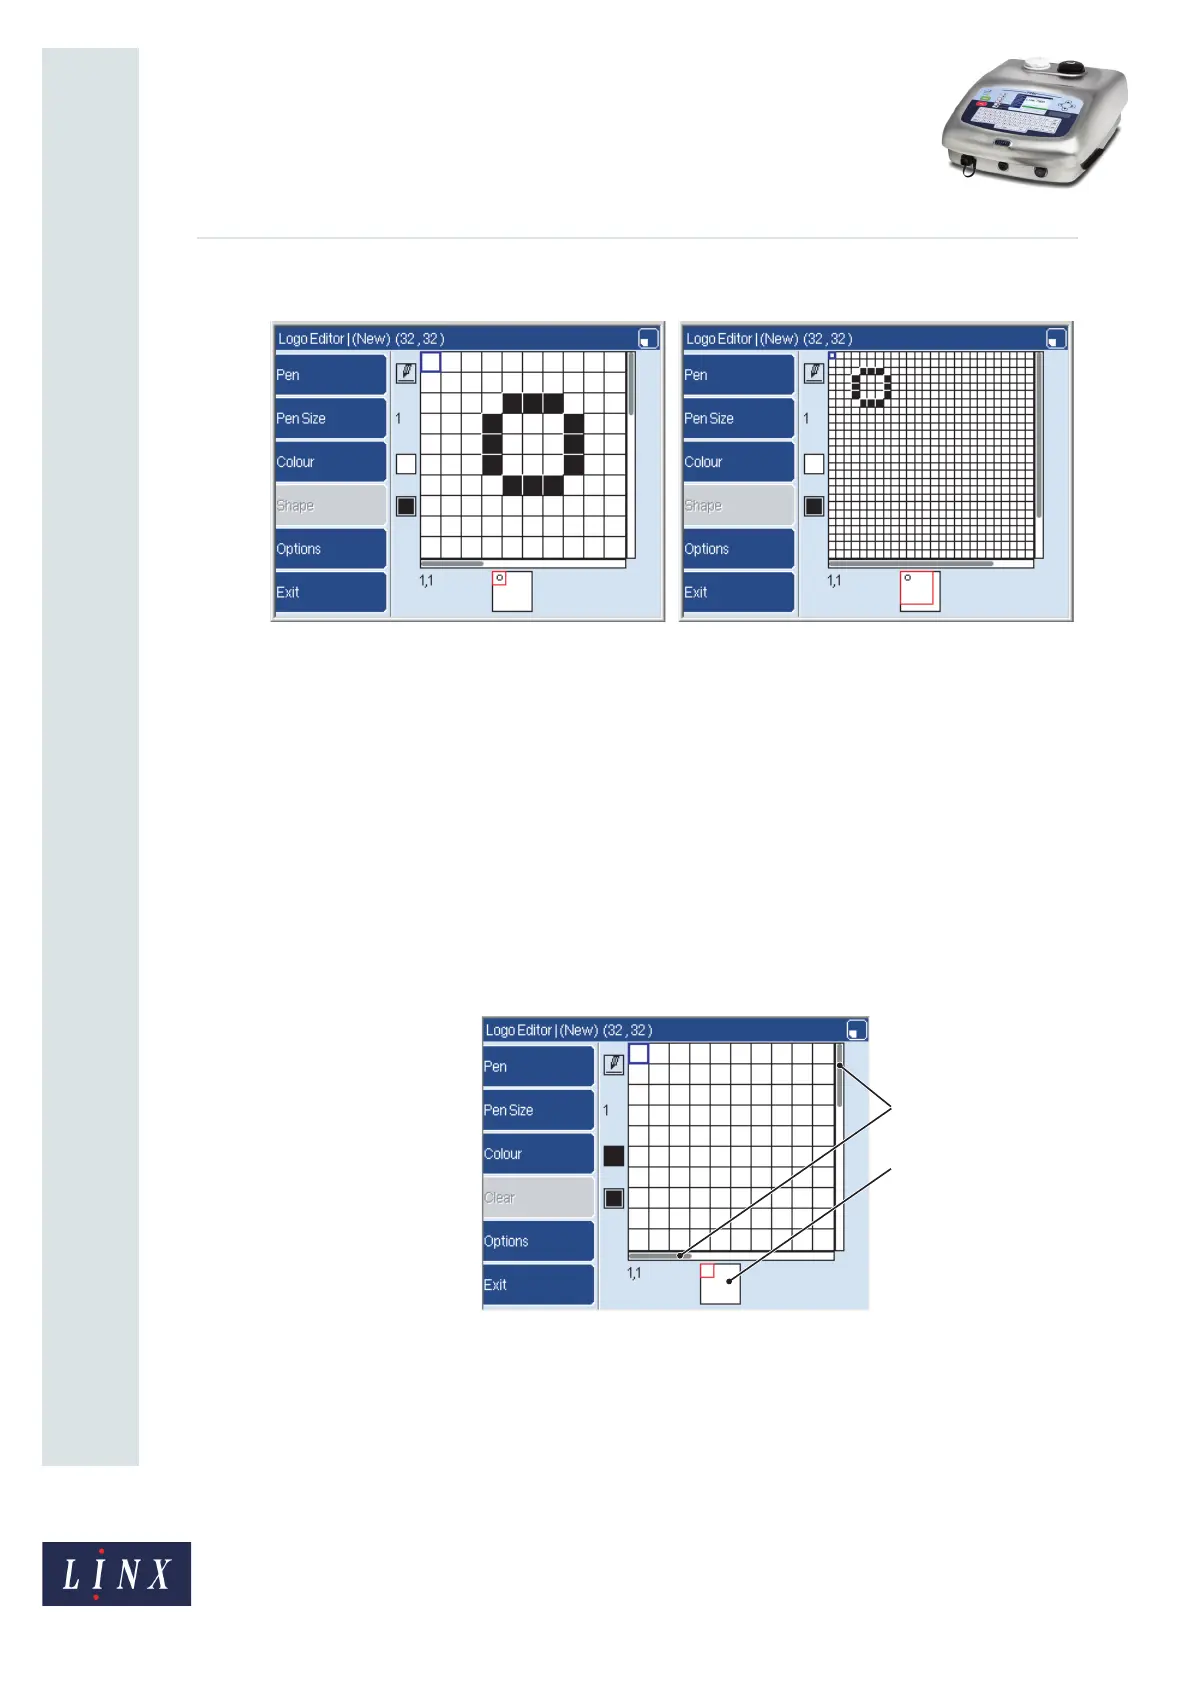
The result is shown below.
Figure 4. Magnification
In Figure 4 (a) you can see 10 rows and 10 columns. In Figure 4 (b) the magnification was
decreased in 16 steps, so that 26 rows and columns are visible. The Logo Editor page has
scroll bars and a preview box, (described below), that show you which part of the logo you
can see. When you change the magnification, the scroll bars and the preview box change.
Two numbers below the grid show you the cursor location. The numbers show the column
number and the row number for the cursor location in the grid. The top left square is 1,1.
The bottom right square in the grid shown in Figure 4 is 32,32.
2.2.2 Scroll bars
In Figure 5, the scroll bars (A) show you which part of the logo you can see.
Figure 5. Scroll bars and preview box
2.2.3 Preview box
In Figure 5, the preview box (B) shows you a picture of the whole logo. The small, red
square in this box indicates which part of the logo you can see.
 Loading...