Page 4 of 29 TP1B013–1 English
Sep 2014
29
How To Use QuickSwitch Plus
Product Selection
Linx 7900
2.1.2 Single message for multiple similar products
As well as being able to use a barcode to select a message, product selection can also
populate remote fields with data and apply an offset to a date or time field in a message. If
there are a large number of messages for many different products, you can use product
selection to reduce the number of messages that you need to cover all products.
Example 1
A manufacturer may have multiple messages for different products, where the only
difference between printed messages is the use-by date and the product name. Sometimes a
large number of different messages is created because there are minor changes in message
content. If you use product selection, you can use only a single message with its associated
configuration to print the required information. You can scan data from different barcodes
to change the message content.
Example 2
A manufacturer has a number of products that are coded with a message that contains only
one variable which is a text field that records the product size. If you use product selection,
you can use a single message with a remote field. Input data is scanned from a barcode to
insert the correct product size information in the remote field.
2.1.3 Multiple different products
If you print on many different products with different packaging you can use product
selection to quickly set up print parameters, for example Print Delay or orientation, for
multiple messages.
2.2 Configure communication settings
To use product selection, you must first configure the printer communications settings.
Product selection functionality is currently only available with QuickSwitch®.
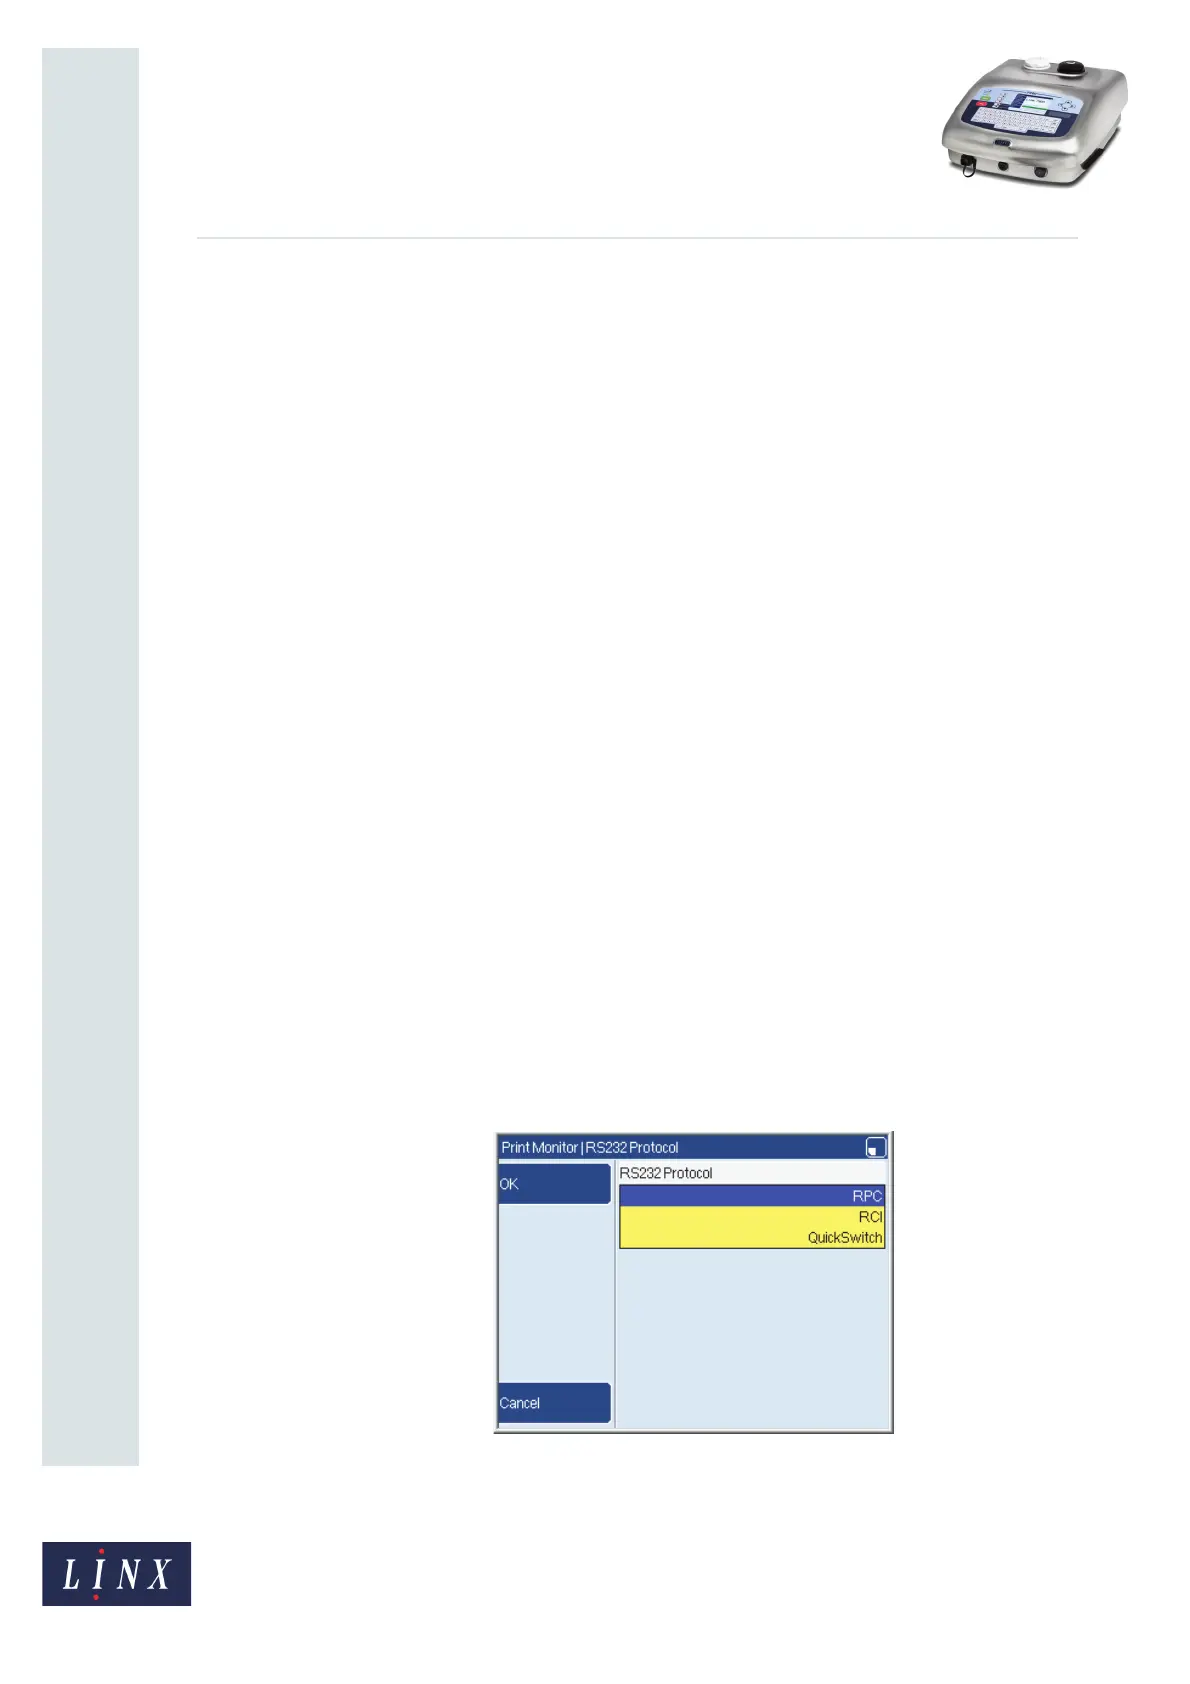
1 Navigate to the RS232 Protocol page from the Print Monitor page (Menu > Setup >
Communications > Protocol > RS232 Protocol) and select the QuickSwitch option.
Figure 1. RS232 Protocol page: QuickSwitch option
73056
 Loading...