Automation screen 179
PRO6 Live Audio System
Owner’s Manual
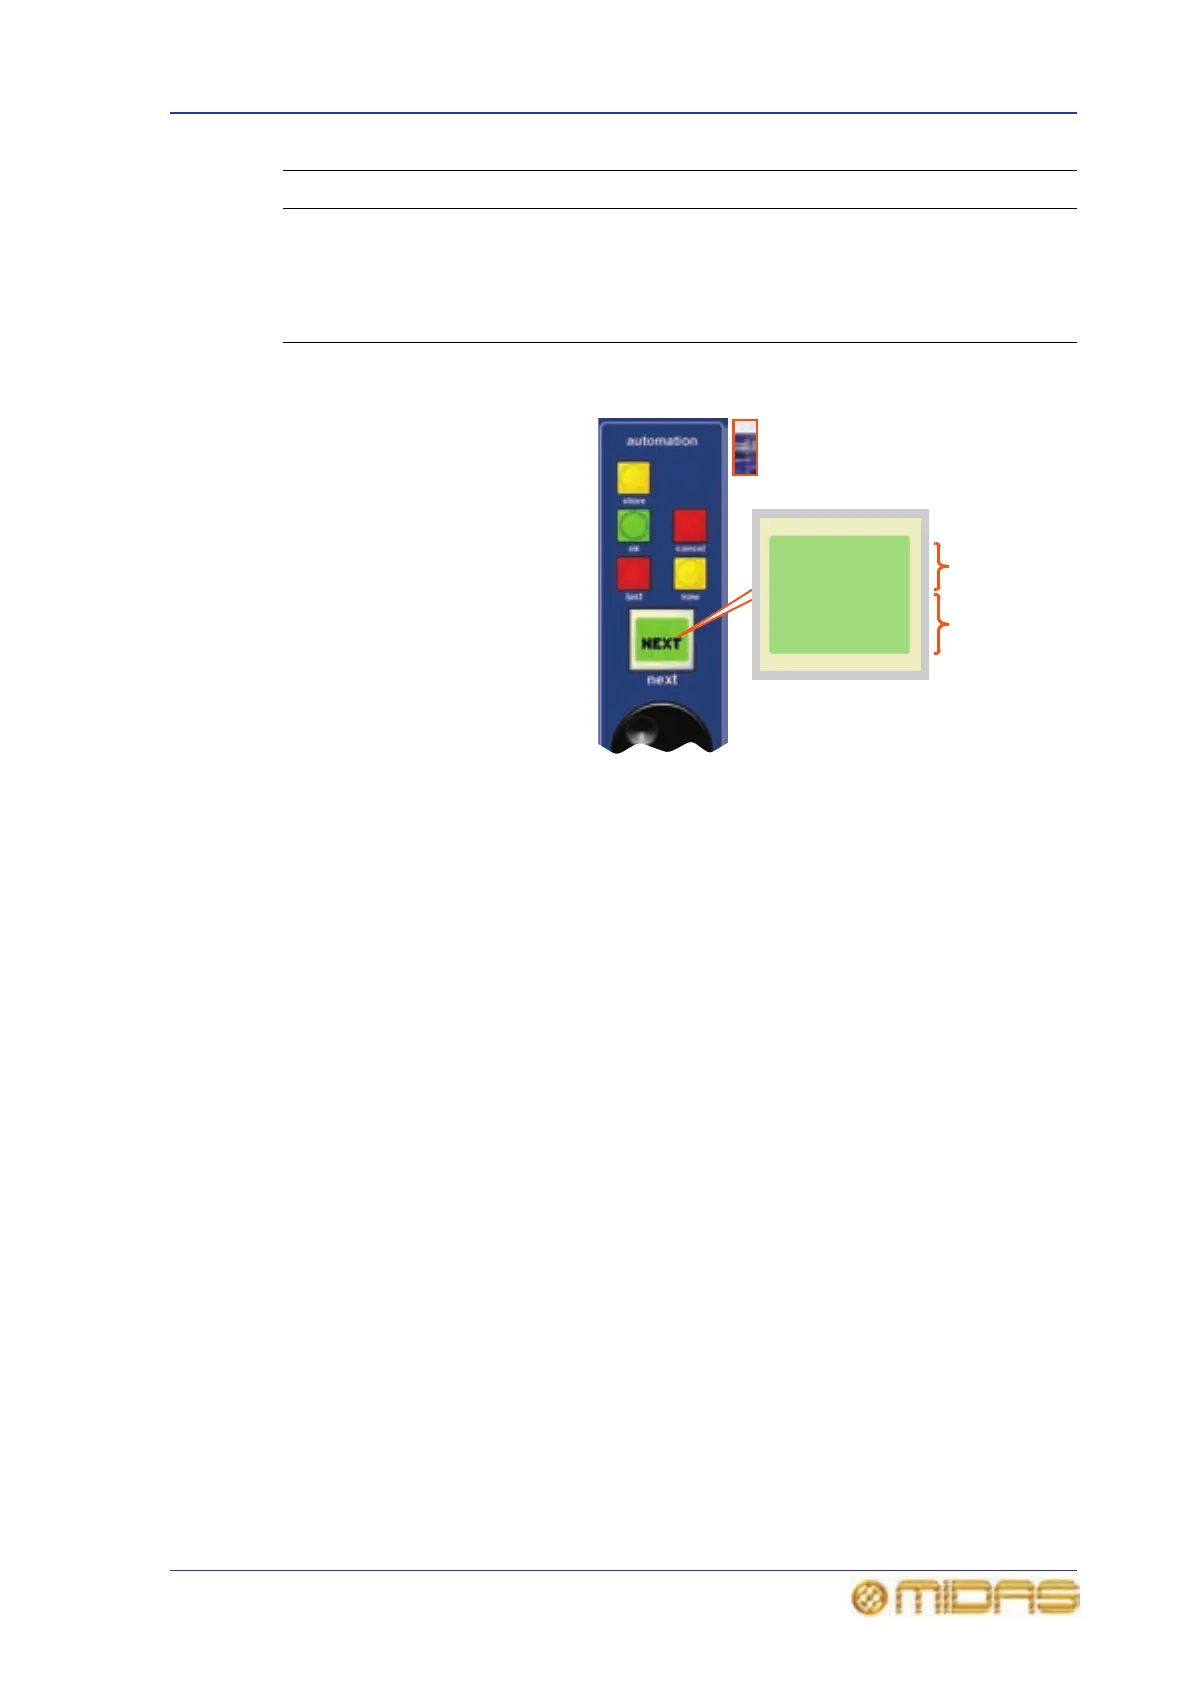
next LCD button
The next LCD button in the
automation section has two
modes of operation—as a ‘next’
button and, when using the
jogwheel, as a ‘now’ button. As
a ‘next’ button it will display
“NEXT” when there is another
scene in the cue list — of higher
value — that you can move to.
When “End” is displayed the
current scene is the last in the
cue list. However, when using
the jog wheel the next button’s
display changes to provide
scene/point scene information
(as shown right).
Automation screen
The Automation screen can be broadly divided into the following main areas
(domains):
• Scenes — see “Scenes” on page 181.
• Shows — see “Show files” on page 189.
• Scope — see Chapter 21 "Scope (Automation)" on page 193.
• Events — see Chapter 22 "Events (Automation)" on page 199.
For details on how to open the Automation screen, see “To open the Automation
screen” on page 92.
6 Green ok button, confirms an action (illuminates to prompt when this is
necessary).
7 Yellow store/[STORE SCENE] button, opens the Store Scene window
(see “To create a new scene using the current settings” on page 95) and
lets you store the current settings to the currently selected scene.
Item Description
26.19
Scene 2
6
Scene/point
scene number
Scene name.
 Loading...

