About GUI navigation 49
PRO6 Live Audio System
Owner’s Manual
About GUI navigation
The GUI menu lets select any channel or group, and you can navigate between the
channel’s overview and processing areas in the GUI channel strip.
>> To select a channel/group using the GUI menu
At the GUI, do one of the following:
• To select an input channel, choose homeInput Channels. Then, click the bank
containing the input channel to open its submenu, and click the input channel.
• To select an output channel, choose home
Mix & Outputs. Then, click the bank
containing the output channel to open its submenu, and click the output channel.
• To select a VCA/POP group, choose home
Control GroupsVCA Groups. Then,
click the group you want.
>> To select a processing area in the GUI channel strip
With a channel overview displayed in the GUI channel strip, click in a non-control area
of the section you want.
To access the mix bus processing area, click on the aux or matrix text in the overview
display of the channel strip.
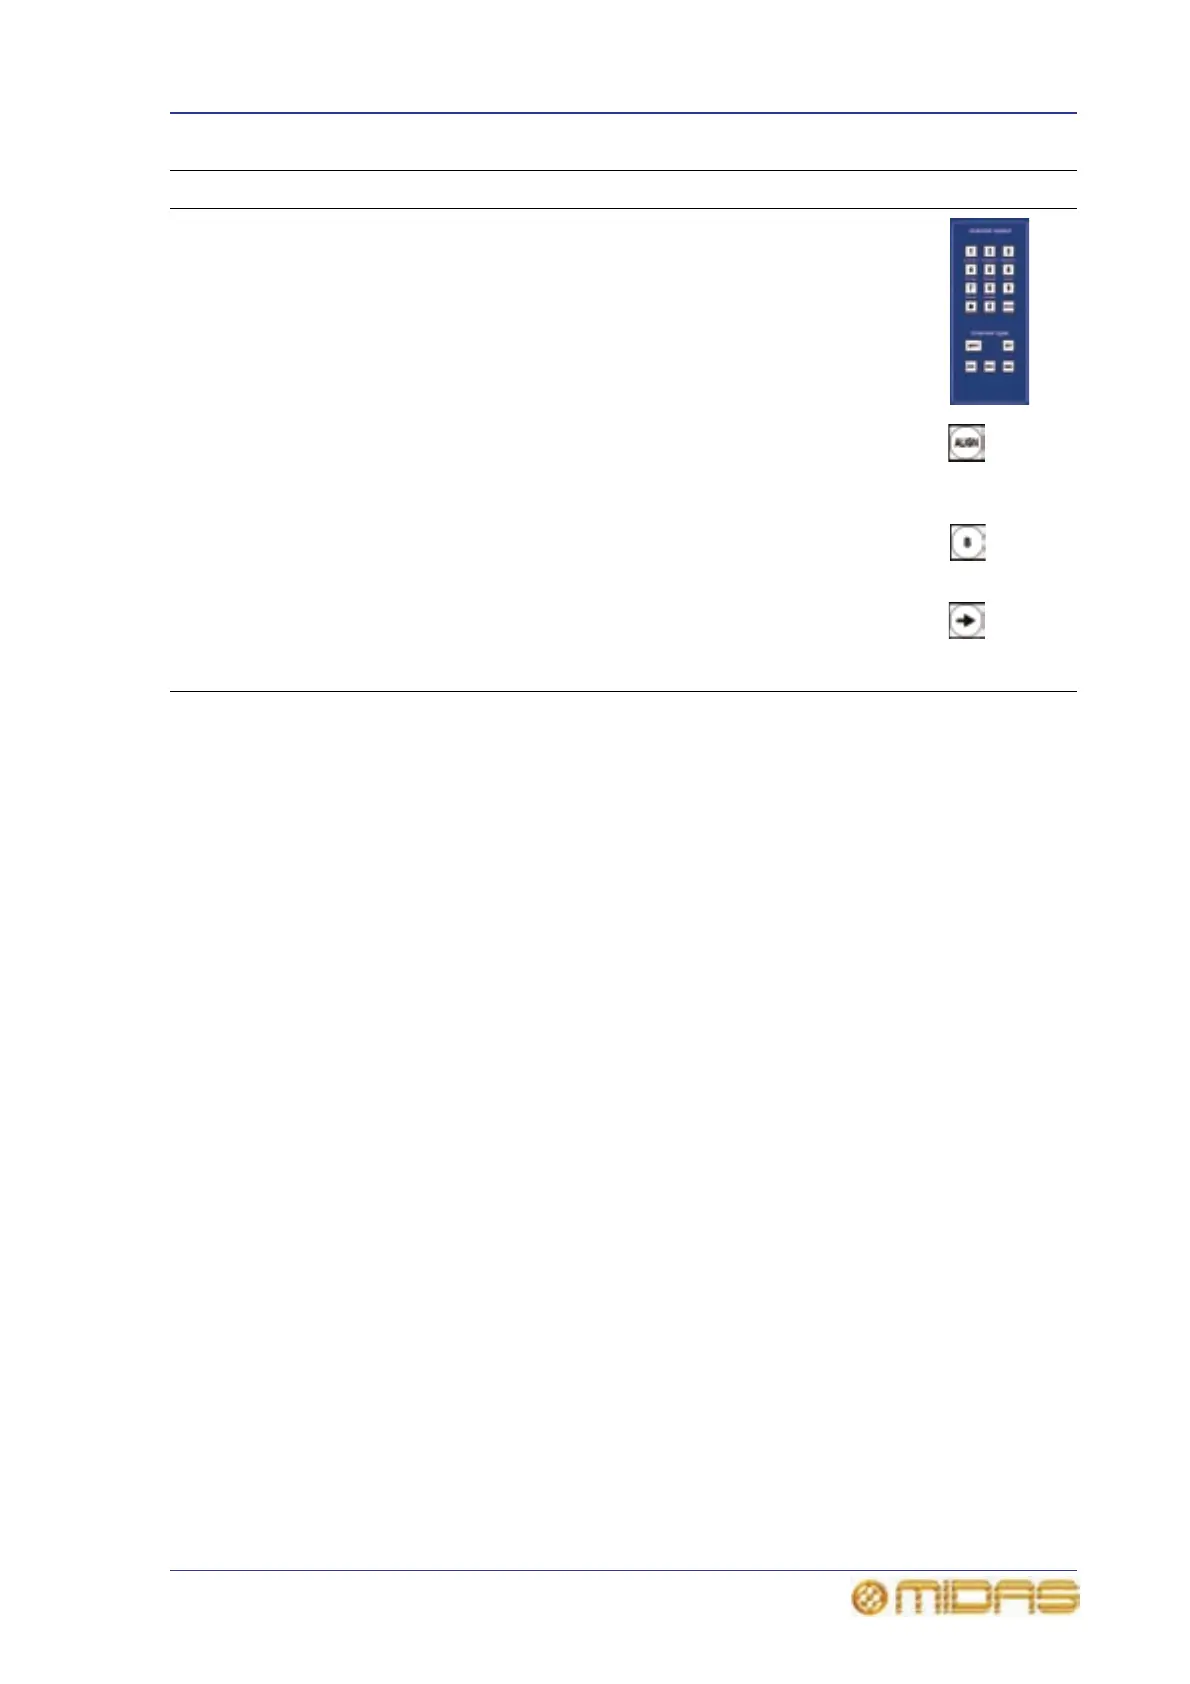
channel
select
(lower) and
channel
type
sections
Used in combination to navigate a single channel of a particular
type to the control surface, which is generally used for rectifying a
fault on a problem channel.
For location details, see Figure 9 “Location of the navigational
controls on the control surface” on page 52.
ALIGN
button
Located in both input select sections, this button navigates the
currently selected channel to the local input bay. This is useful,
for example, if you have scrolled away from the selected channel
on the control surface and you want to get the fader back.
B button Located in the master bay input select section, this button
assigns the 4-channel input bay as area B. This operates with the
channel strip on the right (in the master bay).
Right arrow
(to right
channel)
button
Located to the right of the top set of output select buttons, this
button assigns the channel strip, navigation controls and sends in
the master bay to the top row of outputs.
Type Description Example(s)
 Loading...

