Controlling an internal effect via the I zone 173
PRO6 Live Audio System
Owner’s Manual
>> To change the I zone control assignments
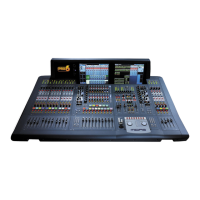
To change the I zone control assignments, click the left/right arrow button, which opens
another view in the device window. For example, in view 2/4 of the 3-band compressor
effect, click the right arrow button to go to view 3/4 (as shown below). Clicking the left
arrow button takes you to the previous view.
>> To change to another device in the rack
Click the up/down arrow button. This will open the next device (effect/GEQ) in the
device window. If there is no device assigned in the next rack position, the device
window will be empty.
Controlling an internal effect via the I zone
When controlling an effect, the GUI shows the current button and control knob I zone
assignments.
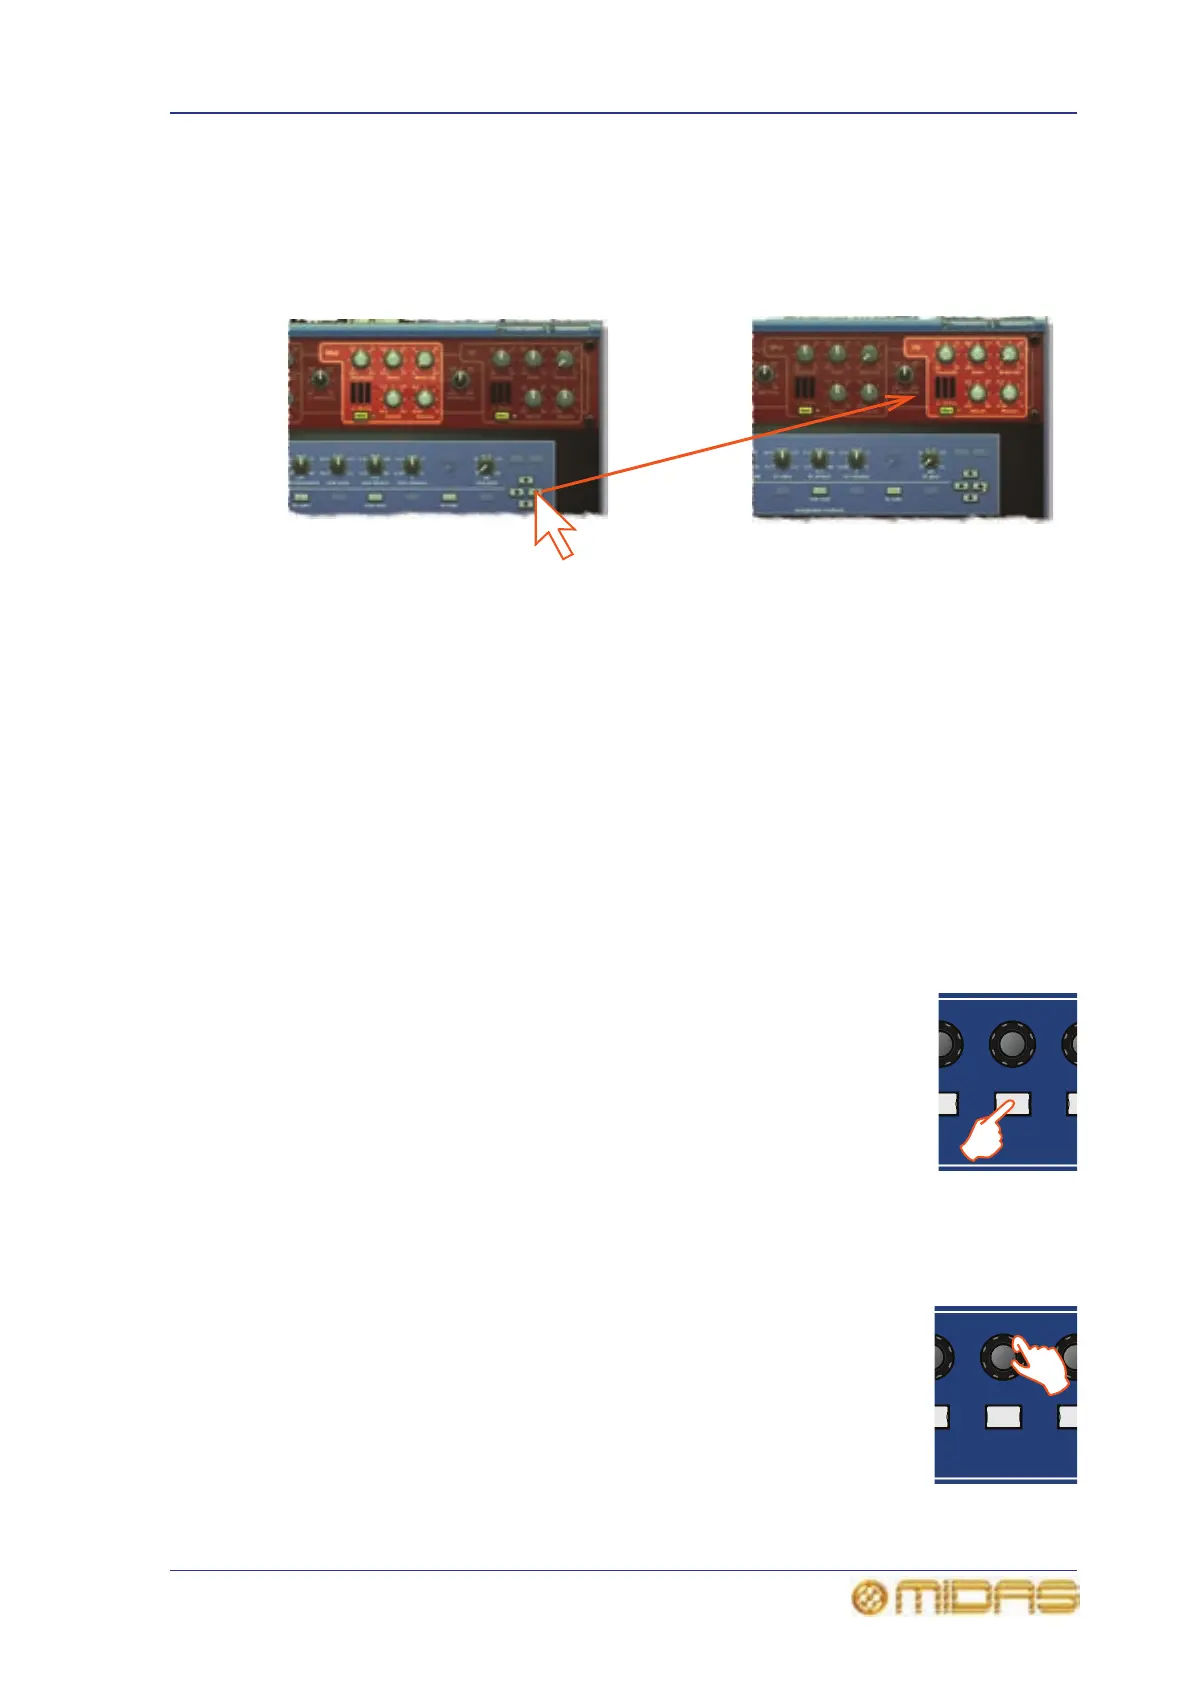
>> To operate a button of an effect
1 Make sure that the effect’s button you want to operate is assigned to the I zone.
If necessary navigate the effects page containing your desired button to the
I zone. (The text at the top of the LCD button indicates its assignment.)
2 Press the desired I zone button.
>> To operate a control knob of an effect
1 Make sure that the effect’s control knob you want to operate is assigned to the
I zone. If necessary navigate the effects page containing your desired button to
the I zone.
2 Adjust the desired control knob.
 Loading...

