Structure and Assembly/Disassembly 9-21
9.3.8 Touch Screen Assembly
The disassembly tool: cross-headed screwdriver (M3, M4).
1. Refer to 9.3.6 Control Panel Assembly for details.
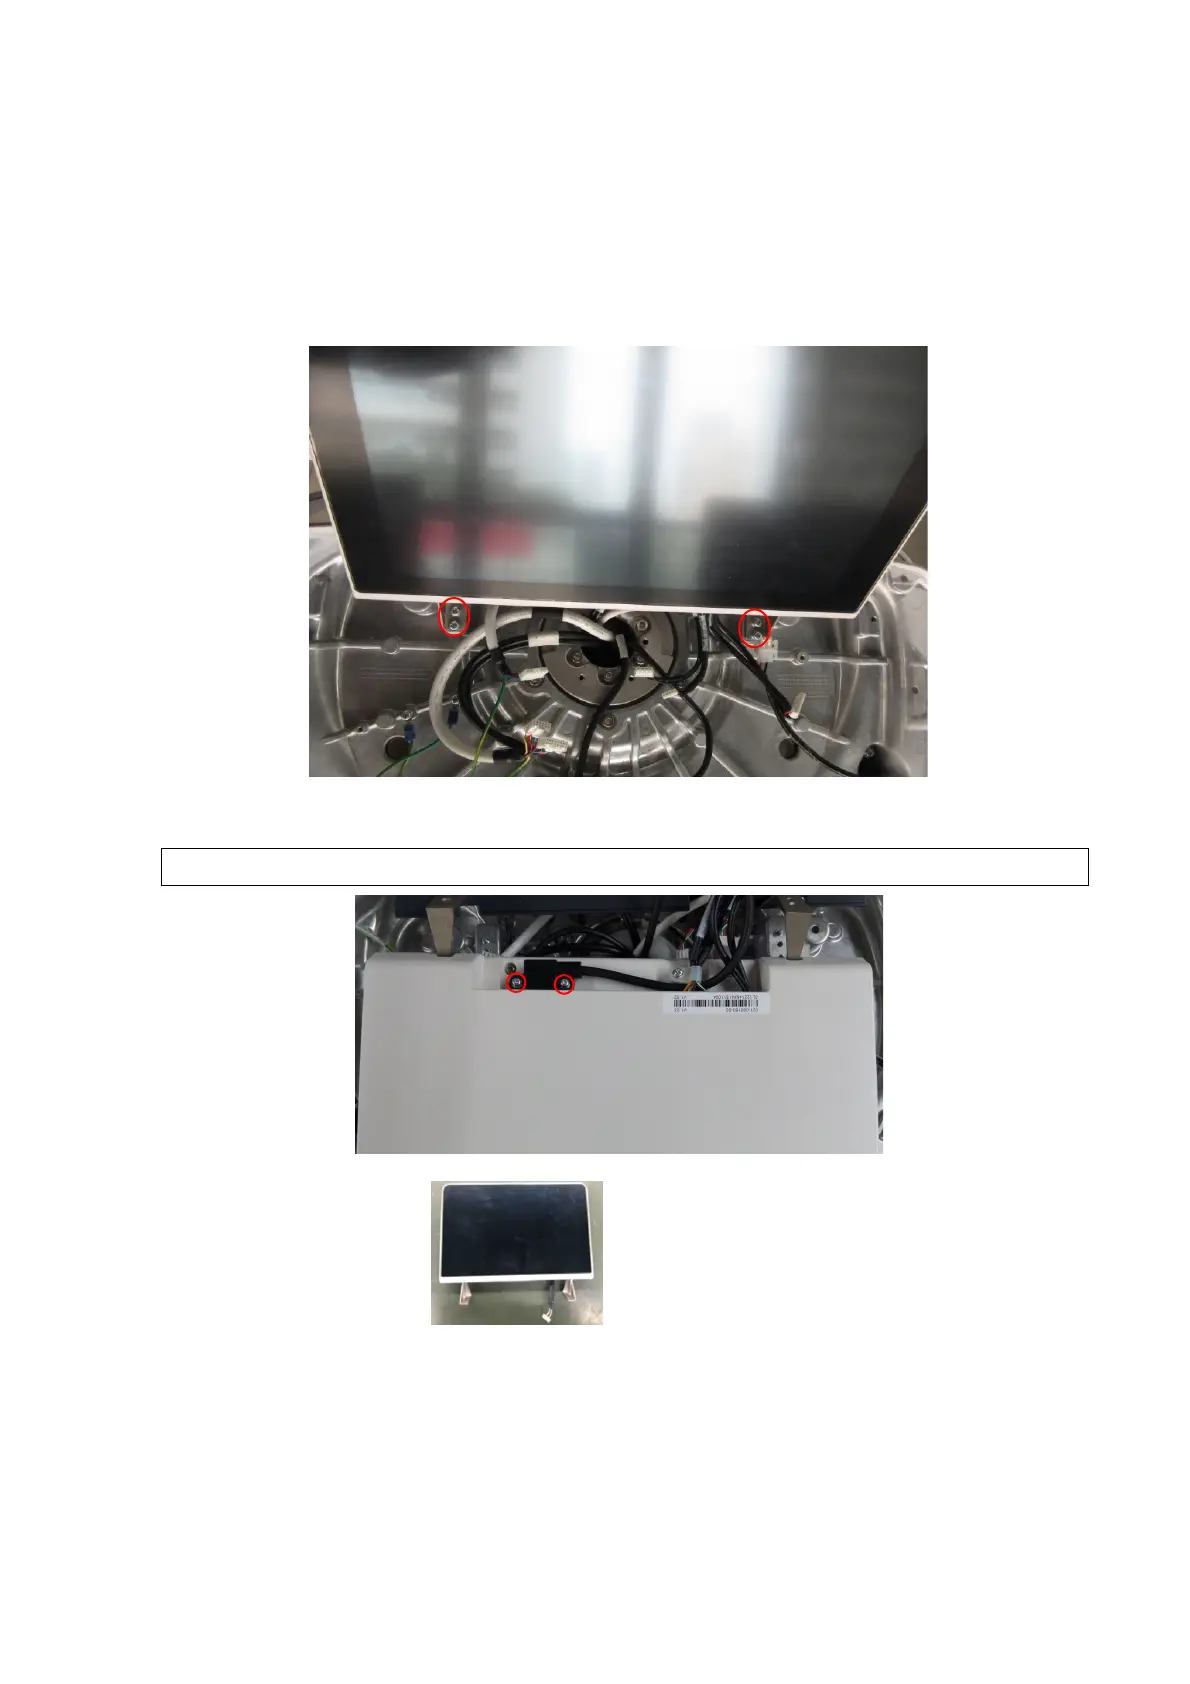
2. Unscrew 4 M4 X 12 screws from the touch screen assembly with cross-headed screwdriver
(M3, M4).
3. Place the keyboard on a foam or cardboard (larger than the touch screen). Unscrew 2 M4 X 12
cross panhead screws to remove the signal wire of the touch screen.
Do not scratch the touch screen when disassembling.
4. Unscrew M4 X 12 cross panhead screw on UC-0.5 lock knob with screwdriver (M3, M4) to
remove the power supply cable and USB signal cable.
ouch screen assembly (FRU)
 Loading...


