9-24 Structure and Assembly/Disassembly
2. Unscrew 4 M3 X 8 cross panhead screws from the support arm cover with the screwdriver (M3,
M4) to remove the upper and lower support arm cover (2116).
9.3.12 Support Arm Assembly
9.3.12.1 Lifting support arm
Disassembly Tools Required: Inner hexagon spanner
1. See Chapter 9.3.11, 9.3.5, 9.3.6, 9.3.8, 9.3.9 and 9.3.10 for details.
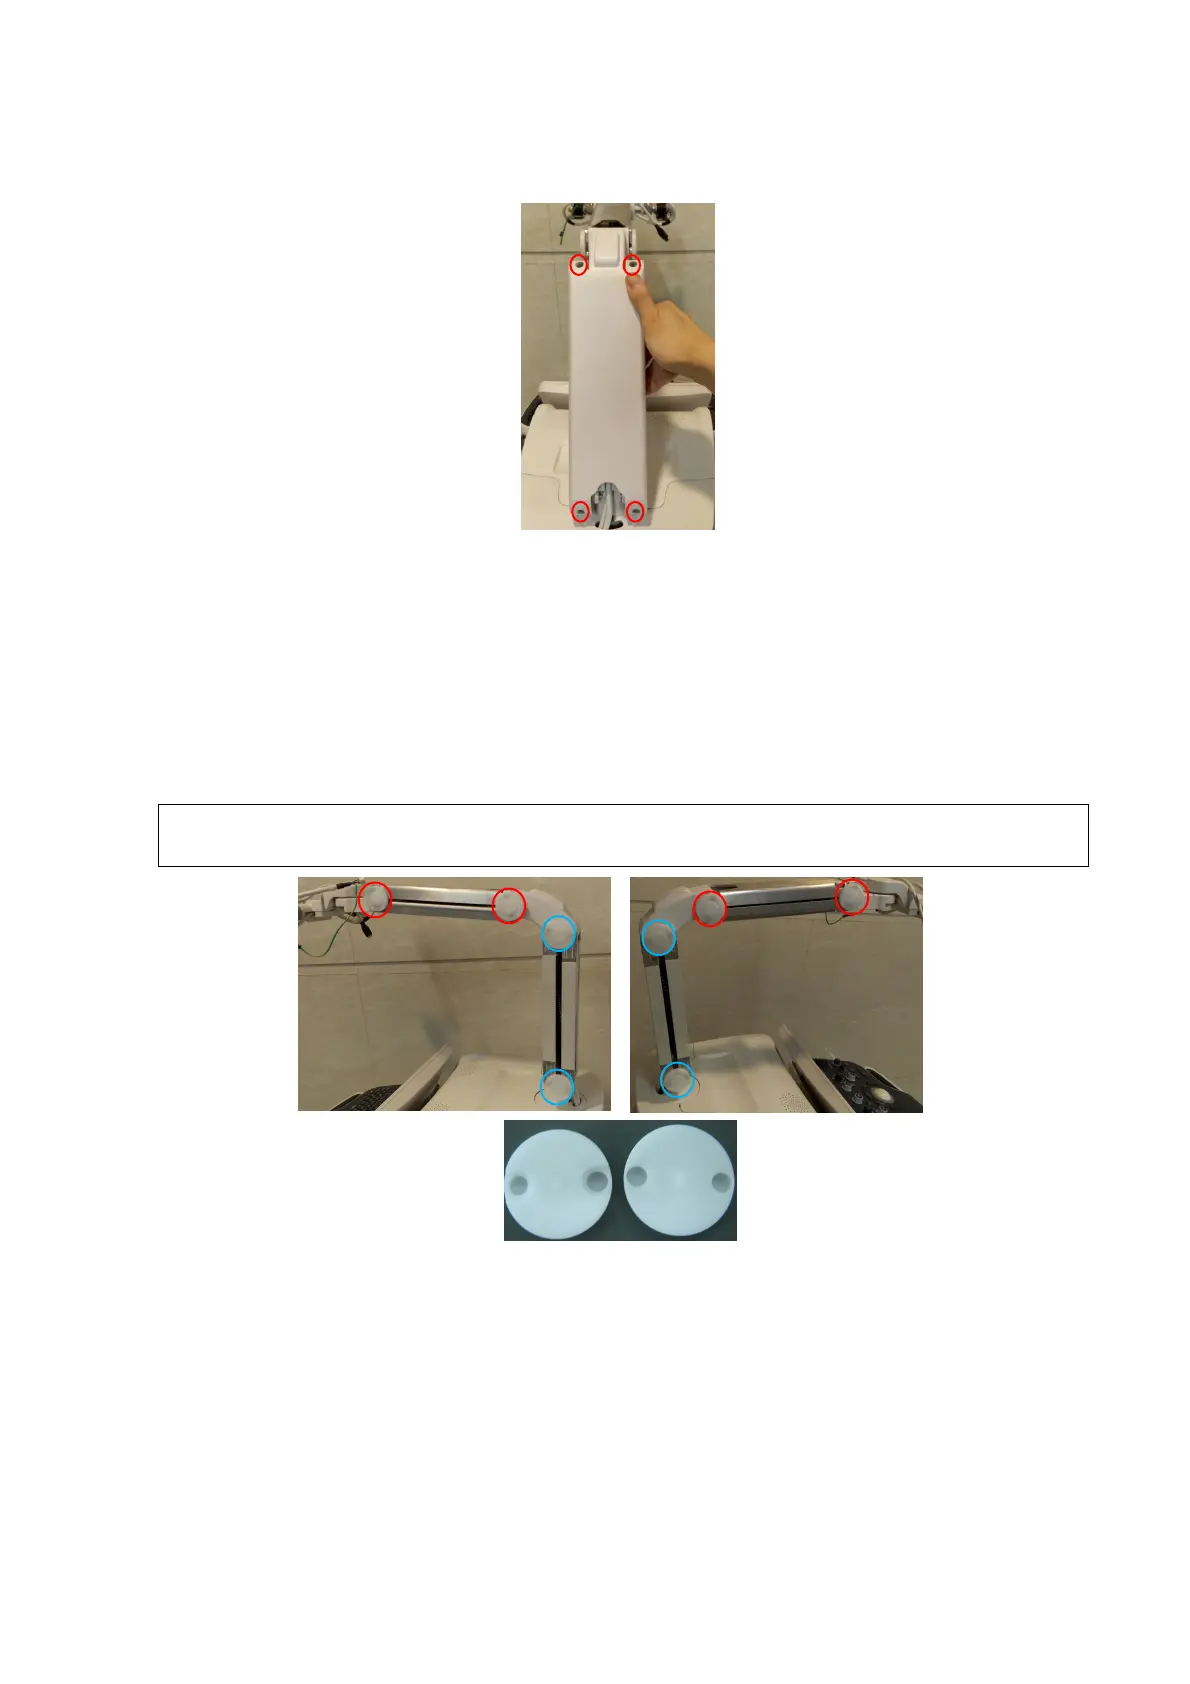
2. Remove 4 pads for upper support arm cover (red circle) and 4 pads for lower support arm
cover (blue circle).
The fixing pad for upper support cover is different from these on the lower support arm.
Do not mix them up when installing anticlockwise.
3. Unscrew 2 M4 X 12 panhead screws from fixing block with the screwdriver (M3, M4) to remove
the wire fixing block.
 Loading...


