4.5 Keypad Operation
130 SIEPYEUOQ2A01A AC Drive Q2A Technical Manual
The configuration procedure is complete.
◆ Show Custom Monitors
The procedure in this section shows how to show the registered custom monitors.
1. Push ( ) to show the HOME screen.
Note:
• [ Home] appears in the upper right hand corner of the screen when in HOME mode.
• If [ ] is not shown on , push ( ) to show [ ] on .
2. Push ( ).
3. Push or to select [Monitor & Diagnostics], then push .
4. Push or to select [Custom Monitors], then push .
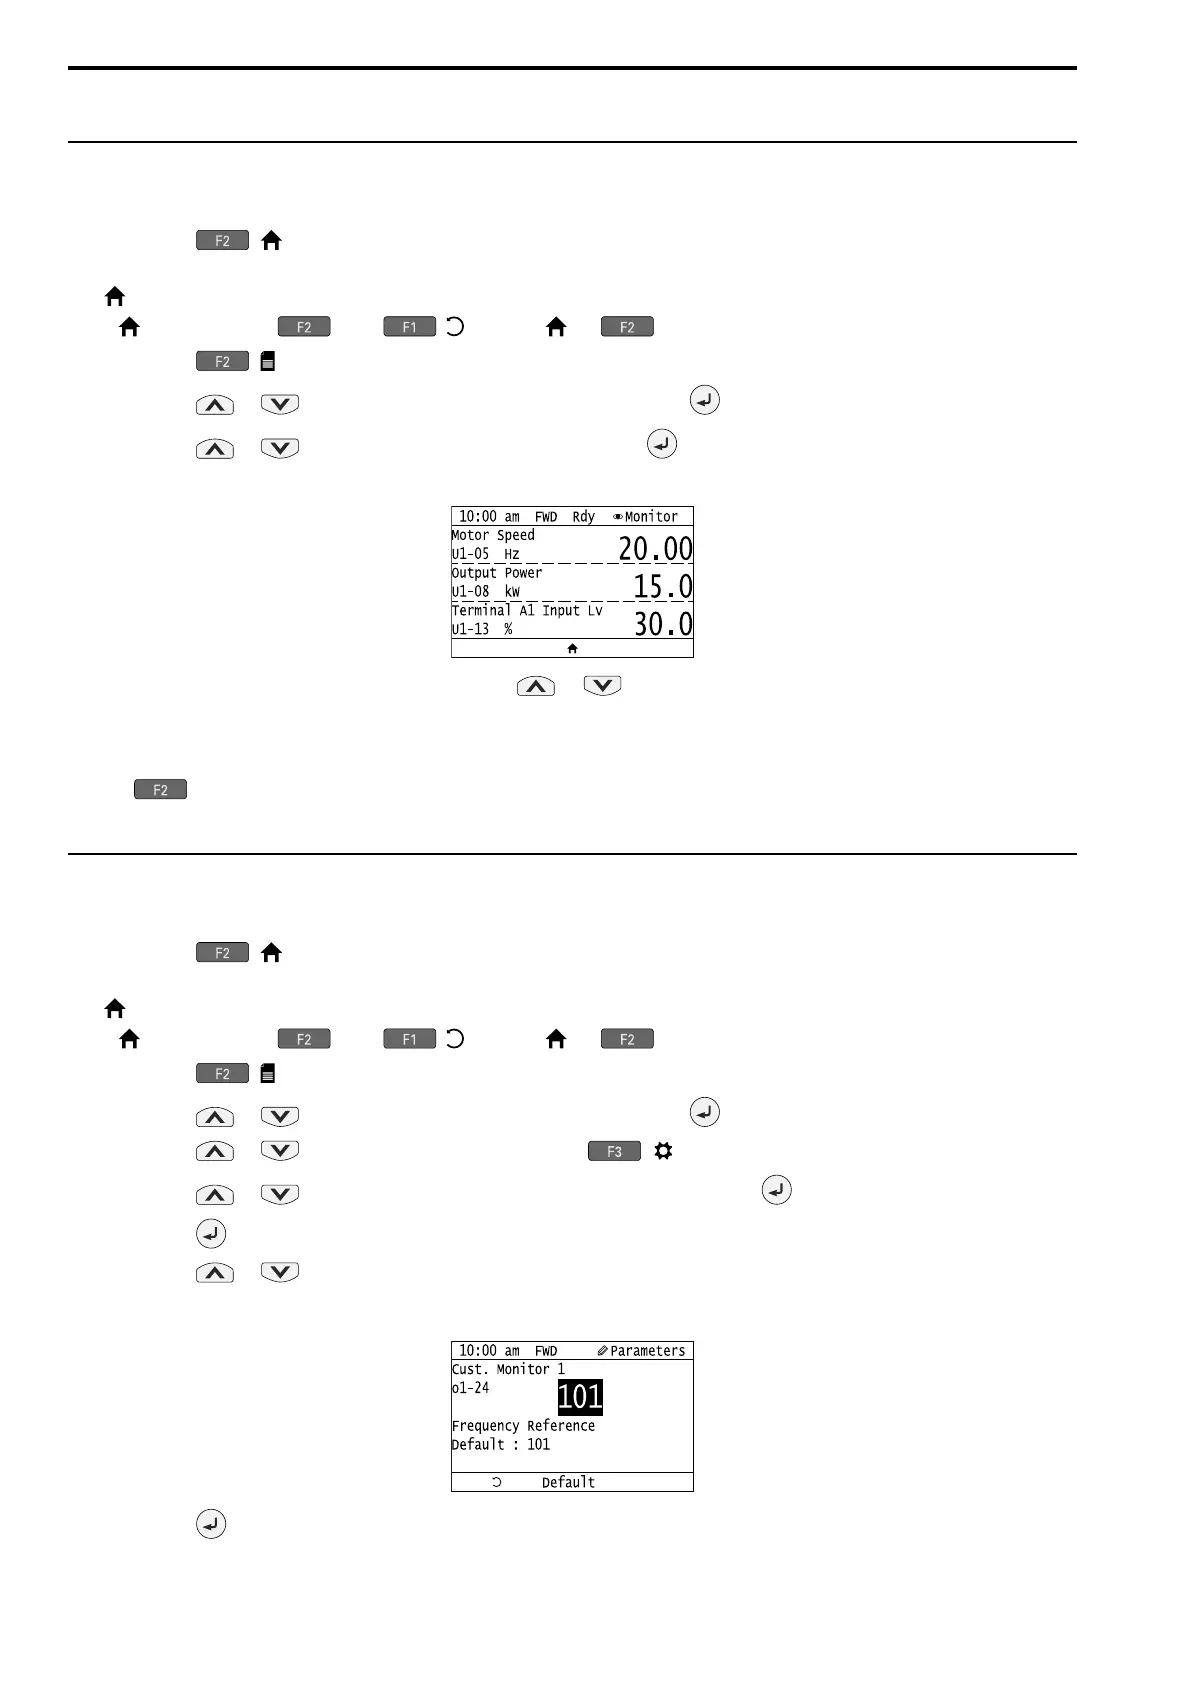
The keypad shows the selected monitor as shown in this figure.
• When there are a minimum of two screens, push or to switch between screens.
• If you registered only one custom monitor to [Custom Monitor 1], the screen will show only one monitor. If you
registered custom monitors only to [Custom Monitor 1] and [Custom Monitor 2], the screen will show only two
monitors.
• Push for 2 s to toggle between 3-line view and 6-line view.
• To remove monitors from the Custom Monitor list, chose ‘0’ [Through Mode].
◆ Set the Monitors to Show as a Bar Graph
The procedure in this section shows how to show the frequency reference monitor as a bar graph.
1. Push ( ) to show the HOME screen.
Note:
• [ Home] appears in the upper right hand corner of the screen when in HOME mode.
• If [ ] is not shown on , push ( ) to show [ ] on .
2. Push ( ).
3. Push or to select [Monitor & Diagnostics], then push .
4. Push or to select [Bar Graph], then push ( ).
5. Push or to select the location to store the monitor, then push .
6. Push .
7. Push or to select the monitor number to register.
Enter the three digits in “x-xx” part of monitor Ux-xx to identify which monitor to output. For example, to
show monitor U1-01 [Frequency Reference], set it to "101" as shown in this figure.
Push .
 Loading...