Chapter 9: Installing, Removing, and Replacing Components
Replacing the Chassis
266 Quantum Scalar i40 and Scalar i80 User’s Guide
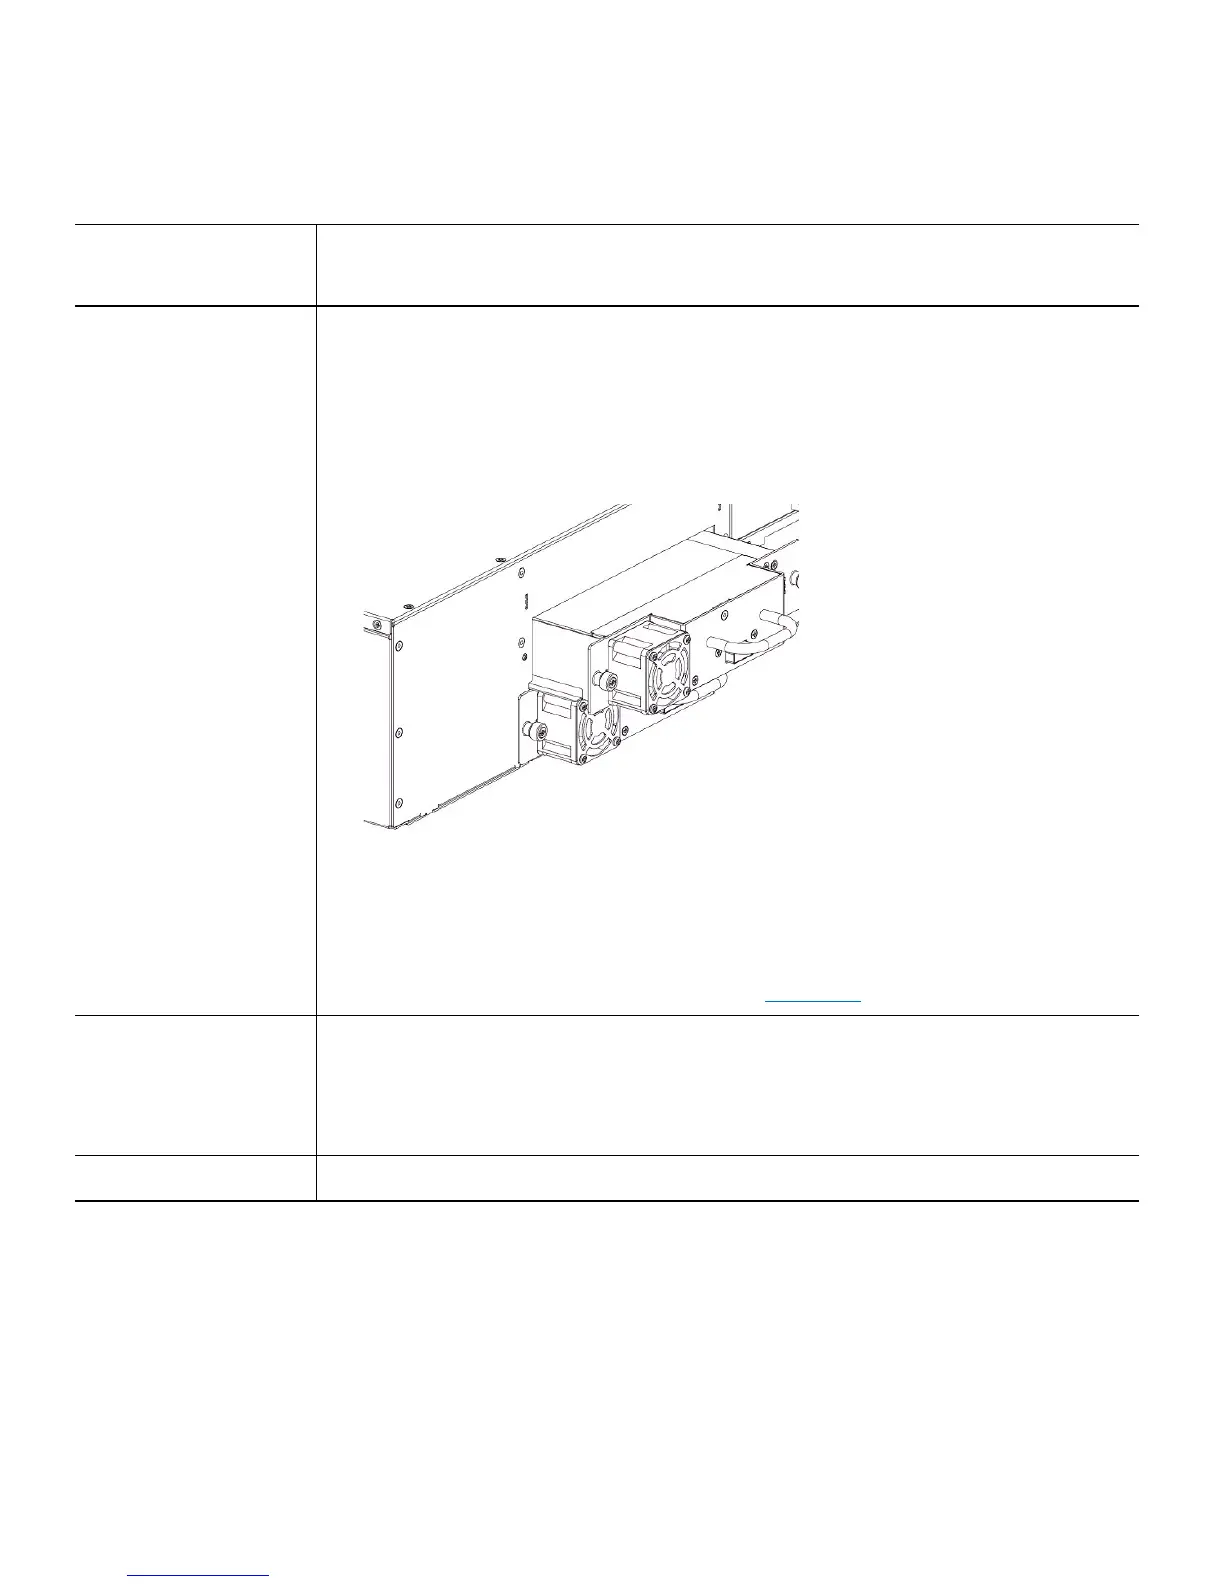
Tap e Dr iv es 1 Insert the tape drives into the same drive slots they were in the old chassis.
The “shelf” on the bottom of the drive sled fits into the notch in the library
chassis and slides on the plastic guide rails. The tape drive must be level to
slide in smoothly. At the very end of the slide, you will feel a slight “click” as
the tape drive sled connector connects into its mating connector in the
library chassis.
2 Tighten the tape drive’s captive thumbscrews finger tight to secure the tape
drive to the library chassis.
3 Conn
ect all tape drive cables as they were in the old unit. Make sure they
are connected to the host or switch as they were before. For full-height
Fibre Channel tape drives, the cable must go in the LEFT connector (as
viewed from the back of the library; see Figure
63 on page 267).
Filler Plates Make sure every empty power supply slot and tape drive
slot is covered with a
filler plate.
1 Sl
ide the filler plate into the slot.
2 Tighten the thum
bscrews.
Magazine Slide each magazine into its slot and push it in all the way until it stops.
Component to
Install
Instructions
 Loading...


