Chapter 9: Installing, Removing, and Replacing Components
Removing and Installing a Power Supply
Quantum Scalar i40 and Scalar i80 User’s Guide 277
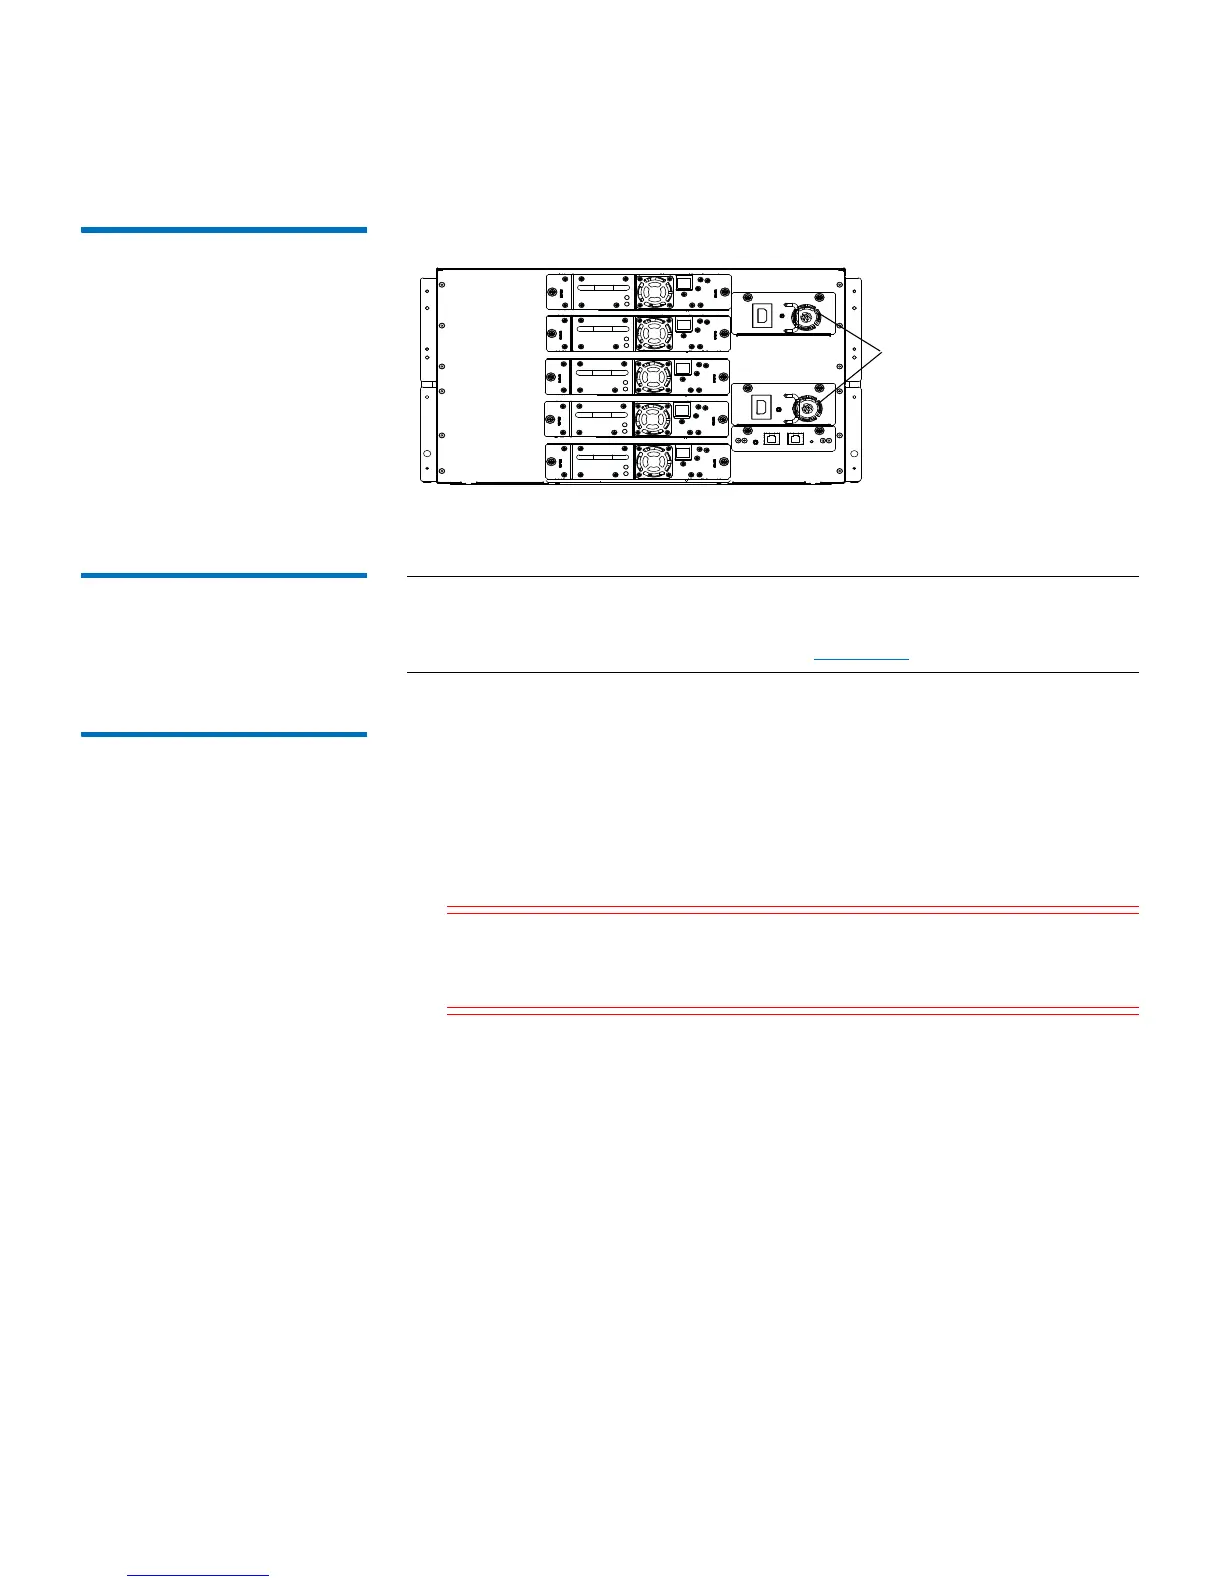
Figure 69 Redundant Power
Supply System
Replacing a Power
Supply in a Single-
Power-Supply System
(Scalar i40 and Scalar
i80)
Note: If you have a single power supply in a Scalar i80, it is
recommended that you install it in the upper slot, to provide
better temperature control (see Figure 68).
1 Shut down
the library (from the operator panel, select Actions >
Shutdown > Shutdown Library). Wait for the screen to prompt
you to turn off library power.
2 Tu
rn OFF library power by pressing the power button on the front
panel. Wait for the operator panel screen to turn off.
3 Disconne
ct the power cord from the power supply.
Caution: Make sure you disconnect live power from the power
supply before you remove or install it. Otherwise,
damage to the power supply could occur.
4 Unscrew the two captive thumbscrews on the power supply.
5 Usi
ng the handle, slowly pull the power supply straight out of the
library.
6 In
stall the new power supply by pushing it straight in to the slot.
You may need to press firmly on the power supply sheet metal at
the very end to plug in the power supply to the connector on the
library. You will feel it snap into place.
The power supply only goes in one way, and should slide in easily. If
you canno
t slide it in, you may be trying to install it upside down.
7 Tighten the two thum
bscrews finger tight.
 Loading...


