Specifying a Destination
This section explains how to specify a destination.
Fax numbers, IP-Fax destinations, Internet Fax destinations, e-mail destinations, and folder destinations
can be specified.
• The display shows the percentage of free memory space for storing originals. Since destinations
are programmed in separate memory, dialing fax numbers using the number keys does not change
the percentage on the display.
Sending over a Fax Line (Fax Destinations)
This section explains how to enter a fax number.
Use the number keys on the right side of the control panel to enter numbers.
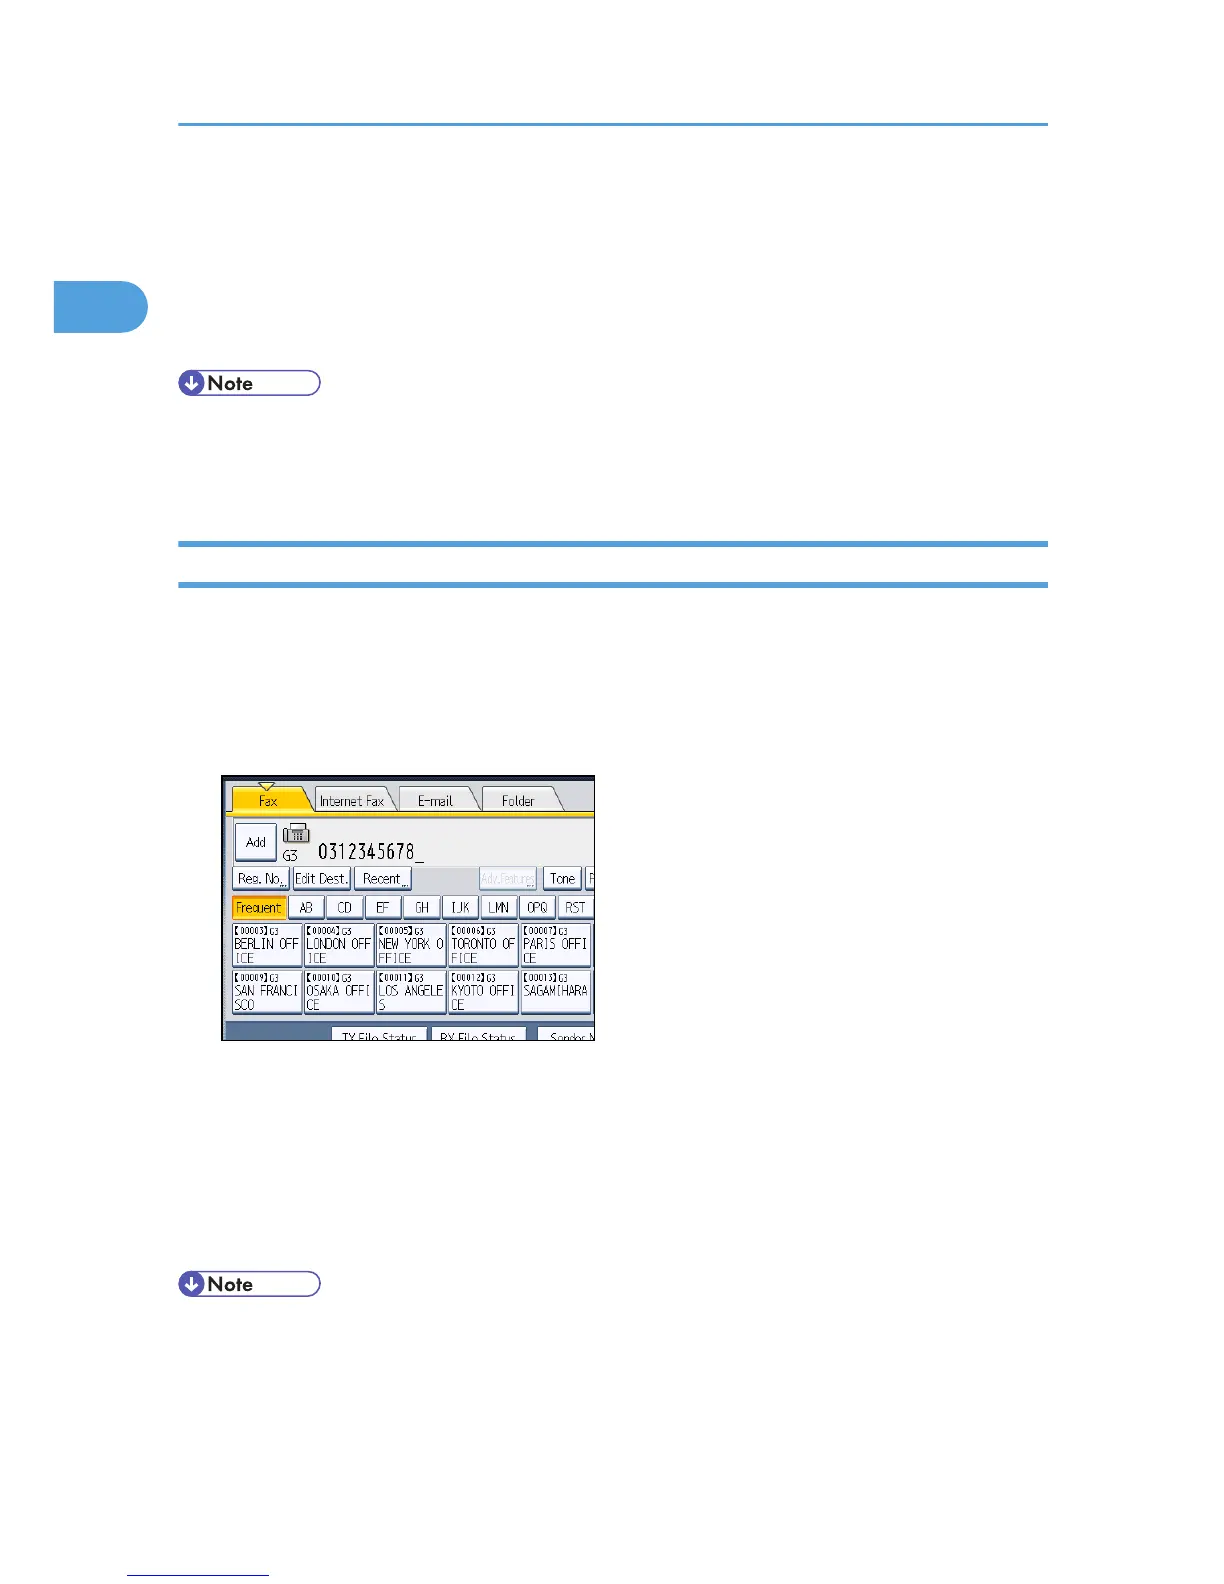
1. Make sure that [Fax] is selected.
2. Enter the fax number using the number keys.
If you make a mistake, press the [Clear/Stop] key, and then enter again.
When adding a destination, pressing the transmission type tab switches the transmission type
between fax/IP-Fax, Internet Fax, e-mail, and folder.
3. Press the [Start] key.
The machine starts to scan the original and stores it in memory. When scanning ends, the
Communicating indicator lights and transmission starts.
• To select a destination from the Address Book, see “Using the Address Book to Specify
Destinations”.
• You can insert pauses and tones in a fax number. For details, see “Entering a pause” or “Entering a
tone”.
1. Transmission
78

 Loading...