302
• It is not possible to undo a master timeline save.
• Saving the master timeline does not carry out a save of
effects. Save the effects for each region first, then carry
out the master timeline save.
Modifying a master timeline
This section describes changing the M/E-1 register from
Effect 5 to Effect 10 as an example.
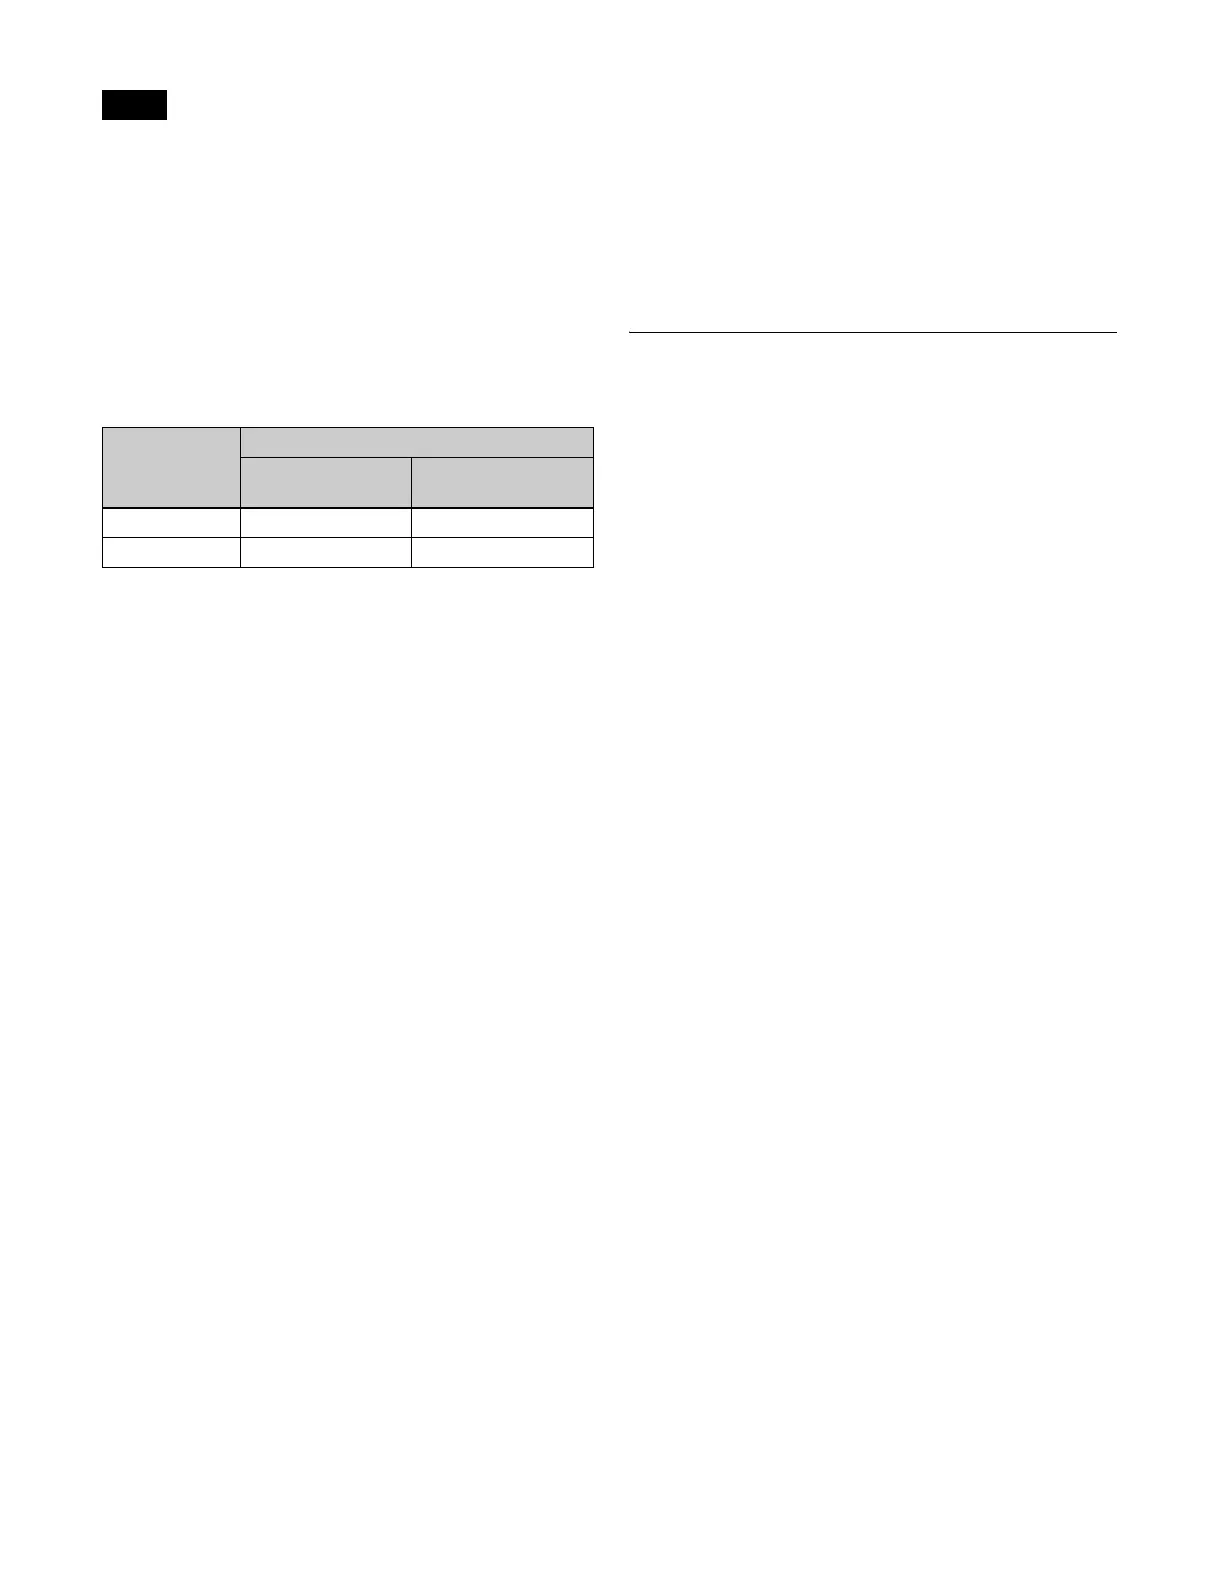
Example: Master timeline register information before and
after modification
1
Recall the master timeline register you want to change
(see page 286)
.
This simultaneously recalls M/E-1 register 5 and P/P
register 5, and the [M/E1] and [P/P] region selection
buttons light.
2
Press the region selection button [MASTR], turning it
off.
3
Turn on only the button for the region you want to
change ([M/E1]), and recall the desired register (Effect
10).
This recalls M/E-1 register 10, while on P/P register 5
remains selected.
4
Press the buttons for the regions you want to save on
the master timeline ([M/E1] and [P/P]), turning them
on.
5
Press the region selection button [MASTR], turning it
on.
The display shows the last recalled master timeline
register number.
6
Press the [STORE] button, turning it on.
7
Use the numeric keypad buttons to enter the number of
the register in which you want to save the master
timeline, and press the [ENTER] button.
This saves M/E-1 register 10 and P/P register 5 in the
master timeline register.
Checking the regions saved on a master
timeline
For example in the course of changing a master timeline,
you can check which regions are saved in the register.
With the [MASTR] button lit, hold down the [STORE]
button.
While the [STORE] button is pressed, the region selection
button for the saved region lights amber.
Creating and Saving a Master
Timeline (Menu)
1
Open the Effect >Master Timeline >Store menu
(6211).
The status area shows the master timeline register
names, register lock status, register number for each
region, and so on.
2
Switch the region display as required.
Press the button corresponding to the region you want
to display.
M/E: M/E-1 (“ME1”), M/E-2 (“ME2”), M/E-3
(“ME3”), M/E-4 (“ME4”), M/E-5 (“ME5”)
P/P: PGM/PST (“P/P”)
User: User1 (“USR1”), User2 (“USR2”), User3
(“USR3”), User4 (“USR4”), User5 (“USR5”),
User6 (“USR6”), User7 (“USR7”), User8
(“USR8”)
DME: DME ch1 (“DME1”), ch2 (“DME2”), ch3
(“DME3”), ch4 (“DME4”)
DEV1-8: Device1 (“DEV1”), Device2 (“DEV2”),
Device3 (“DEV3”), Device4 (“DEV4”), Device5
(“DEV5”), Device6 (“DEV6”), Device7
(“DEV7”), Device8 (“DEV8”)
DEV9-12: Device9 (“DEV9”), Device10 (“DEV10”),
Device11 (“DEV11”), Device12 (“DEV12”)
Misc: P-Bus (“PBUS”), GPI (“GPI”), Macro
(“MCRO”)
3
Select the register in which you want to save the
master timeline.
4
Press [Edit].
The Edit menu (6211.1) appears.
You can also use the [Master Reg] parameter to select
the master timeline register in this menu.
The status area shows the status of each region in this
master timeline.
5
Select a region.
You can select more than one region.
Notes
Region Register
Before
modification
After modification
M/E-1 Effect 5 Effect 10
P/P Effect 5 Effect 5
 Loading...