4-47 2000-OSM, F1
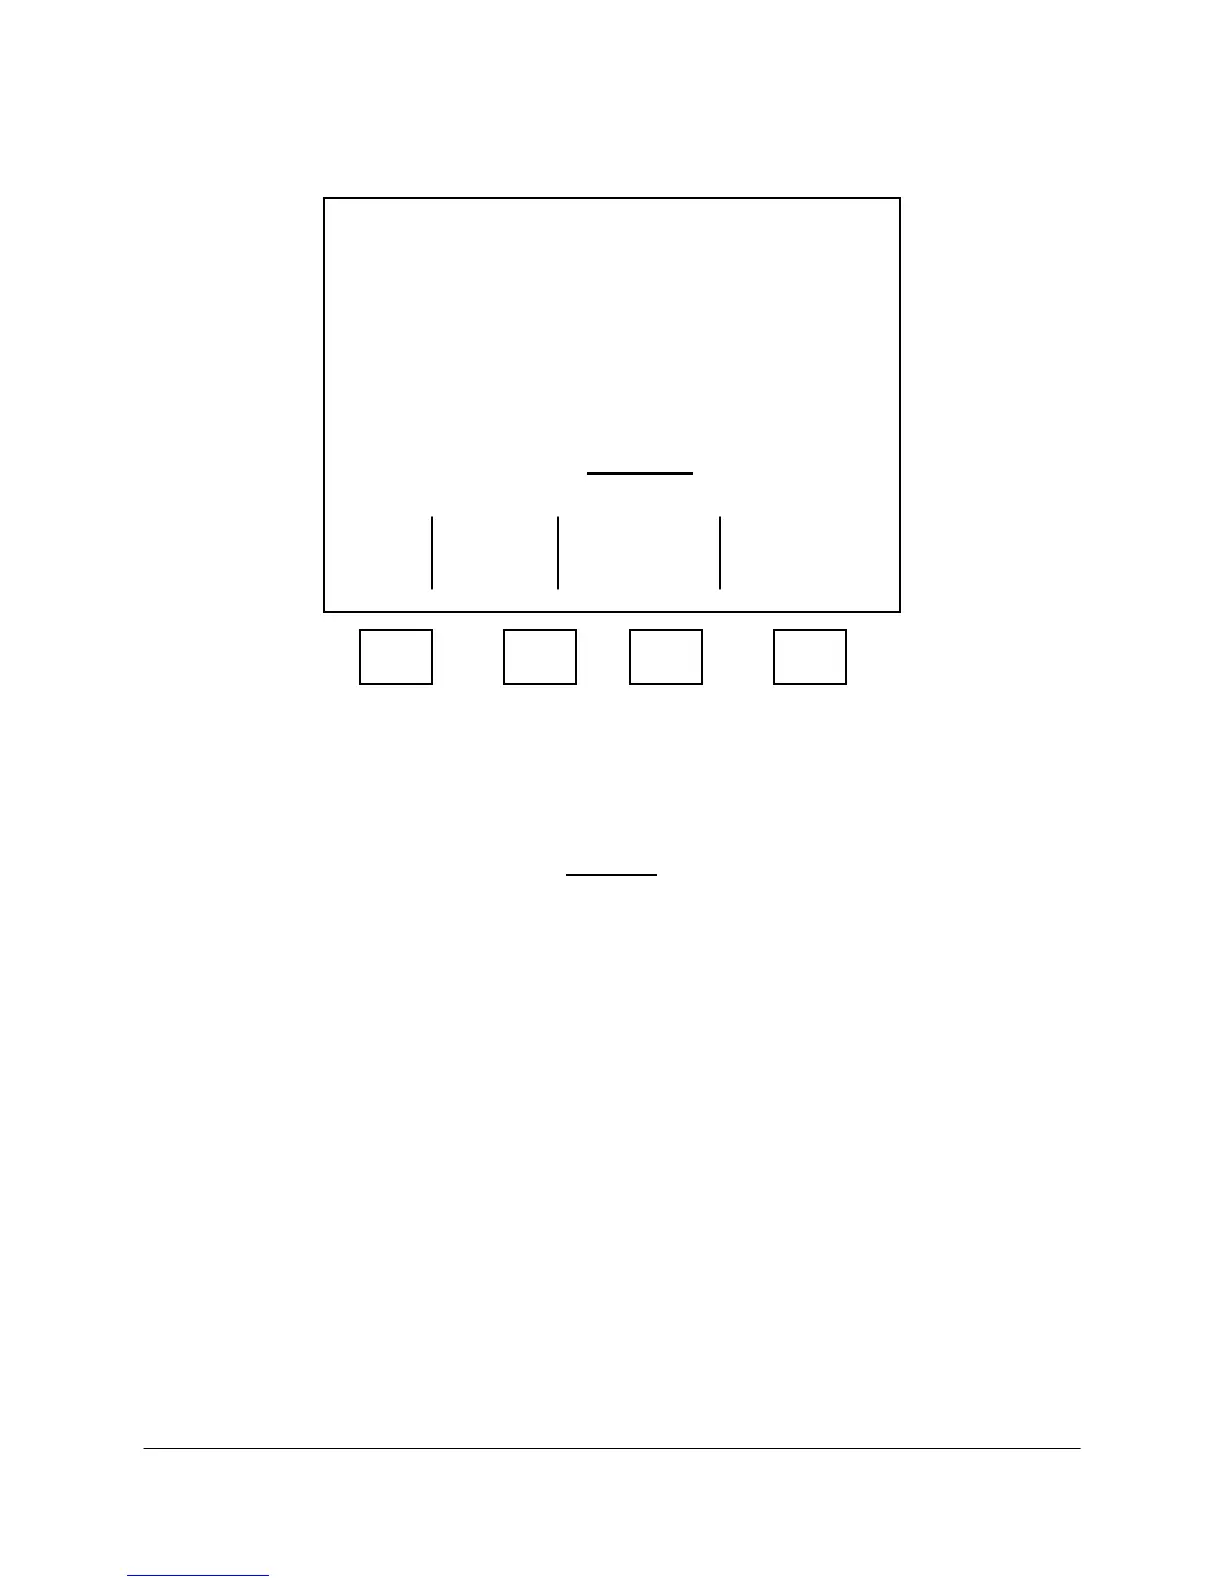
7. Move the cursor to the Value column and the Temperature Check Table appears, with the cursor
on Entry line 01 (see Figure 4-43). Note the Entry line number when you enter the table so you
can exit the table from the same, if desired.
***** Temperature Check *****
Temperature
Entry Zone C Action
[01] Temp Zone1 < 0.0000 Abort
02 Temp Zone1 < 0.0000 Display
03 Temp Zone1 < 0.0000 Abort
04 Temp Zone1 < 0.0000 Display
05 Temp Zone1 < 0.0000 Display
06 Temp Zone1 < 0.0000 Display
07 Temp Zone1 < 0.0000 Display
08 Temp Zone1 < 0.0000 Display
More Below
Exit
F1 F2 F3 F4
Figure 4-43. TEMPERATURE CHECK SCREEN
8. On the Temperature Check screen, move the cursor as necessary to select the Zone Name and
to change less than (<), more than (>), alarm value, and the alarm mode of the desired entries.
CAUTION
When you exit the Temperature Check screen, the value in the Entry line
highlighted when you exit becomes the Value entry in the Method Table. Unless
you want to change the Value entry, exit on the same Entry line number that you
entered the Temperature Check screen.
9. Verify the changed values and place the cursor on the desired Entry number. Then press the F1
(Exit) soft key.
Controller Type
There are several types of temperature controllers, such as Sulfur, Sparger, PINA, PNA, and Regular.
This screen is set at the factory and should not have to be changed. If you want to verify the setting,
perform the following steps.
1. On the Background screen, press the F2 (Manual Control) soft key.
2. On the Manual Control Mode screen, press the F4 (Press. & Temp. Control) soft key.
3. On the Pres and Temp Control screen (see Figure 4-39), cursor to TEMP CONFIGURATION and
press the F4 (Controller Type) soft key.
 Loading...


