R5906848 /04 DP2K SLP Series 125
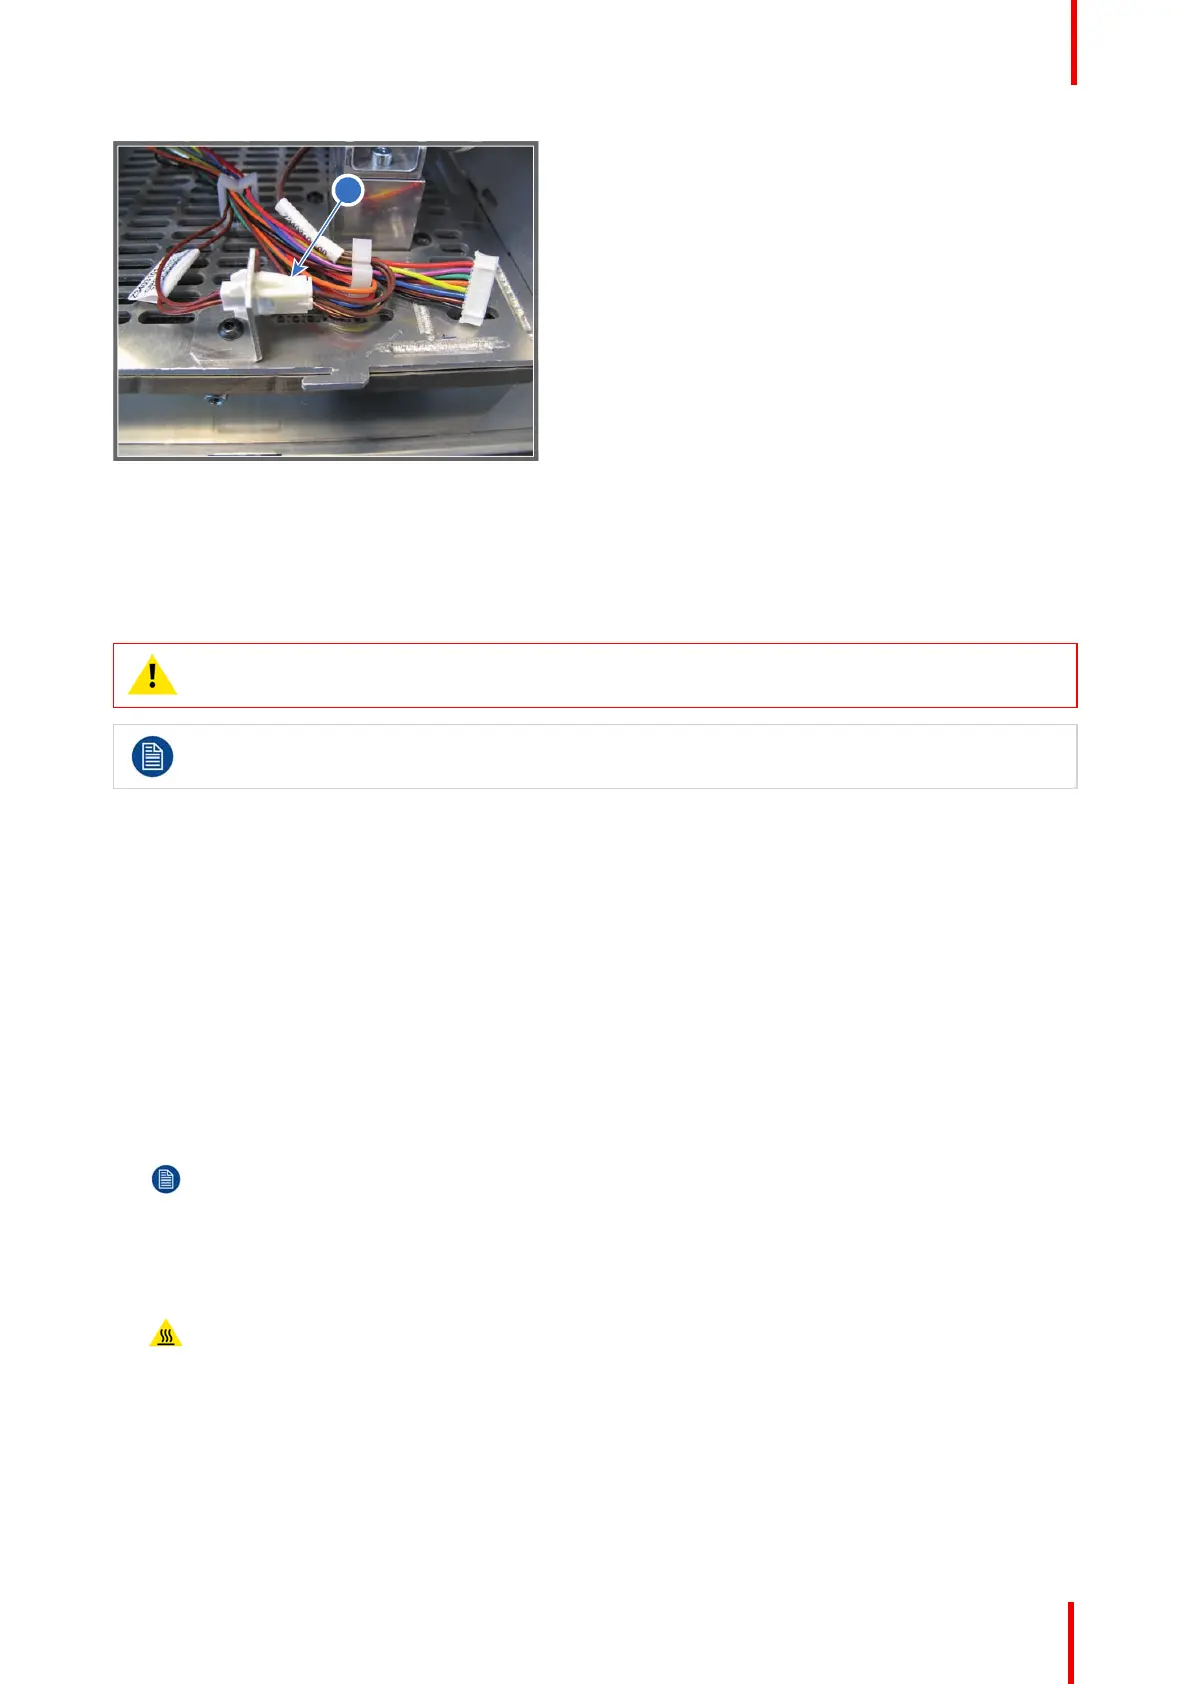
Image 10-17
10.11 Adjusting the Light Pipe lens No1 (focus
lens)
CAUTION: Only qualified and authorized personnel may perform this procedure.
To adjust the Light Pipe focus lens the left cover of the projector and the side cover plate of the Light
Processor compartment have to be removed.
Required tools
Nut driver 5.5 mm
How to adjust the Light Pipe focus lens?
1. Loosen the adjustment screw of the focus lens (reference 2 Image 10-18) a few turns. Use a 5.5 mm nut
driver. Do not remove the adjustment screw.
2. Start up the projector but do not activate the light source yet.
3. Set up the projector to display a full white internal pattern with a maximum contrast and a maximum
dimming, without activating the light source. Make sure that you have a 5.5 mm nut driver within reach for the
next steps.
4. Activate the light source and zoom the projector lens in or out until the projected image is focused.
Note: Dialog windows must be displayed sharp instead of blurry. This is independent of the focus of
the light beam.
5. Gently move the adjustment screw (reference 2 Image 10-18) of the Light Pipe focus lens UP or DOWN into a
position which projects the sharpest possible edges on the screen (FOCUS). Use a 5.5 mm nut driver as an
extension bar of the adjustment screw. This allows a more precise adjustment.
Warning: The adjustment screw of the Light Pipe focus lens is hot. To prevent burn injuries use 5.5mm
nut driver for moving the Integration Rod.
Light Pipe
 Loading...


