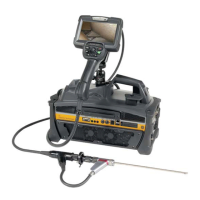
TThese ‘Biopsy Lines’ appear if Multi Angle Biopsy is possible for the activated Probe.
See ‘To program a Multi Angle Biopsy Line’ on page 5‐17 for more information.
Note
Biopsy Kit informations are grayed, if needle path was not calibrated once (Biopsy Setup).
5.2.3 To program a Single Angle Biopsy Line
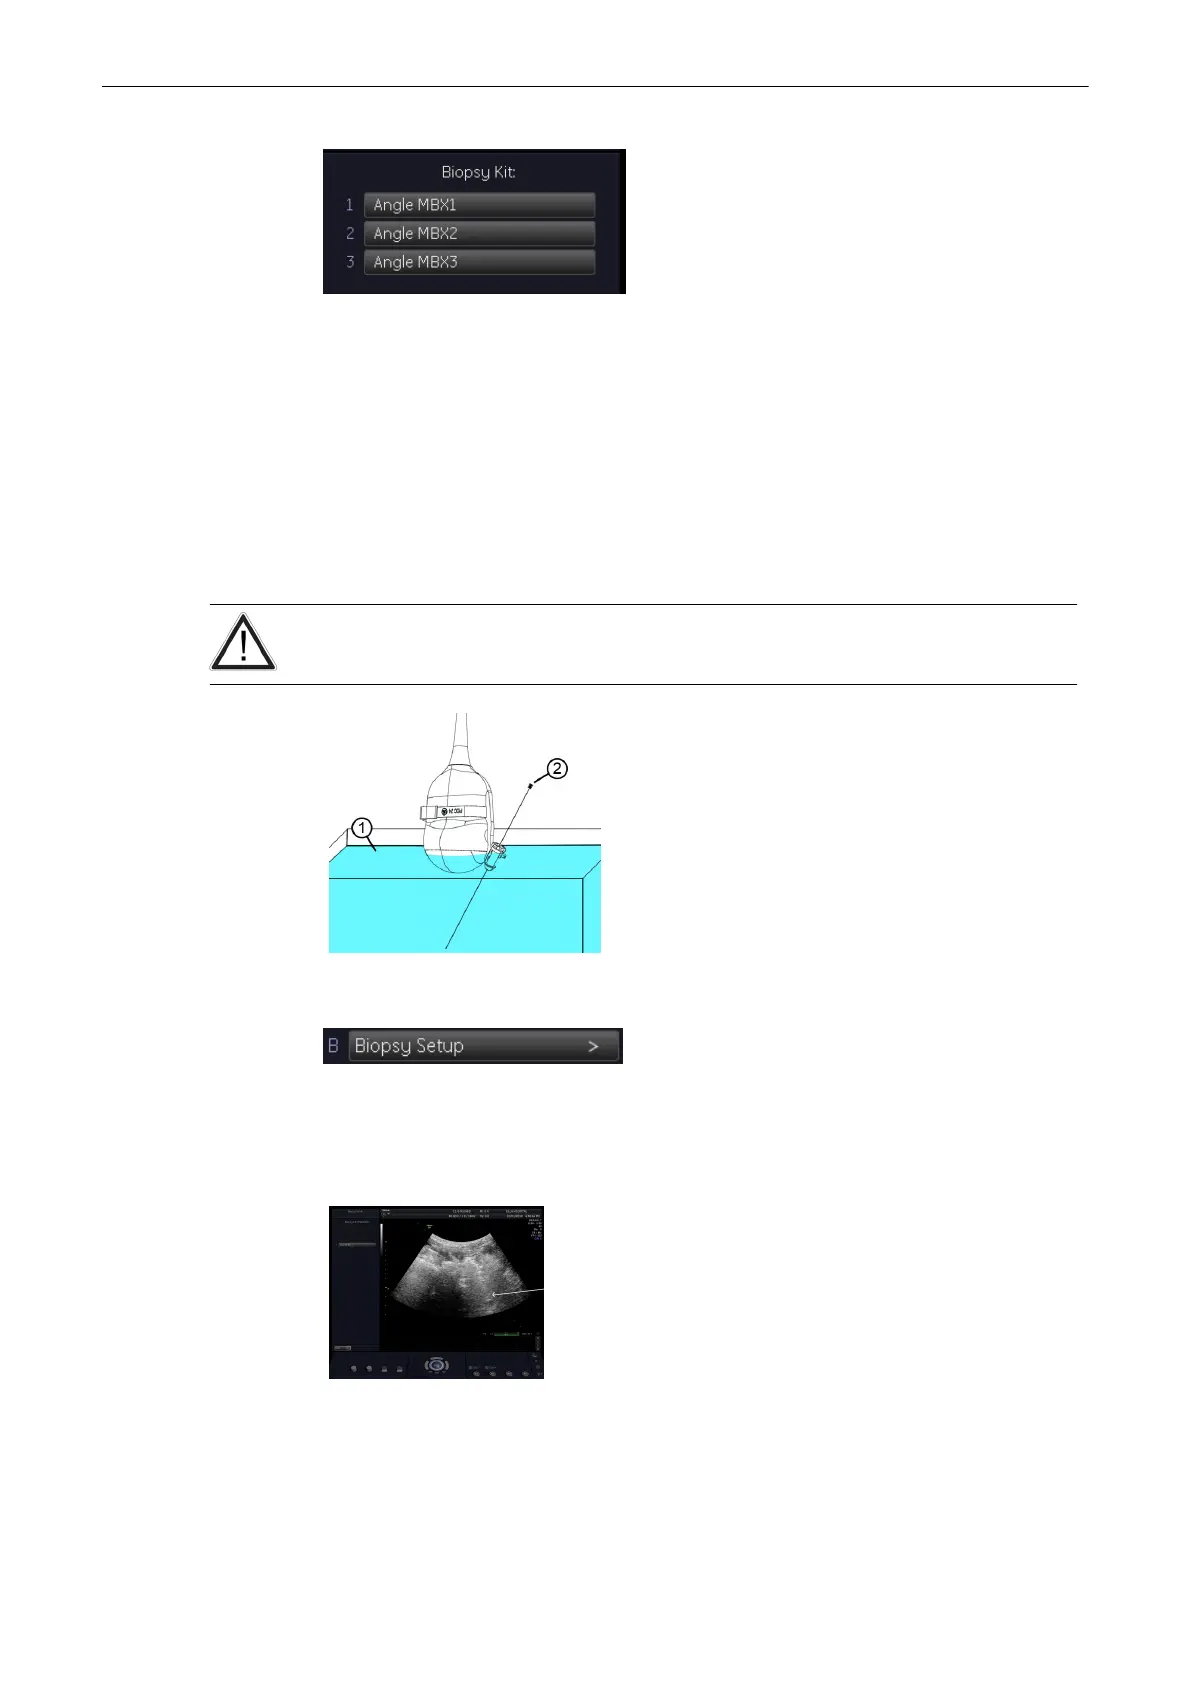
Condition: Place the probe with the biopsy guide secured and with the needle attached into a
water bath (about 47˚C, set OTI to “Normal”) to display the exact position of the needle on the
active B image.
The needle used for this alignment verification must not be used for the actual procedure.
Always use a straight, new and sterile needle for each biopsy procedure.
1. Water*
2. Biopsy-needle
* Waterbath about 47˚ C
After activation of the “Biopsy Setup” the menu and status area changes to the “Biopsy Setup”
menu.
The Biopsy Line appears on the monitor (e.g., RAB4-8RS)
Needle
This yellow marker indicates the access point of the needle in the Biopsy Guide!
Probes and Biopsies
Voluson® S6/S8 Basic User Manual
5433669-100 Revision 4 5-15
 Loading...