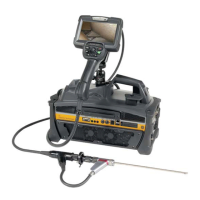
The selected images of the exam(s) will be sent to the selected DICOM storage destination.
Press [DICOM Config] to customize your DICOM server. For more details, see 'Connectivity'
on page 13-30
12.3.7.2 Print
After selecting the exam(s) to be printed using the trackball and the left or right trackball key
[Set], click the [Print] button. All selected images of the exam(s) will be printed at the selected
printer, be it a local or DICOM printer.
Note
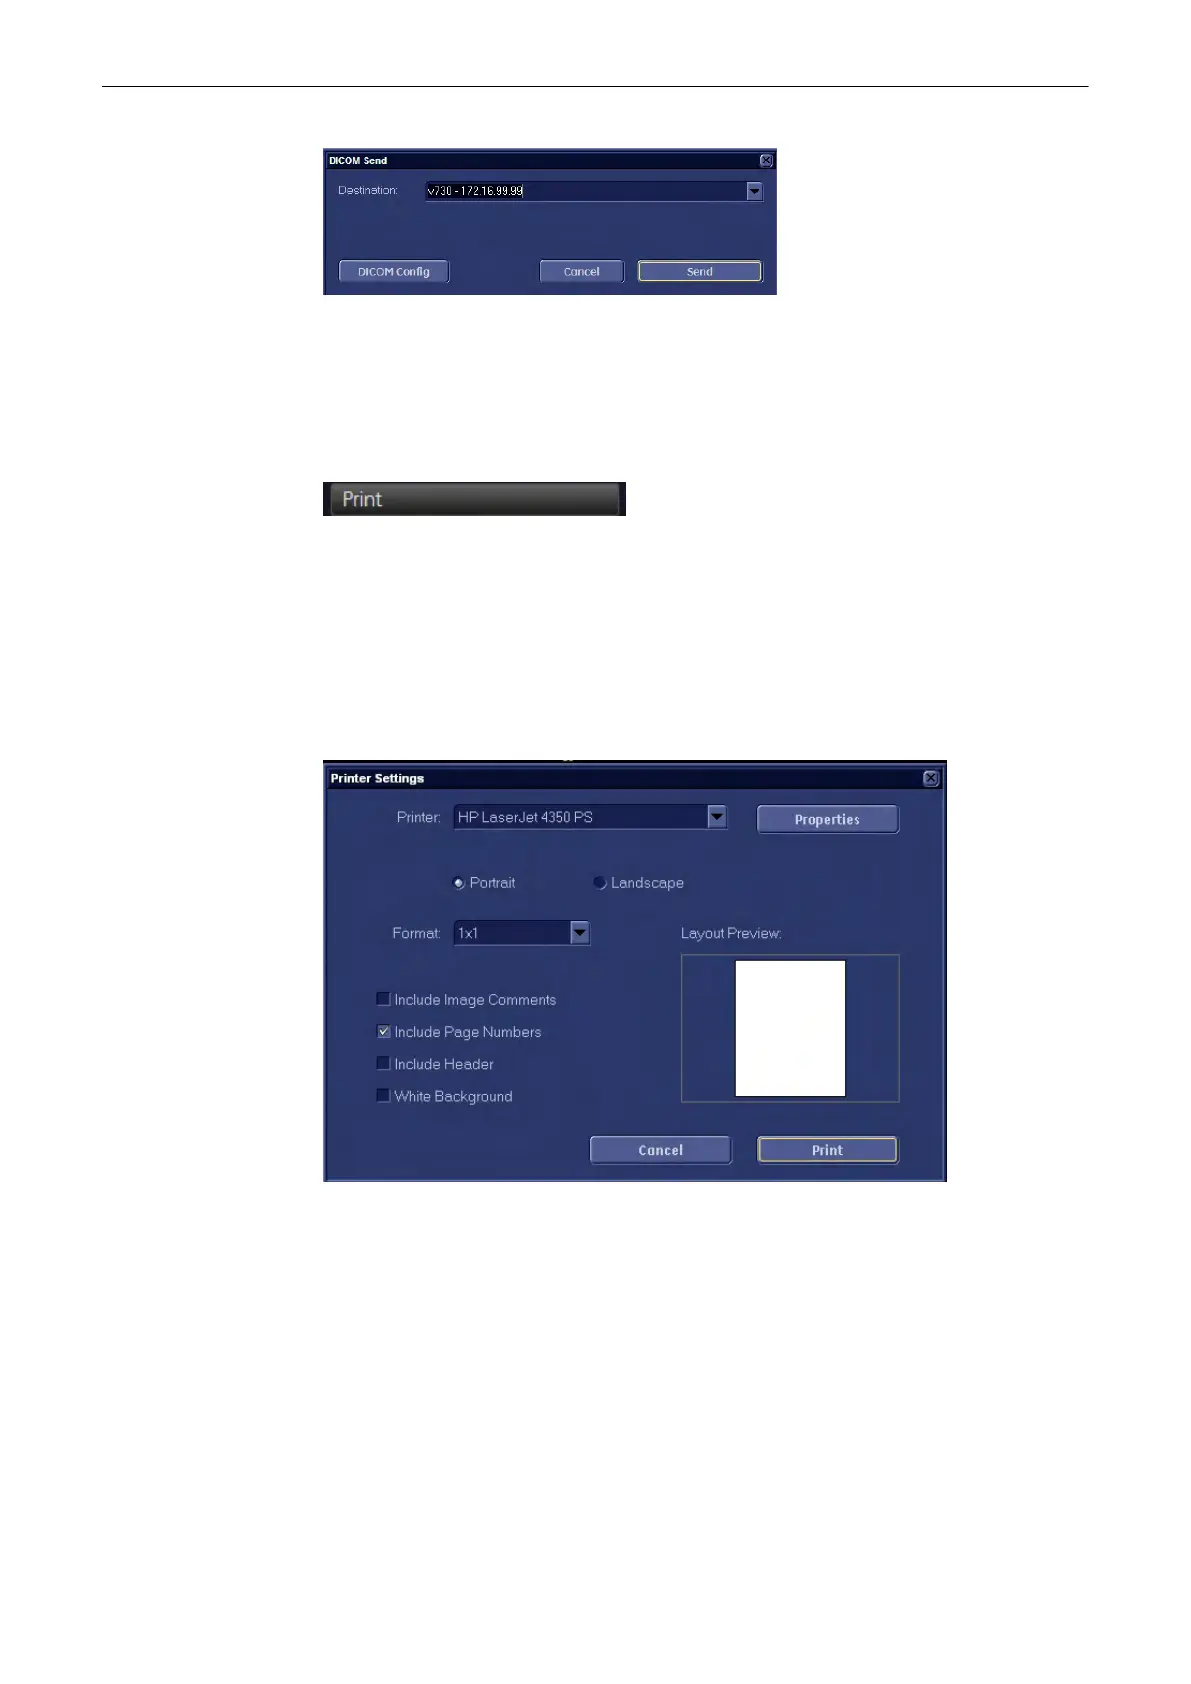
Although the menu looks the same as the menu in System Setup, this Printer Settings menu is
solely for print jobs initiated with the Px buttons or from Archive. If you want to edit printer
settings for print jobs initiated with the End Exam button, please refer to
'Connectivity'
on page
13-30
1. Firstly select the printer from the pull-down menu
2.
Then choose the format (Portrait/Landscape) by selecting the correct radio button.
Note
Watch Layout Preview for the effects of your selections.
3. Set the [Include Image Comments] checkbox, to include image comments.
4. Set the [Include Page Numbers] checkbox, to include page numbers.
5. Set the [Include Header] checkbox, to include a Header.
6. Set the [White background] checkbox, to save ink or toner. The black frame around the
sector of the US image, which contains information, will be set to white.
Press [Print] to print the selected image(s).
Archive
12-26
Voluson® S6/S8 Basic User Manual
5433669-100 Revision 4
 Loading...