2C-7 Rear Suspension:
Installation
Install the rear swingarm in the reverse order of removal.
Pay attention to the following points:
• Install the collar to swingarm.
CAUTION
!
When installing the swingarm to the frame,
pay attention to the difference of the collar.
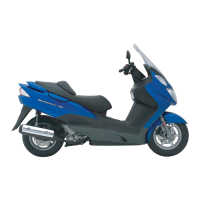
• After install the rear swingarm temporarily, tighten the
rear brake caliper bolts (1) to the specified torque.
Tightening torque
Rear brake caliper bolt (a): 23 N·m (2.3 kgf-m,
16.5 lb-ft)
• Tighten the rear swingarm bolts (2), rear axle nut (3)
to the specified torque.
Tightening torque
Rear swingarm bolt (b): 50 N·m (5.0 kgf-m, 36.0
lb-ft)
Rear axle nut (c): 120 N·m (12.0 kgf-m, 87.0 lb-ft)
• Tighten the exhaust pipe joint bolt and muffler
mounting bolt. to the specified torque.
CAUTION
!
Replace the exhaust pipe connector with a
new one.
Tightening torque
Exhaust pipe connecting bolt: 23 N·m (2.3 kgf-m,
16.5 lb-ft)
Muffler mounting bolt: 23 N·m (2.3 kgf-m, 16.5 lb-
ft)
WARNING
!
After remounting the rear wheel, pump the
rear brake lever several times to check for
proper brake operation.
Rear Swingarm Related Parts Inspection
B705H12306025
Refer to “Rear Swingarm Removal and Installation
(Page2C-6)”.
Inspect the following parts.
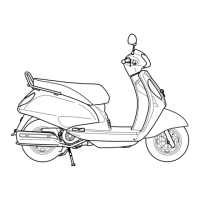
Rear Swingarm
Inspect the rear swingarm for crack or other damage. If
any defects are found, replace the swingarm with a new
one.
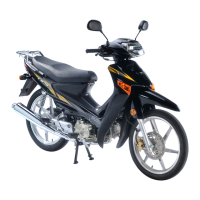
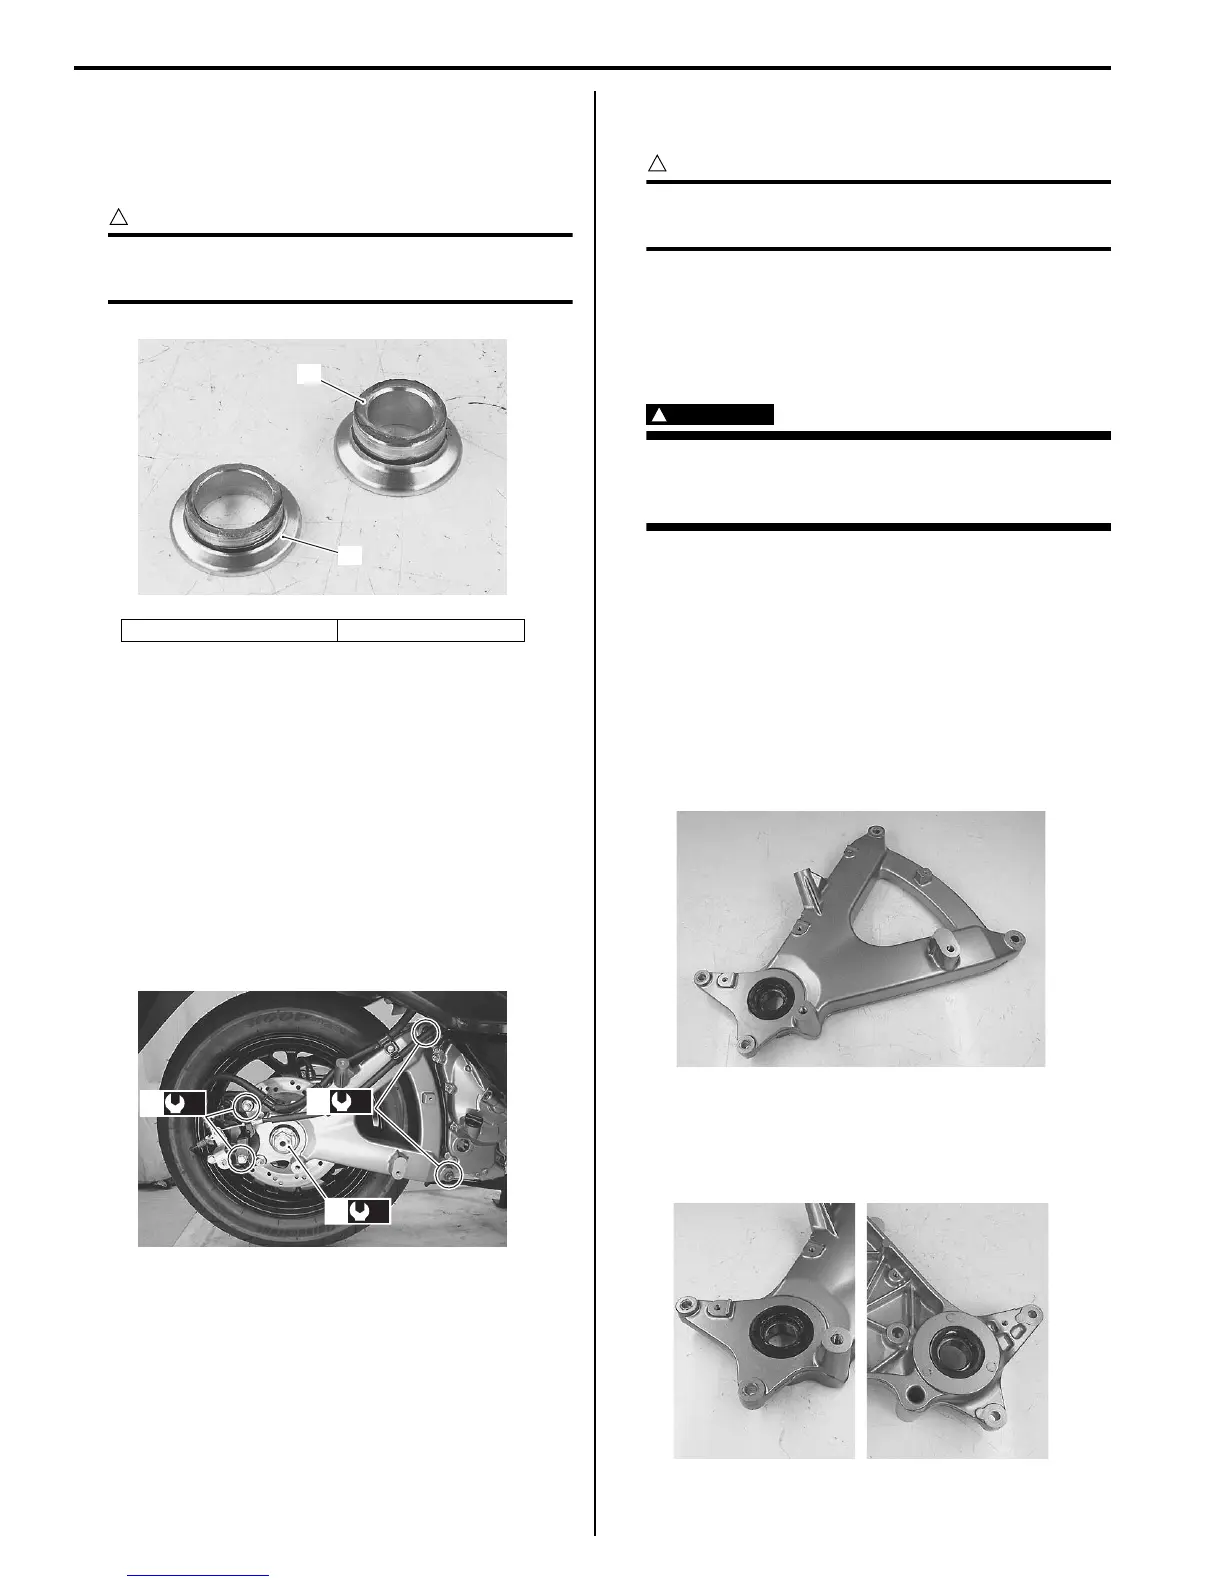
Dust Seal
Inspect dust seal lip for wear or damage. If any defects
are found, replace the dust seal with a new one.
“A”: Rear axle nut side “B”: Wheel side
“A”
“B”
I705H1230033-02
(a)
1
(b)
2
(c)
3
I705H1230025-01
I705H1230026-01
I705H1230027-01
 Loading...