Wheels and Tires: 2D-13
7) When the bead has been fitted properly, adjust the
pressure to specification.
8) As necessary, adjust the tire balance. Refer to
“Wheel Balance Check and Adjustment (Page2D-
14)”.
Cold inflation tire pressure
9) Install the wheel assembly. Refer to “Front Wheel
Assembly Removal and Installation (Page2D-4)” and
“Rear Wheel Assembly Removal and Installation
(Page2D-9)”.
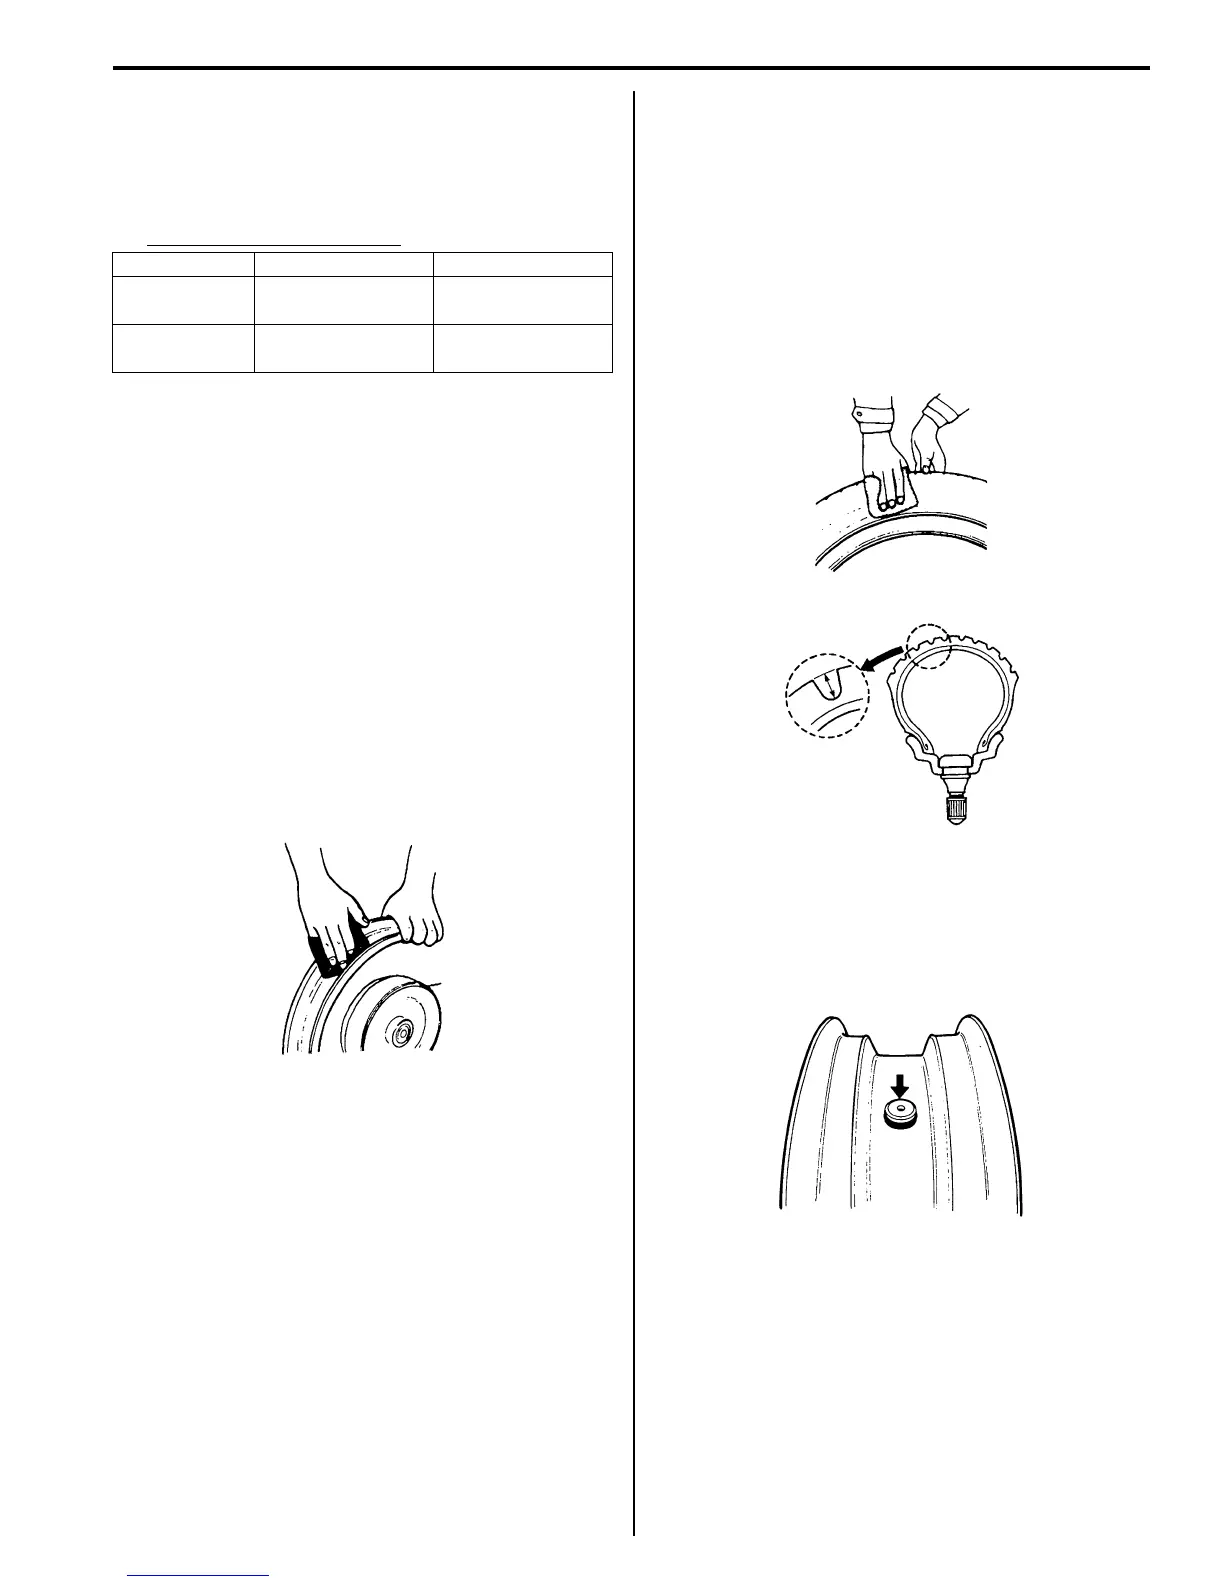
Wheel/Tire/Air Valve Inspection and Cleaning
B705H12406028
Refer to “Tire Removal and Installation (Page2D-11)”.
Wheel
Wipe the wheel clean and check for the following points:
• Distortion and crack
• Any flaws and scratches at the bead seating area.
• Wheel rim runout. Refer to “Front Wheel Assembly
Removal and Installation (Page2D-4)” and “Rear
Wheel Assembly Removal and Installation (Page2D-
9)”.
Tire
Tire must be checked for the following points:
• Nick and rupture on side wall
• Tire tread depth (Refer to “Tire Inspection in Section
0B (Page0B-15)”.)
• Tread separation
• Abnormal, uneven wear on tread
• Surface damage on bead
• Localized tread wear due to skidding (Flat spot)
• Abnormal condition of inner liner
Air Valve
Inspect the air valve for peeling and damage. If any
defect is found, replace the air valve with a new one.
Refer to “Air Valve Removal and Installation (Page2D-
14)”.
Front Rear
Solo riding
175 kPa
(1.75 kgf/cm
2
)
200 kPa
(2.00 kgf/cm
2
)
Dual riding
175 kPa
(1.75 kgf/cm
2
)
250 kPa
(2.50 kgf/cm
2
)
I649G1240041-01
I649G1240042-01
I649G1240043-01
I649G1240044-01
 Loading...