6. Replacing Parts
6-1-12. Carriage Motor
Adjust the firmware with GT-3 Service Tool, after you replace to the new Carriage Motor. (Refer to “3-3. GT-3
Service Tool”.)
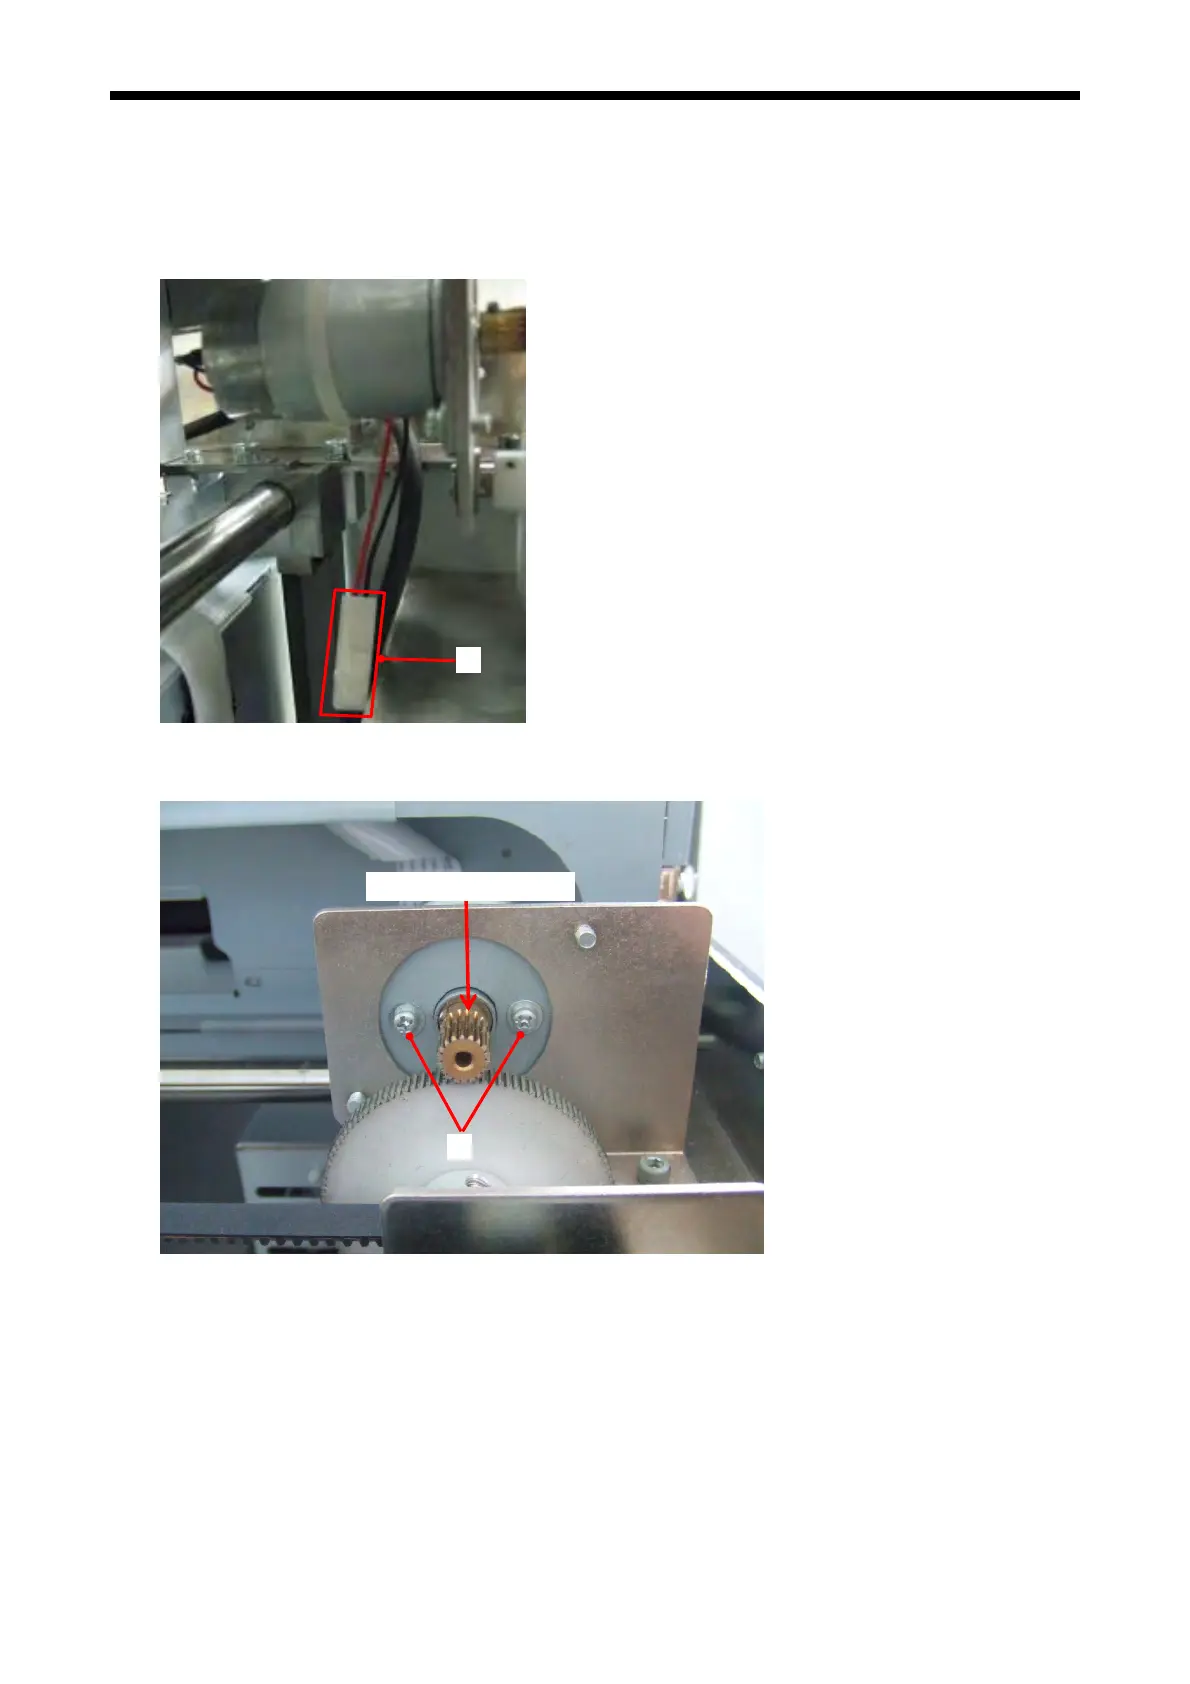
1. Remove the AC Cord and open the Cover UB.
2. Remove the Connector (1) of the Motor.
(1)
3. Remove the t
wo screws (2) that fix the Motor, and remove the Motor Assy from the Motor Fixing Plate,
and then mount the new Motor Assy with the two screws.
(2)
Fix it with your finger
4. Confirm the b
acklash.
You can confirm by moving the Gear of the Pulley side with fixing the Gear of the Motor side with your
finger.
Feel some play (backlash) with the Gear of the Pulley side when you fix the Gear of the Motor side.
Confirm that there should be 0.01mm – 0.1mm backlash all around the Gear of the Pulley side
(perimeter).
<Note>
Less or no backlash may damage the Motor Shaft and make the lifetime shorter than the normal
condition.
GT-3 Series
153
 Loading...