6. Replacing Parts
6-1-34. Ink Switch Dog
Required Tool
・ Phillips screwdriver Plus
・ Flathead screwdriver
・ Radio Pliers
・ Gloves
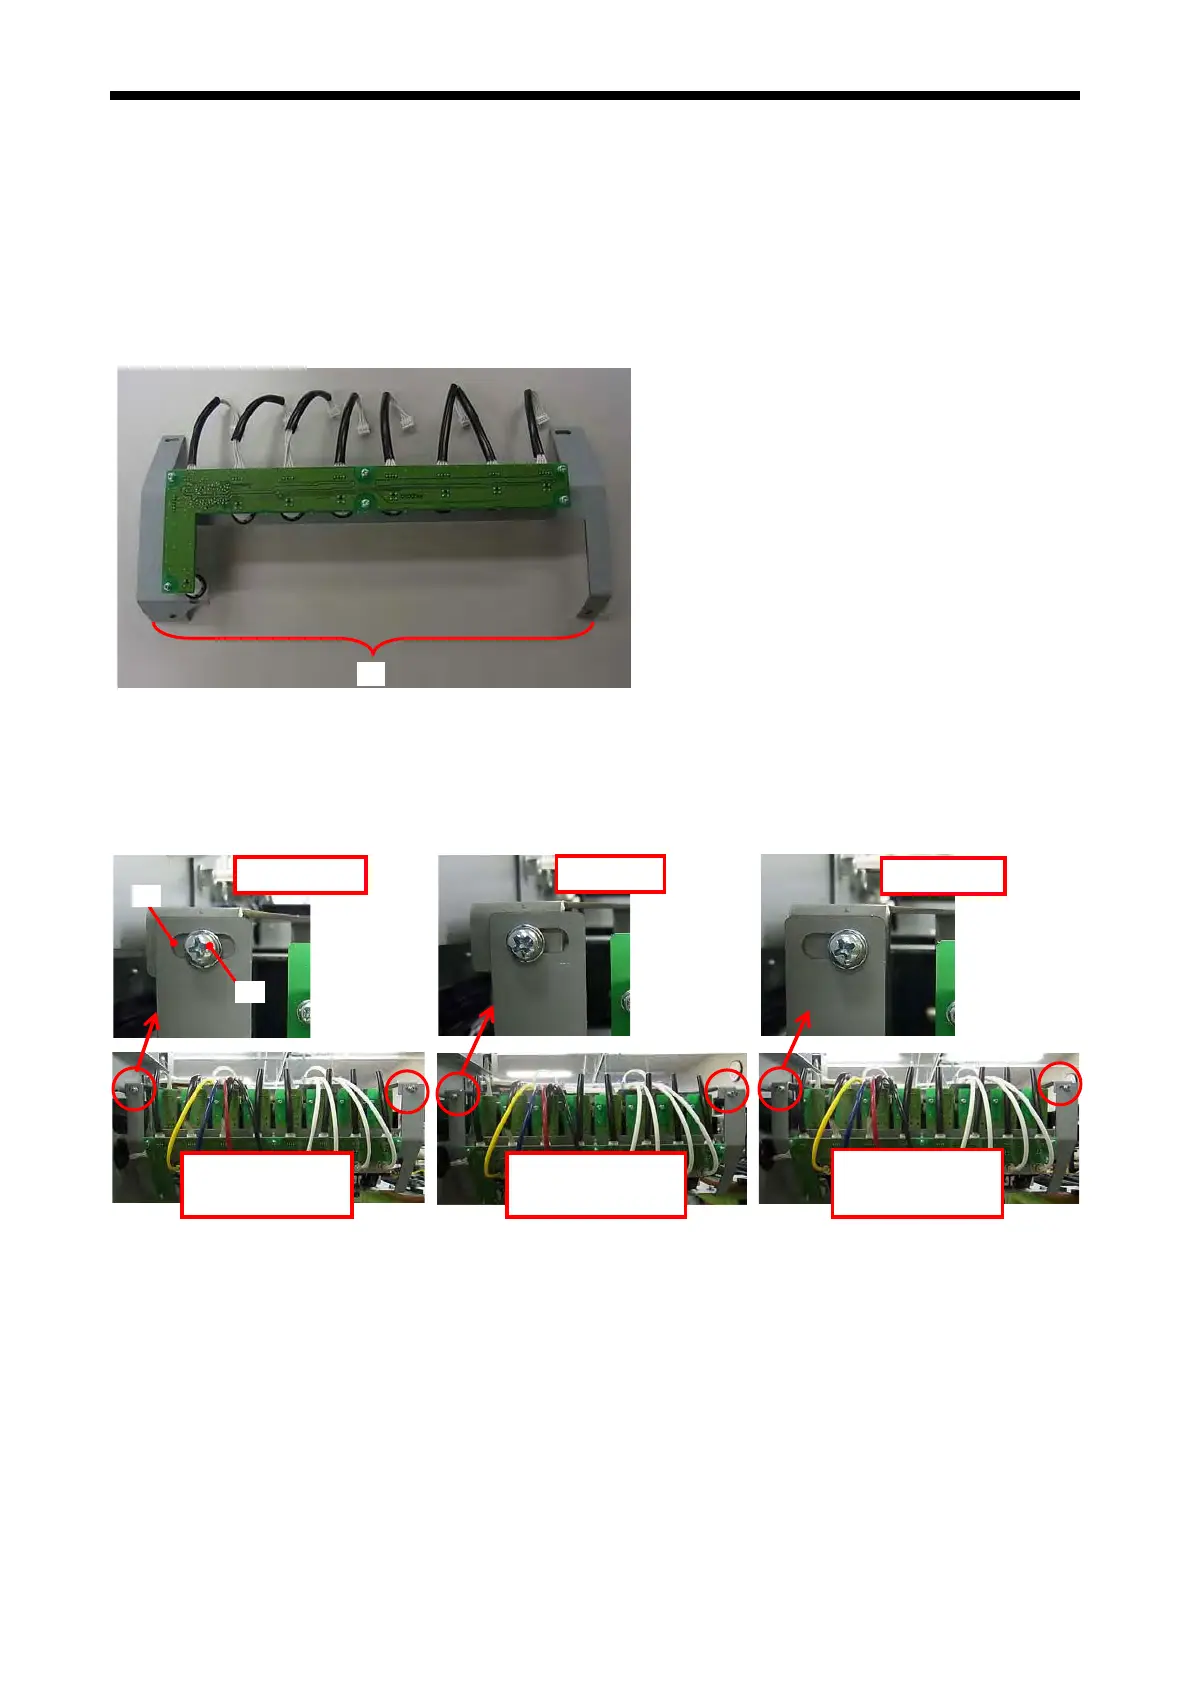
When you replace the Ink Switch Dog, first remove the Ink Switch Dog Unit (A) in the photo below from the
printer and put them on the table for operation.
Pay attention for those small parts (e.g. springs).
(A)
There are th
ree adju
sted types of mounting Ink Switch Dog Unit (A) in the following photos, the relations
between the oval hole (1) and the Screw (2), Pattern 1: the Center type (left photo), Pattern2: the Left type
(center photo) and Pattern 3: the Right type (right photo).
Confirm before you unscrew, and be sure to fix them as they were.
Pattern 3
(Right type)
Pattern 2
(Left type)
Pattern 1
(Center type)
Right type
Left type
Center t
pe
2
1
GT-3 Series
226

 Loading...