6. Replacing Parts
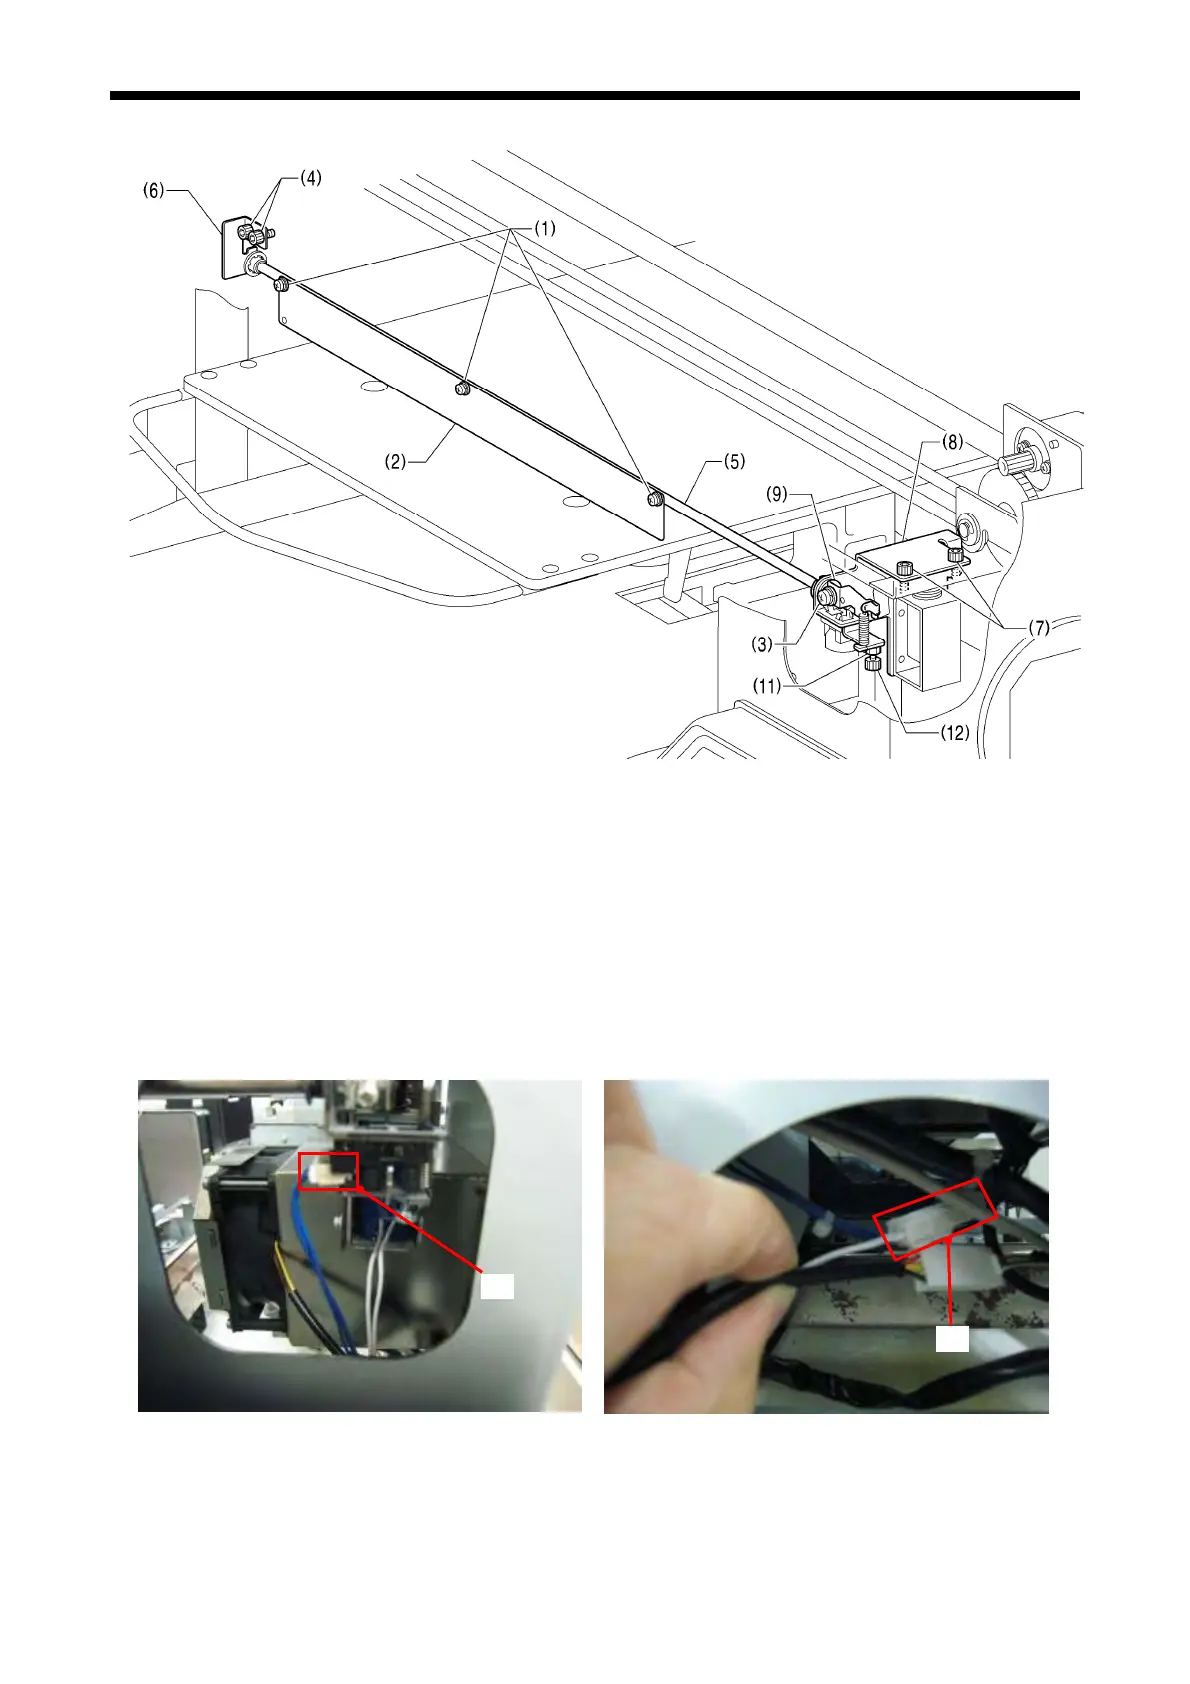
6-1-15. Sensor Flap
0189
Disassembling
1. Open the Fro
nt Cover UF and remove the Cover DL and PF. (Refer to “6-1-2. Assembling/Disassembling
of the Covers”.)
2. Remove the three Screws (1) and remove the Sensor Flap (2).
Go to the Step 5 in Assembling when you replace only the Sensor Flap (2).
3. Remove the Cover DR. (Refer to “6-1-2. Assembling/Disassembling of the Covers”.)
4. Remove the Screw (3), the Bolt Socket (4) and remove the Sensor Flap Shaft (5) and the Sensor Plate
Support Plate L (6).
5. Remove the Connector (A) that connects to the Flap Sensor and the Flap Solenoid.
(A)
(A)
6. Remove the
Bolt Socket (7) and remove the Sensor Plate Support Plate R (8).
GT-3 Series
162

 Loading...